

Threading a sewing machine looks confusing the first time, with all those hooks, slots and little numbers printed on the case. The good news is that almost every home sewing machine follows the same basic path, and once you have done it a few times it takes less than a minute. Getting it right also matters more than most beginners expect, because a small threading mistake is the most common cause of tangled thread, skipped stitches and loops under the fabric.
This guide walks you through the upper threading path step by step, explains why each step matters, and shows you how to bring up the bobbin thread so you are ready to sew. Every brand looks a little different, so keep your machine manual nearby and follow the numbers or arrows printed on your machine as you go. If you are still choosing a machine, our guide to the best sewing machines for beginners explains which features make threading easier, such as a built in needle threader. A pack of fresh universal sewing machine needles is also worth having, since a bent or dull needle can cause problems that look like threading mistakes.
This post contains affiliate links. As an Amazon Associate I earn from qualifying purchases, at no extra cost to you.
Before You Start: 3 Things to Check
Turn the machine off before you thread it. This keeps your fingers safe near the needle and stops the machine from starting if you bump the foot pedal. Then check these three things, because they decide whether the thread will sit correctly in the machine.
- Presser foot up. Lifting the presser foot opens the tension discs inside the machine so the thread can slip between them.
- Needle at its highest point. Turn the handwheel toward you until the needle is fully up. This also lifts the take-up lever to its highest position, where you can reach its eye.
- Bobbin ready. Have a wound bobbin in place, or wind one first, so you can bring up the lower thread at the end.
Always turn the handwheel toward you, never away from you. Turning it backward can pull the thread out of place or tangle it around the bobbin area.
Step 1: Place the Spool on the Spool Pin
Put your spool of thread on the spool pin. On a horizontal pin, add the spool cap that came with the machine so the spool does not slide around. Most machines work best when the thread comes off the spool in the direction shown in the manual, often from the back or from underneath. Pull out a length of about 12 inches (30 cm) so you have plenty to work with.
Use good quality all purpose polyester or cotton thread. Cheap thread with fuzz or uneven thickness can catch in the guides and break, which beginners often mistake for a threading problem.
Step 2: Follow the Upper Thread Path
Now guide the thread along the path printed on the machine. On most home machines it goes like this:
- Pull the thread through the first thread guide on top of the machine, usually a small hook or slot near the spool.
- Bring it down the channel on the right side of the front panel.
- Wrap it around the bottom of the channel in a U turn. On many machines there is a small check spring here that the thread should catch under.
- Bring it back up the left channel toward the top of the machine.
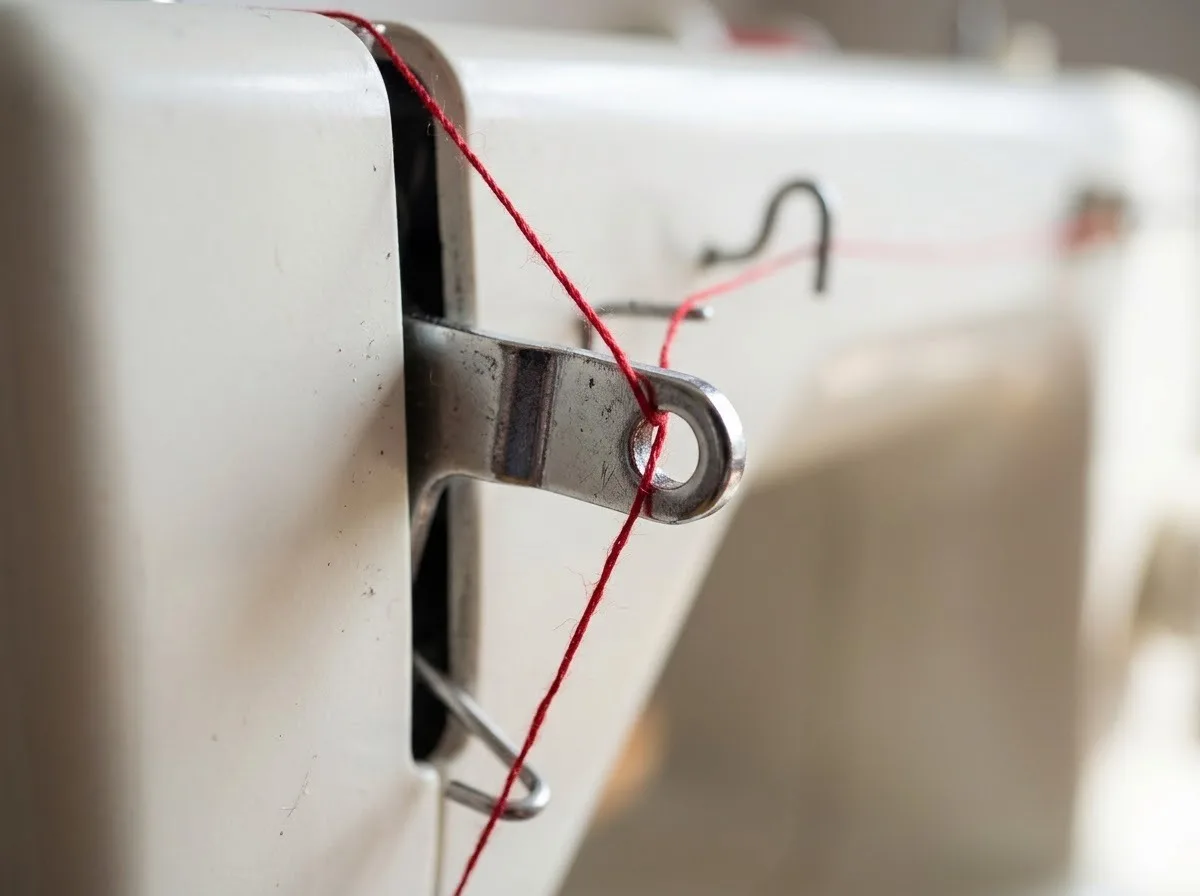
- Pass it through the eye of the take-up lever, usually from right to left, so it hooks inside the slot.
- Bring it back down the left channel to the needle area.
Hold the thread gently with both hands as you pull it into the channels. A little tension helps it settle between the tension discs. If your machine has numbers printed beside each guide, simply follow them in order.
Step 3: Thread the Needle
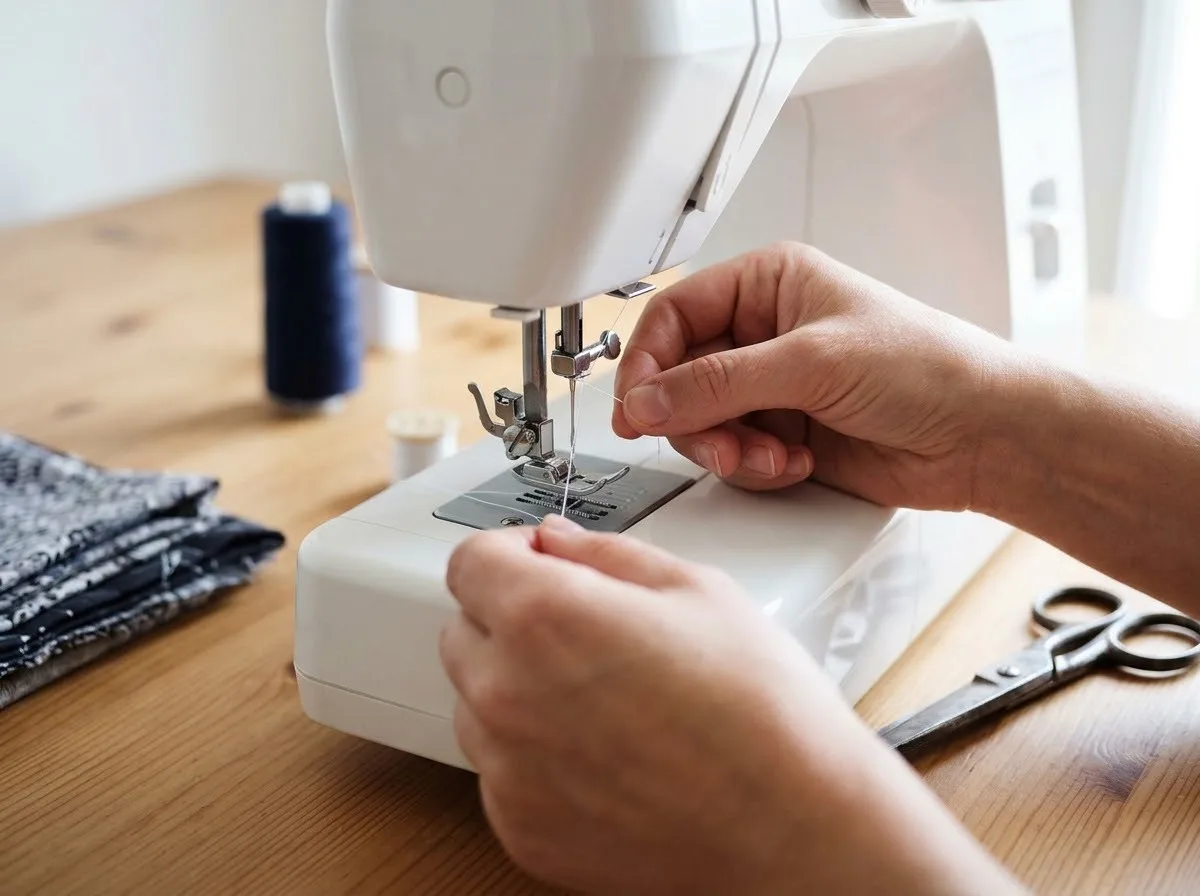
Just above the needle there is a small thread guide on the needle bar, often a thin wire hook. Slide the thread behind it. Then thread the needle. On most modern home machines you thread from front to back, but some older machines thread from left to right or right to left, so check the manual if you are not sure. The flat side of the needle shank is a helpful clue: on most domestic machines it faces the back, and the thread goes through from the front.
If your machine has a built in needle threader, lower the lever, hook the thread as shown in the manual and release it. The threader pushes a small loop through the eye for you. Otherwise, trim the thread end at an angle with sharp scissors so it slides through more easily, and pull about 4 to 6 inches (10 to 15 cm) of thread through toward the back of the machine.
Step 4: Bring Up the Bobbin Thread
With the needle threaded, you need to pull the bobbin thread up through the needle plate. Hold the end of the top thread loosely in your left hand. Turn the handwheel toward you one full turn, so the needle goes down and comes back up. As it rises, it catches the bobbin thread and pulls up a small loop.
Gently pull on the top thread until the loop comes up through the hole in the needle plate, then pull the loop open with a pin or your fingers to free the bobbin thread end. Slide both threads under the presser foot and toward the back of the machine, leaving tails of about 4 inches. Many newer machines with a drop in bobbin let you skip this step and simply start sewing, so check your manual.
Common Threading Mistakes and How to Fix Them
Most sewing problems that beginners face come back to threading. If your stitches look wrong, rethread the top thread from the very beginning before you change anything else. The table below shows the most common signs and what usually causes them.
| What you see | Likely threading cause | Fix |
|---|---|---|
| A nest of loops under the fabric | Presser foot was down while threading, so the thread missed the tension discs | Raise the foot and rethread the top thread completely |
| Thread comes out of the needle at the first stitch | Needle not at its highest point, or tails too short | Start with the needle up and hold both tails for the first few stitches |
| Machine jams or thread breaks | Take-up lever missed | Rethread and make sure the thread is inside the lever eye |
| Skipped stitches | Needle threaded the wrong way or the needle is bent | Check the threading direction and change the needle |
| Loose, loopy stitches on top | Thread missed the check spring or a guide | Rethread slowly, following the numbers on the machine |
If the problem continues after rethreading both the top thread and the bobbin, our sewing machine troubleshooting guide covers tension, needles and other causes in more detail.
Tips That Make Threading Easier
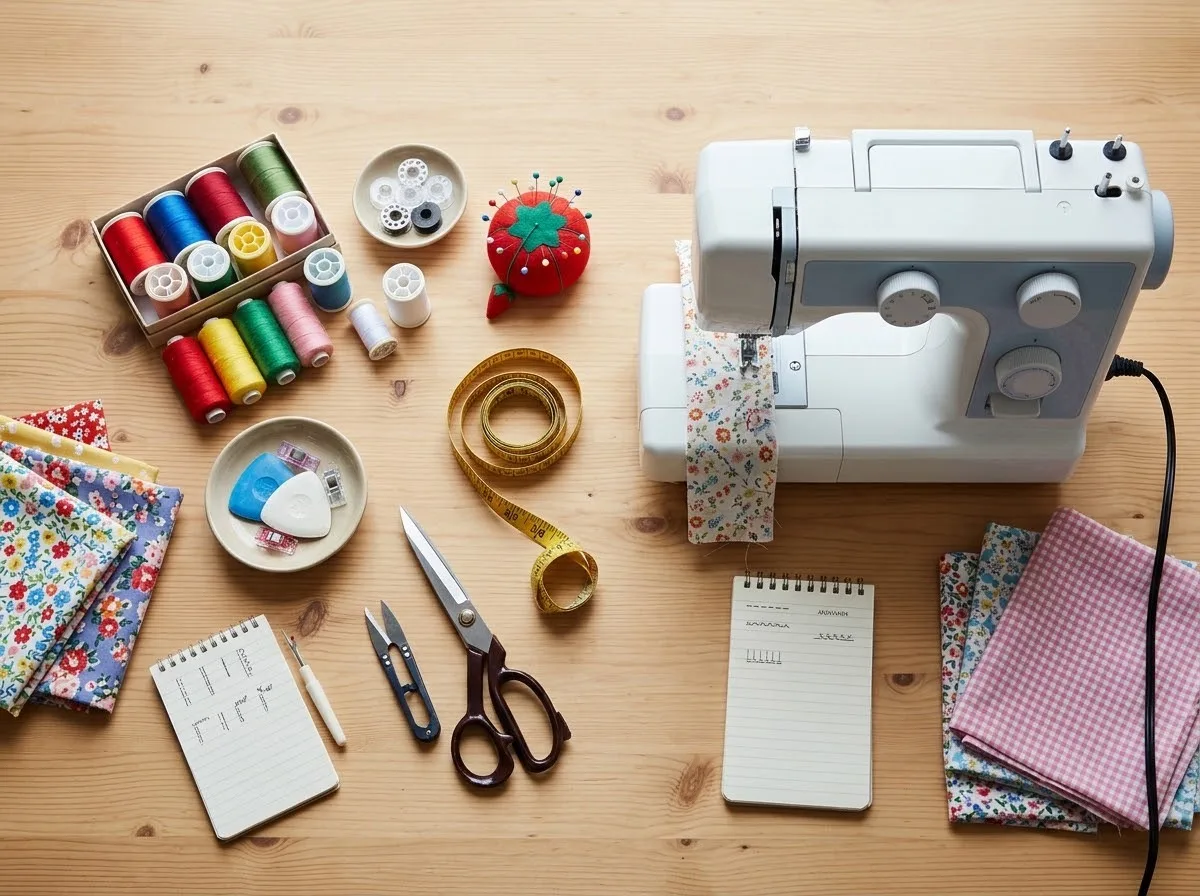
Good light makes a big difference. Sit with a lamp or window to one side of the machine so you can see the needle eye clearly. A white card or a piece of light fabric held behind the needle also makes the eye easier to see.
Change your needle regularly. Many sewists change it after every larger project or roughly every 8 hours of sewing, and always after hitting a pin. Make sure the needle type suits your fabric too. The overview of sewing machine needle types on Wikipedia explains the main kinds, such as universal, ballpoint and denim needles.
Finally, practice on scrap fabric. Thread the machine, sew a few straight lines, then unthread and do it again. After three or four rounds you will know the path by heart, and you can move on to an easy first project like our drawstring bag pattern or beginner apron.
Frequently Asked Questions
Why does the presser foot need to be up when threading?
Raising the presser foot opens the tension discs. With the foot down, the discs are closed and the thread sits on top of them instead of between them, so there is no tension on the top thread and loops form under the fabric.
Which way does the needle thread on a sewing machine?
On most modern home machines the needle is threaded from front to back. Some older or specialty machines thread from the side, so check your manual or look at which way the long groove on the needle faces.
How often should I rethread my sewing machine?
Rethread every time you change the thread, and any time the stitches suddenly look wrong. Rethreading the top thread is the quickest fix for most stitch problems.
Do I need to thread the bobbin the same way on every machine?
No. Drop in bobbins and front loading bobbin cases are inserted differently, so follow the diagram in your manual. Make sure the bobbin unwinds in the direction shown, or the lower stitches may look loose.
Once the top thread is on, the next step is winding and inserting the bobbin. If your stitches still skip after threading, check that the needle suits your fabric with our guide to sewing machine needle sizes and types.
The Bottom Line
Threading a sewing machine comes down to a few habits: raise the presser foot, bring the needle to its highest point, follow the thread path through every guide and the take-up lever, and thread the needle in the direction your machine needs. Bring up the bobbin thread with one turn of the handwheel, and you are ready to sew. When stitches look wrong, rethread from the start before anything else. For a wider look at machine skills, read our complete guide to hand and machine sewing.