My sewing teacher handed me a scrap of fabric and a length of cord on my very first lesson, before I’d even touched a garment pattern. I remember feeling almost insulted, like I’d been handed a kindergarten craft instead of real sewing. Forty minutes later I had an actual finished bag in my hands, drawstring and all, and it fit a bottle of wine perfectly. That bag is still hanging in my closet years later, slightly crooked seams and all, because it turns out the simplest possible project is exactly what makes you want to keep going.
Quick Answer: A basic drawstring bag needs one rectangle of fabric, a folded and stitched casing at the top for the cord, and a single straight seam down the side and bottom, with a small gap left open at the casing level so the cord can exit. Most beginners can finish one in under an hour using only a straight stitch, making it one of the fastest ways to get a completed project off your machine on day one.
Why This Is the Project Sewing Teachers Reach For First
There’s a reason drawstring bags show up in nearly every beginner sewing class before anything wearable does. The entire project uses one stitch type, has no curves, no zippers, and no fitting to worry about. It teaches straight seams, hemming, and casing construction, which are the exact three skills that show up again and again in almost every other sewing project you’ll ever attempt.
Finishing something in under an hour also matters more than it sounds like it should. A lot of beginners quit not because sewing is hard, but because their first project took three weekends and never quite got finished. A drawstring bag removes that risk entirely.
There’s also a practical case for this project beyond skill-building. Once you’ve made one, you actually have something useful, not a practice square destined for a drawer. Gift bags, produce bags, and small storage pouches are things most households use regularly, so the first thing you learn to sew ends up getting real, ongoing use instead of sitting untouched after the lesson is over.
What You’ll Need
- One piece of medium-weight cotton fabric, roughly 17 by 13 inches for a standard bag
- Matching thread
- About 30 inches of cord, ribbon, or thick string for the drawstring
- A safety pin or bodkin for threading the cord
- Scissors and pins
- An iron for pressing seams
A Quick Note on Fabric and Thread
Fabric that’s too lightweight will feel flimsy once the bag is filled, and anything too heavy is harder for a beginner to control under the needle. A medium-weight cotton, similar to quilting cotton or lightweight canvas, gives you enough structure without fighting your machine. For a deeper look at how fabric weight actually affects a finished project, the Fabric Index’s weight guide breaks down exactly what those GSM numbers mean in practice. Matching your thread to that fabric matters too, since the wrong weight or fiber can cause puckering or breakage; SewGuide’s thread selection guide is a solid reference if you’re unsure which spool to reach for.
How to Sew a Drawstring Bag (Step by Step)
Step 1: Cut Your Fabric
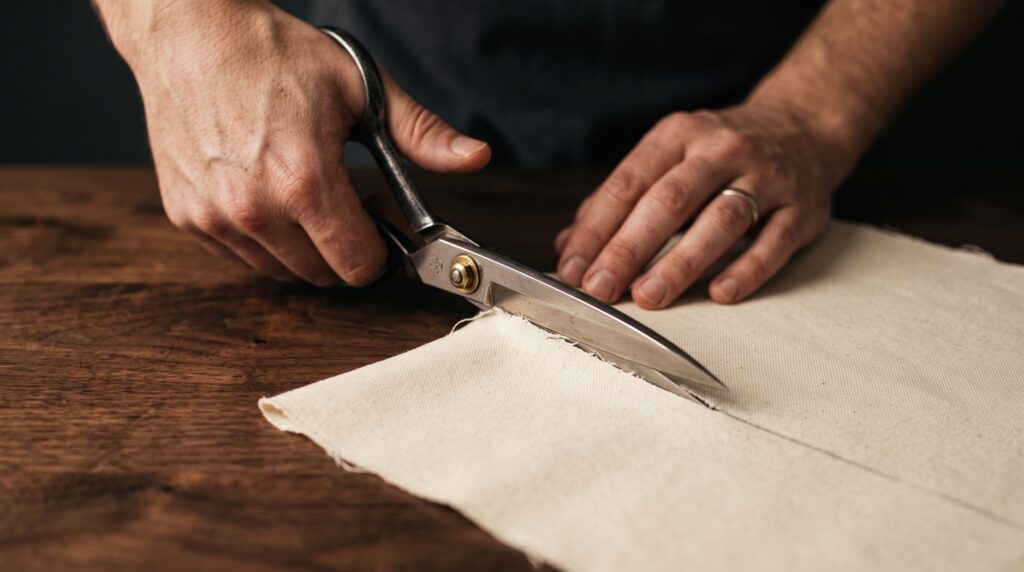
Cut one rectangle of fabric measuring 17 by 13 inches. Once hemmed, cased, and sewn, this makes a finished bag roughly 8 inches wide and 10 inches tall, a versatile size for gifts, produce, or small storage.
Step 2: Hem the Top Edge
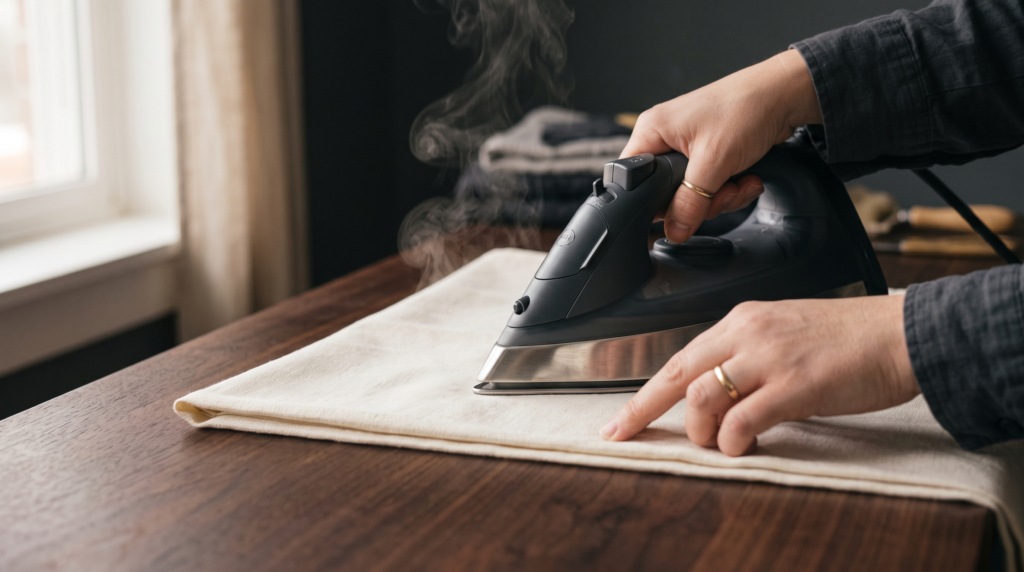
Fold the top edge of your fabric down half an inch, press it, then fold it down another half inch and press again. Stitch close to the folded edge all the way across. This clean hem becomes the base of your casing in the next step.
Step 3: Create the Casing
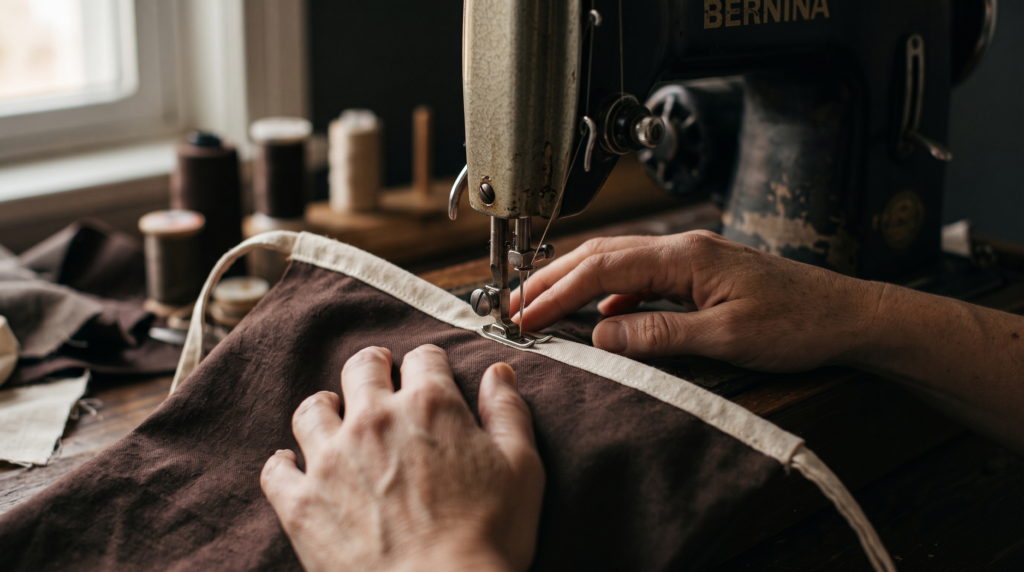
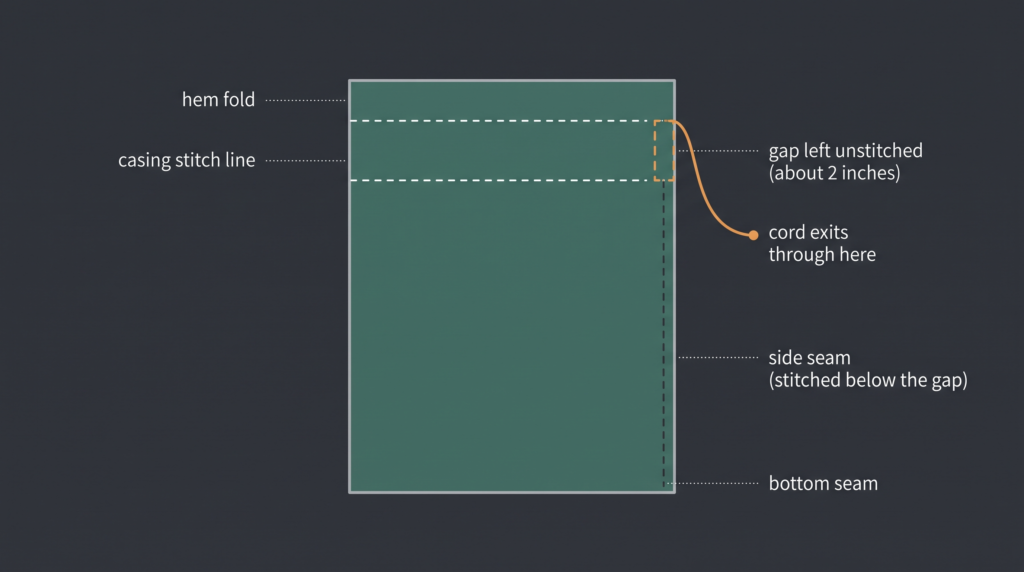
Measure down about an inch and a half from the top hemmed edge and fold the fabric down again, pressing to create a tunnel-like channel. At this stage the fabric is still flat, a single layer, not yet folded into the bag shape. Stitch only along this horizontal fold line, the one running left to right beneath the hem. Don’t stitch along the left or right raw edges of the fabric yet, since those will be sewn later when the bag itself comes together in Step 4.
Step 4: Fold and Pin the Bag Right Sides Together
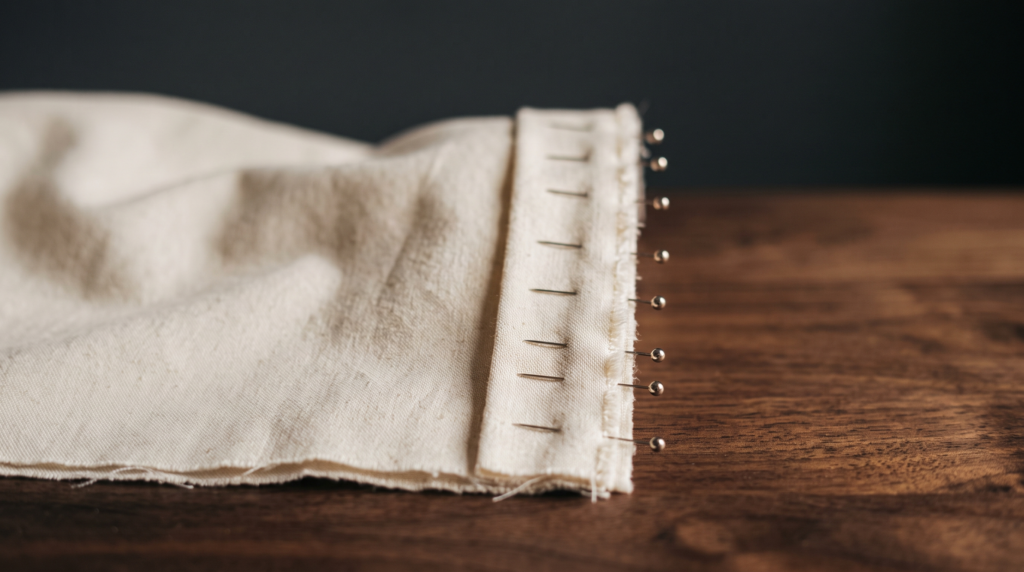
Fold the fabric in half with the right sides (the printed or finished side) facing each other, matching up the left and right raw edges so they now sit stacked together. Pin along this stacked raw edge and along the bottom, leaving the top open where your casing already sits.
Step 5: Sew the Side and Bottom Seam, Leaving a Gap for the Cord
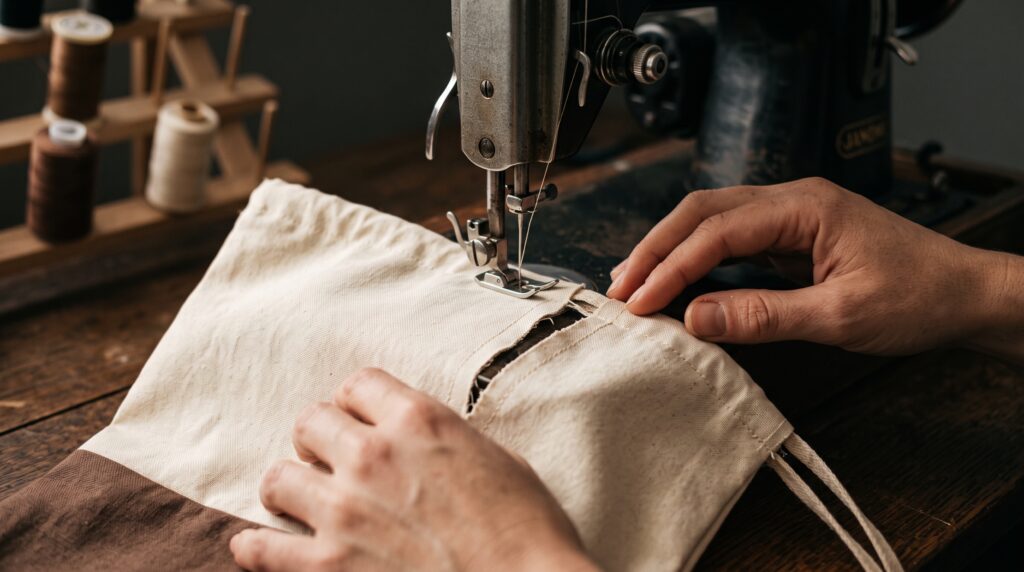
Using a straight stitch and roughly a half-inch seam allowance, start stitching from the top of the side seam down toward the bottom. Stop stitching once you reach the bottom edge of your casing, leaving a gap of about 2 inches unsewn at the very top of the side seam, right where the casing sits. This gap is what lets the drawstring exit the bag later. Resume stitching below the gap, continue down the side, pivot at the corner, and sew across the bottom. Backstitch at the start and end of each stitched section to lock the seams in place.
Step 6: Finish the Raw Edges
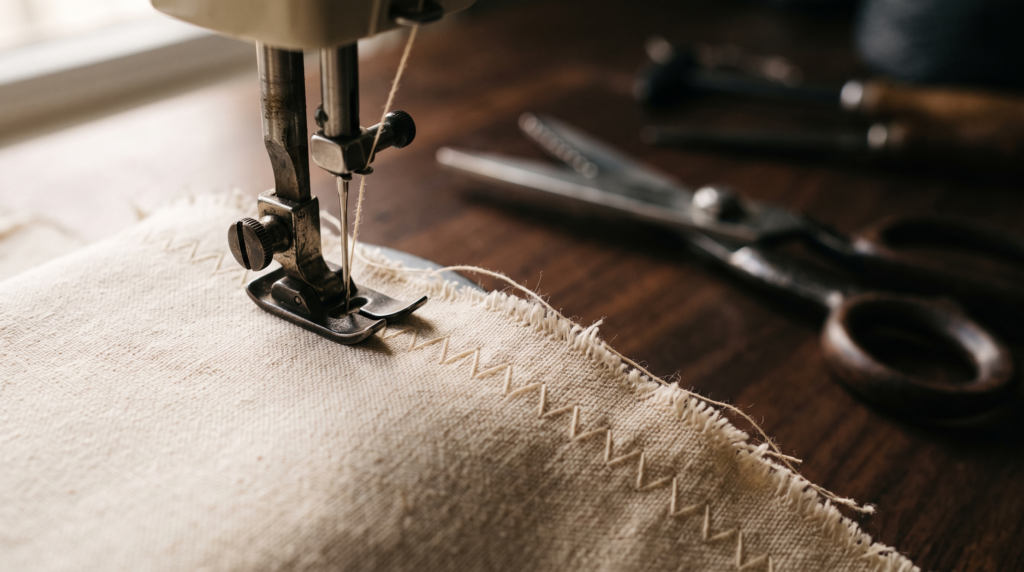
Trim any excess fabric at the corners and finish the raw edges with a zigzag stitch or pinking shears to prevent fraying over time. This step is optional for a quick project but extends the bag’s lifespan significantly.
Step 7: Turn the Bag Right Side Out
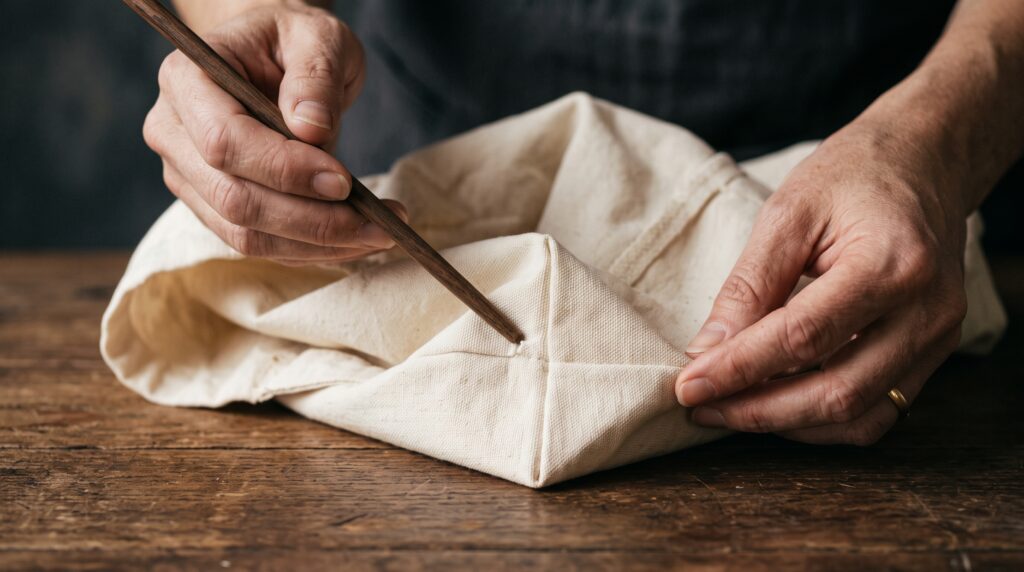
Reach inside through the open top and turn the entire bag right side out. Use a chopstick or blunt pencil to gently push out the corners so they sit square rather than rounded. Check that the small gap you left in Step 5 is visible at the casing level on the outside of the bag.
Step 8: Thread the Drawstring
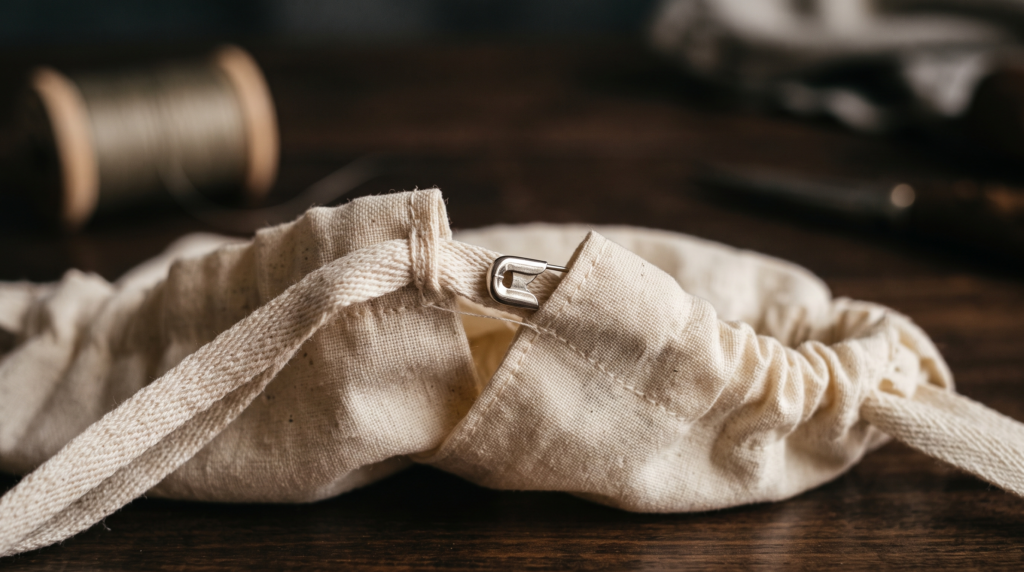
Attach a safety pin or bodkin to one end of your cord and feed it into the casing channel through the gap you left in Step 5. Work it all the way around the entire channel until it exits back out through that same gap. Both ends of the cord should now hang out from the same opening. Tie the two ends together or add a bead or knot to stop them slipping back through, then pull to gather and close the bag.
Common Beginner Mistakes on This Project
- Sewing the side seam all the way through the casing area with no gap, which traps the drawstring inside with no way to pull it out, and I’ve genuinely had to unpick a finished seam to fix this exact mistake
- Sewing the casing channel too narrow for the cord to pass through comfortably
- Skipping the pressing steps, which makes hems and casings uneven and harder to stitch straight
- Pulling fabric through the machine instead of letting the feed dogs do the work, which distorts the seam
- Using a drawstring so thin it’s difficult to grip and pull once threaded
Fabric and Cord Pairing Guide
| Bag Purpose | Best Fabric Weight | Best Drawstring |
|---|---|---|
| Gift or favor bag | Light to medium cotton | Thin ribbon or cord |
| Produce or grocery bag | Medium cotton or linen blend | Medium cotton cord |
| Shoe or travel bag | Medium to heavy canvas | Thicker cord or paracord |
| Laundry or storage bag | Heavy canvas or duck cloth | Thick cord or webbing |
Matching the fabric weight to the bag’s actual job keeps it functional rather than just decorative. A produce bag in flimsy fabric tears within a few uses, while a gift bag in heavy canvas feels stiff and overbuilt.
Variations Once You’ve Made Your First One
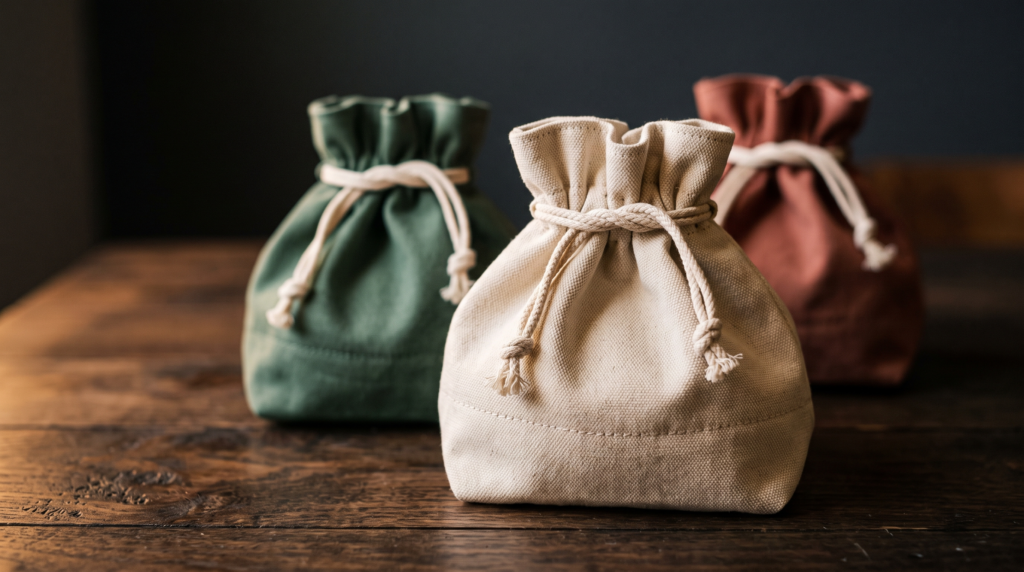
Once the basic version feels comfortable, a few small changes make it feel like a new project without adding much complexity. Adding a contrasting fabric panel at the bottom third of the bag gives it visual interest with only one extra seam. Swapping a single drawstring for two cords, one entering and exiting from a gap on each side instead of just one, lets the bag cinch more evenly from both sides and is a common upgrade for backpack-style versions. A lined version, sewn using the same steps with a second interior fabric, hides the raw seams entirely and gives the bag a much more finished, boutique feel. If you want to practice clean hemming before attempting the lined version, our DIY maxi dress tutorial covers hem finishing in more depth.
Frequently Asked Questions
How much fabric do I need for a drawstring bag? A rectangle of about 17 by 13 inches is enough for one finished bag roughly 8 by 10 inches. Scale the rectangle up or down proportionally for a larger or smaller bag.
Can I make a drawstring bag without a sewing machine? Yes, though it takes considerably longer. A backstitch by hand along the same seam lines works fine for this project since there’s no curved or complex stitching involved.
What’s the best cord to use for the drawstring? Cotton cord or thick ribbon works well for lighter bags, while paracord or nylon cord holds up better on heavier canvas bags that see regular use.
Why is my casing too tight for the cord to slide through? This usually means the fold for the casing was measured too narrow relative to the cord’s thickness. Leave at least a quarter inch of extra room beyond the cord’s actual width when folding the casing.
Why can’t I pull my drawstring out after sewing the bag together? This almost always means the side seam was sewn straight through the casing area without leaving a gap. The fix is to unpick a small section of the side seam at the casing level, roughly 2 inches, so the cord has somewhere to exit.
Is a drawstring bag a good first project if I’ve never used a sewing machine before? Yes. It’s one of the most commonly recommended first projects specifically because it only requires straight stitching and no fitting, making it forgiving for a first attempt at controlling the machine.
Once you’re comfortable with straight seams, our complete guide to hand and machine sewing covers the next set //of fundamentals worth building on.