If you want to learn to sew but have no idea where to start, this guide is for you. It covers everything a beginner needs to know about sewing, from the basic tools to hand stitches to using a sewing machine for the first time. Everything is in order, nothing is skipped, and no experience is needed.
You have been meaning to start for months. Maybe longer. Every time you sit down, the machine looks complicated, the pattern makes no sense, and you end up doing something else instead.
That stops here.
What You Need Before You Start Sewing
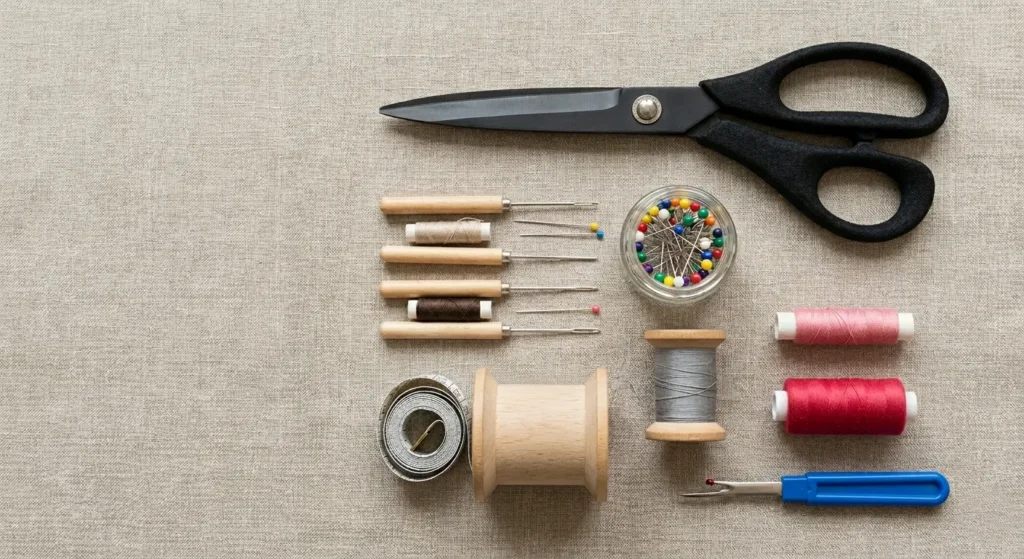
One of the biggest mistakes beginners make is overbuying before they have even made their first project. The list of sewing supplies you actually need is short.
Basic Sewing Supplies for Hand Sewing
- A basic pack of sewing needles
- Thread in white, black, and a couple of neutral colours
- A pair of fabric scissors you use only on fabric
- Pins or sewing clips
- A seam ripper (buy it now, you will need it)
- Fabric chalk or a marking pen
That is all. Do not let anyone talk you into buying more before you have made your first thing.
Tools for Machine Sewing
- A sewing machine that does a straight stitch and zigzag
- Everything from the hand sewing list above
- A few spare bobbins
- An iron and ironing board
Most beginners ignore the iron until the end. That is a mistake. Press every seam as you sew it, not when the whole thing is done. Do it as you go and your finished piece looks completely different. Cleaner, flatter, more like something that was actually made properly.
Hand Sewing vs Machine Sewing: Which Should a Beginner Learn First?
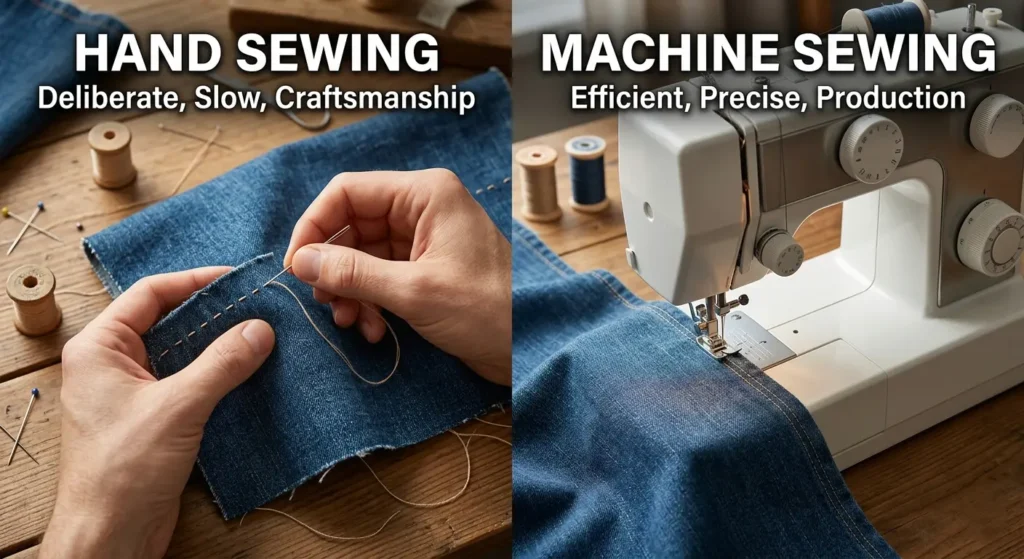
This is the question most beginners get wrong. Reaching for the machine first means spending most of your time confused about why things are going wrong.
Start with hand sewing. Even just a few hours of it. You learn how a stitch actually forms, how fabric behaves when you pull it, and what tight tension feels like versus loose. Once you have that understanding, the sewing machine makes sense straight away instead of feeling like guesswork.
The machine is faster and stronger. Anything with long seams, anything structural, anything that needs to hold up to real use, that is what it is for. But learning to hand sew first makes everything else easier.
How to Sew by Hand: The Four Stitches Every Beginner Needs
These four hand sewing stitches cover almost every situation you will run into as a beginner.
Running Stitch
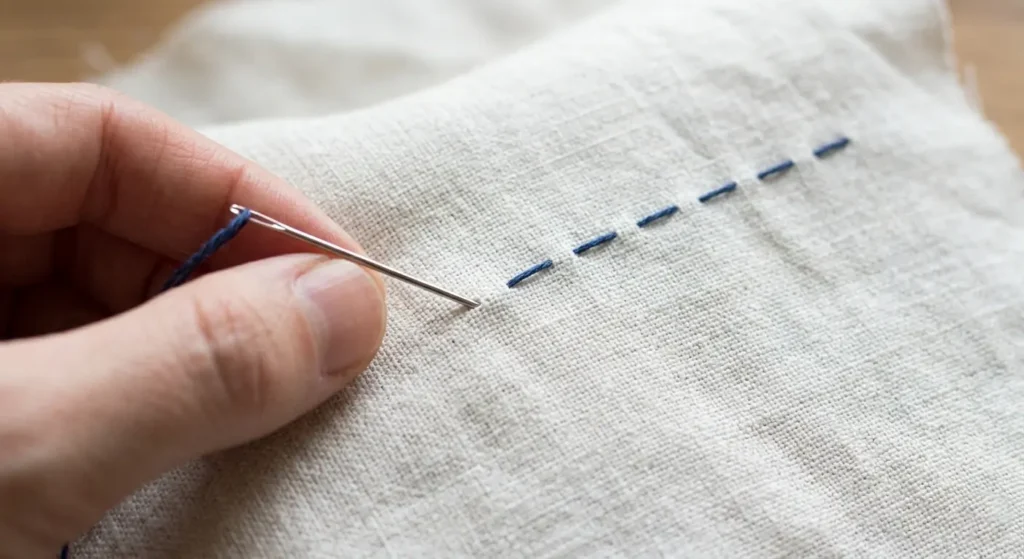
The needle goes in, comes back up a short distance along, goes in again. Forward motion, even spacing, straight line. That is a running stitch.
Use it for basting pieces together before machine sewing, or for lightweight work that does not need much strength. Keep the spacing even. Uneven gaps look untidy and the stitch holds less well.
Backstitch
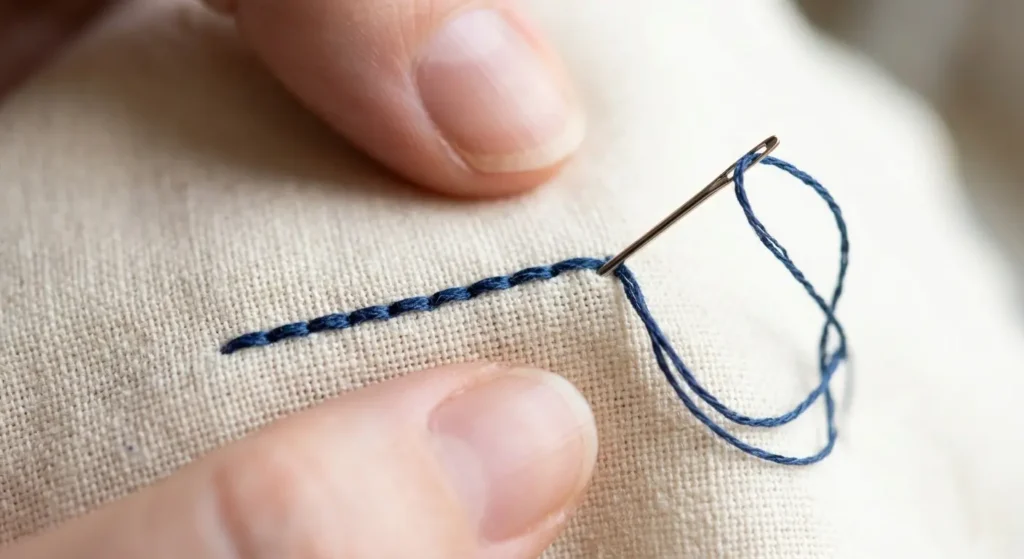
Same idea as the running stitch but each new stitch goes back into the end of the previous one. The result is a solid unbroken line that is much stronger.
Use the backstitch when the seam actually needs to hold. Repairs, closures, anything that gets pulled or stressed. If you are not sure which hand stitch to use, use backstitch.
Slip Stitch
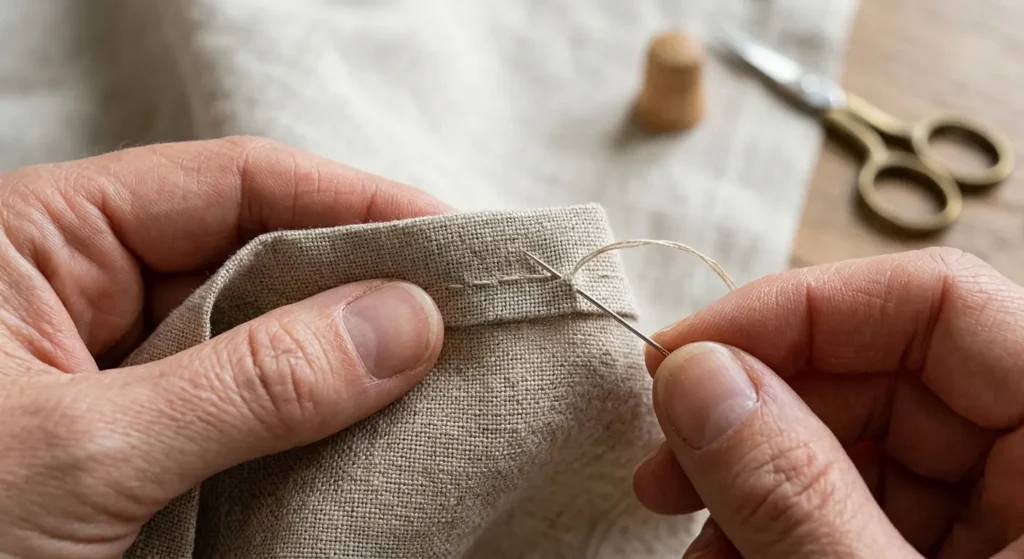
For closing an opening from the outside without the stitches showing. You pick up a few threads from each folded edge in turn, work your way along the gap, and it draws itself closed. With thread that matches the fabric, you cannot see where it was sewn.
Any seam left open for turning right-side-out gets closed with a slip stitch.
Blanket Stitch
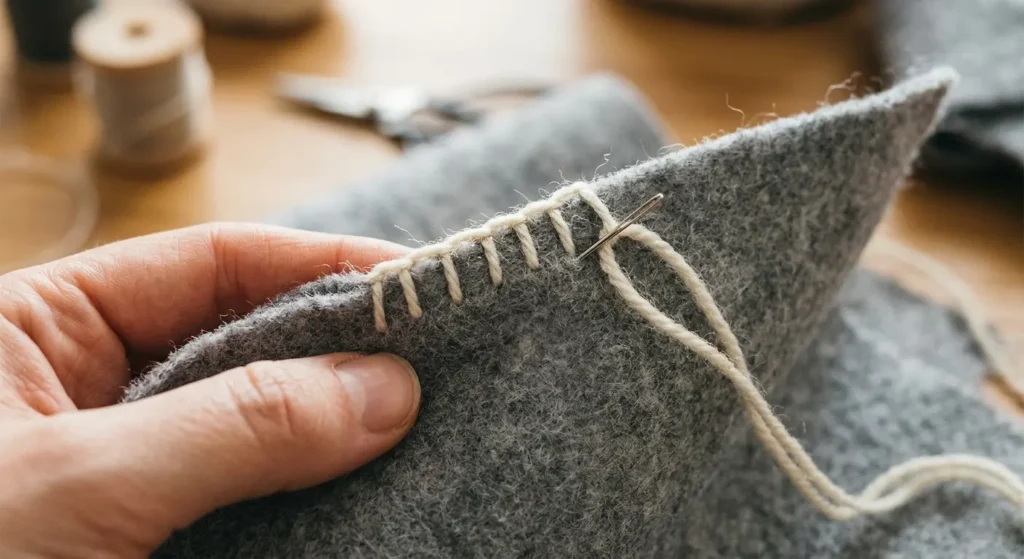
A stitch that runs along the raw edge of fabric, stopping fraying and adding a decorative finish at the same time. Works well on felt and fleece. Once you find the rhythm of it, it is one of the more satisfying things to do by hand.
Read More: How to Sew Clothes Even If You’re a Complete Beginner
How to Use a Sewing Machine for Beginners
Threading the Machine
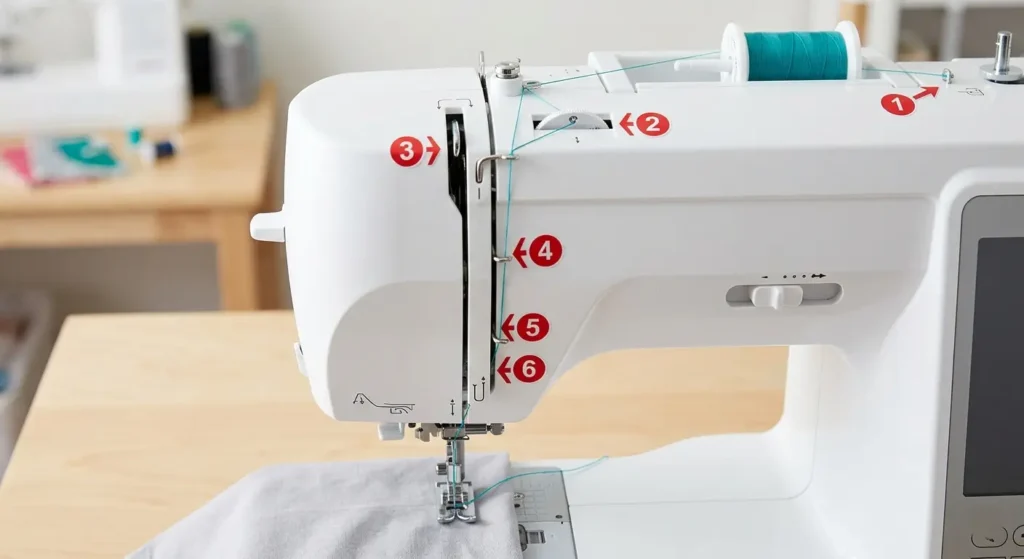
Every sewing machine has a numbered threading path marked on it. Follow the numbers from top to bottom. Spool at the top, down through the guides, around the tension discs, through the take-up lever, down to the needle.
Thread the needle front to back and pull about 15cm through.
To bring up the bobbin thread, lower the needle fully into the bobbin area and raise it back up with the handwheel. Both threads should come up through the needle plate together. Pull them toward the back of the machine before you start sewing.
Thread the machine ten times before your first real project. After that you stop thinking about it.
Sewing Machine Stitch Settings
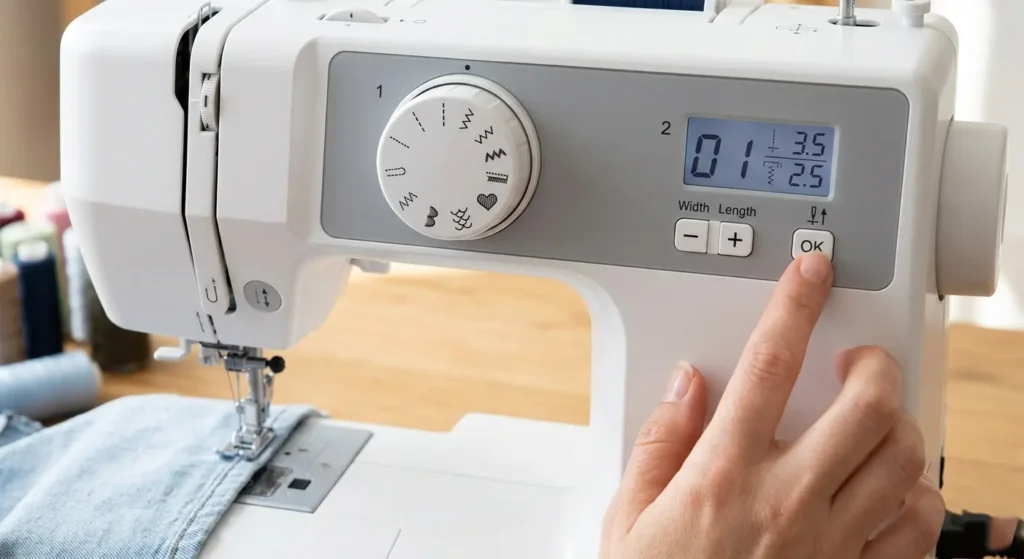
Stitch length between 2.5 and 3mm covers most sewing. A few short stitches at the start and end of each seam locks it so it does not unravel.
Straight stitch for seams. Zigzag for finishing raw edges. Leave everything else alone until you are comfortable with the basics.
When Something Goes Wrong
- Thread bunching under the fabric: Unthread the top completely and rethread from scratch. Nine times out of ten that fixes it.
- Skipped stitches: Put in a new needle. They go blunt faster than most people expect.
- Thread snapping: Check the thread is sitting properly in the tension discs and the bobbin is wound evenly.
Your First Sewing Project, Step by Step
Choosing the Right Pattern
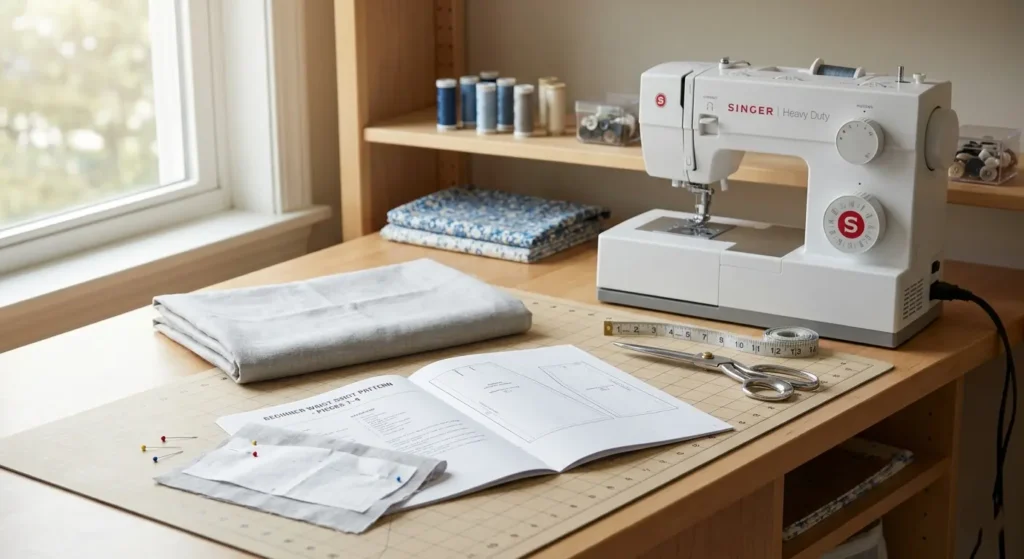
Look for a beginner sewing pattern with under ten pattern pieces, no zip, no buttonhole, and an elastic waist. A gathered skirt, tote bag, wide leg trousers, or pillowcase all work well for a first project.
Read the whole pattern before you cut anything. Problems found before you start cost nothing. Problems found halfway through can waste the whole project.
Cutting the Fabric
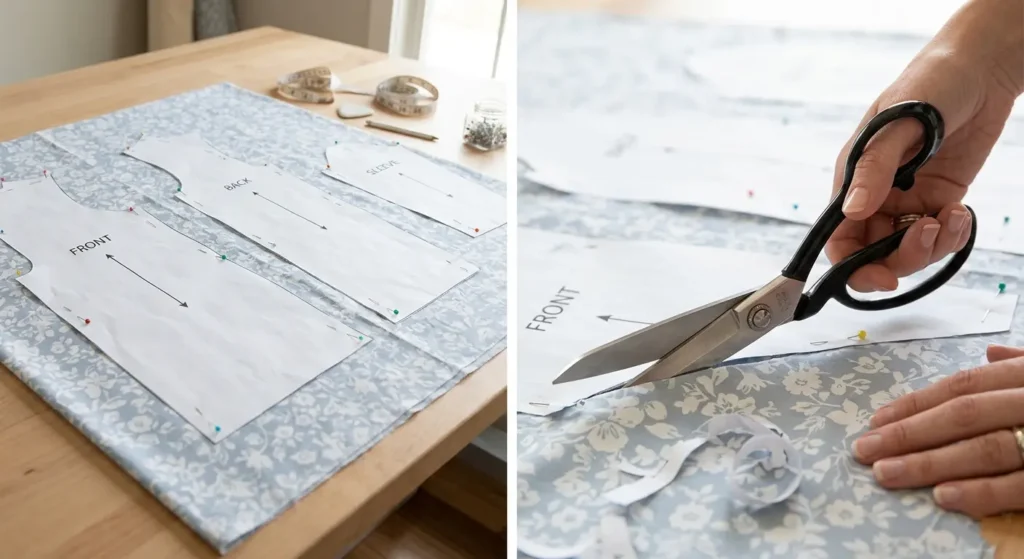
Wash and dry the fabric before cutting. If you skip this step, a finished garment shrinks the first time you wash it and the seams pull. Everyone who makes this mistake once never makes it again.
Press the fabric flat. Lay the pattern pieces on it and check that the grain line arrow on each piece runs parallel to the selvage. Off-grain pieces twist and hang wrong in the finished garment and there is no fixing it afterwards.
Cut with long smooth strokes.
Sewing the Pieces Together
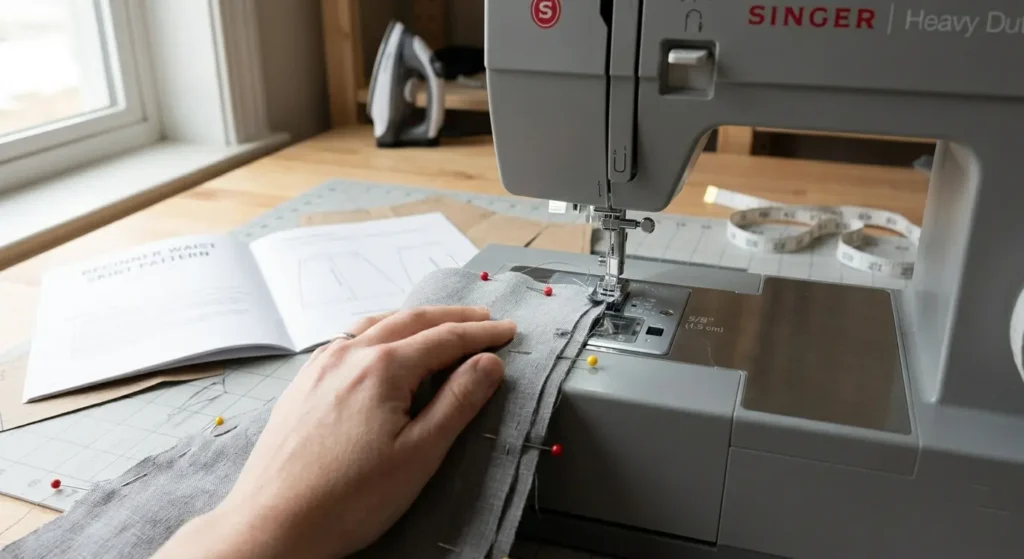
Pin the pieces right sides together. Match the notches. Sew with the seam allowance the pattern specifies, keeping it consistent with the guides on the throat plate.
Backstitch at the start and end of every seam. Press every seam before moving to the next one.
Finishing Your Project
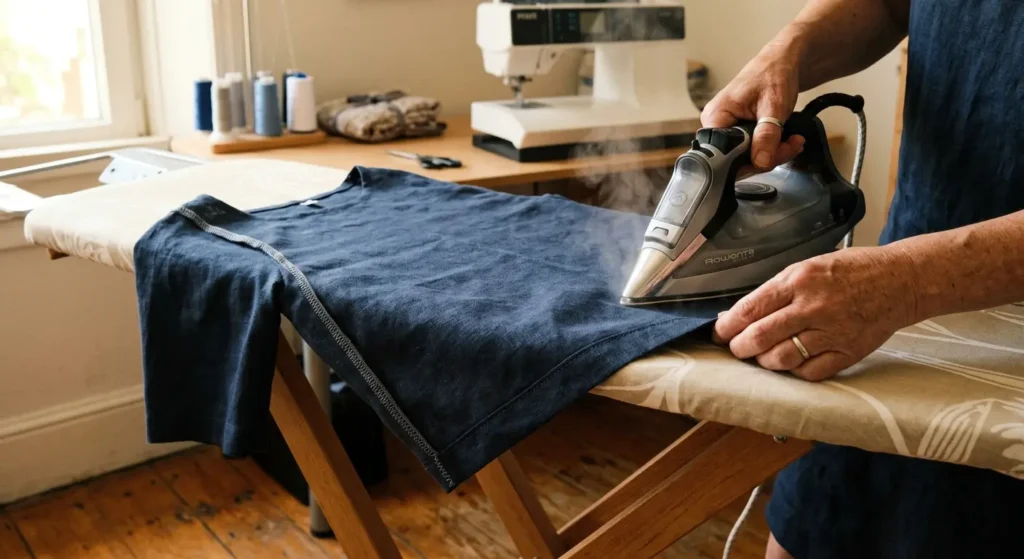
Zigzag the raw edges of every seam allowance. Sew and press the hem. Then press the whole thing one more time from top to bottom.
That final press is what makes the difference between something that looks finished and something that just looks done.
Best First Sewing Projects for Beginners
Tote Bag
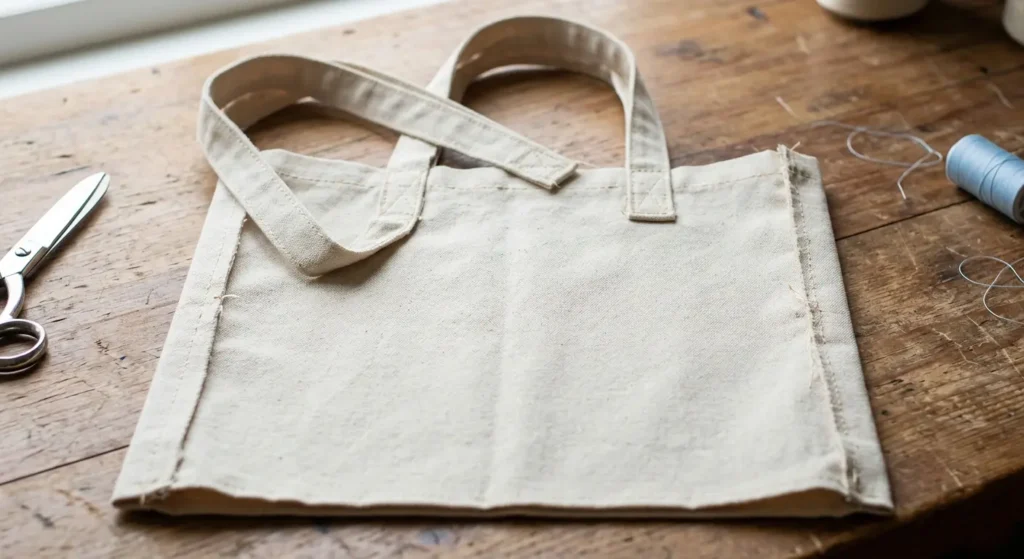
Two rectangles sewn on three sides with two handles attached. Nothing but straight seams. The best first machine sewing project there is and nothing else comes close.
Pillowcase
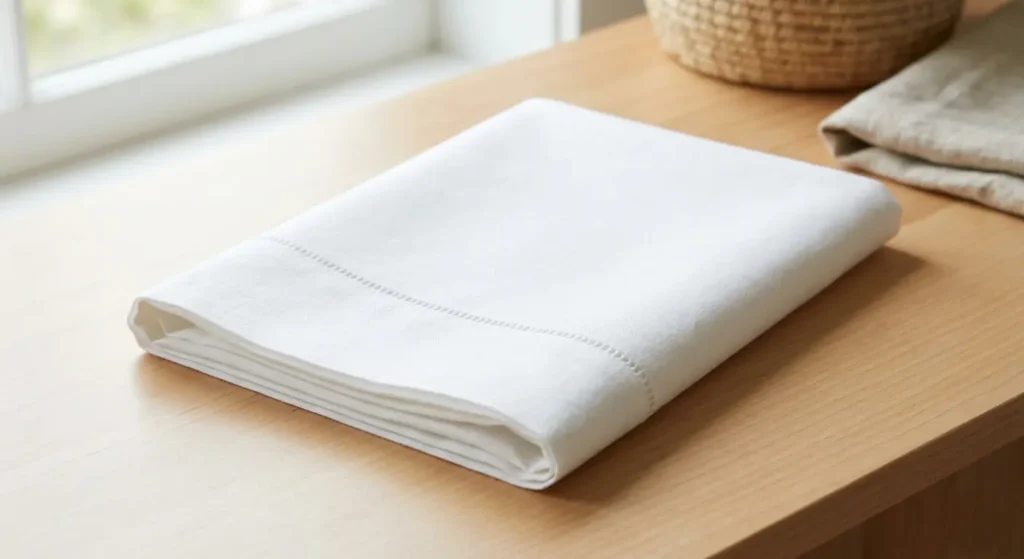
One piece of fabric with a simple overlap closure at the back. An afternoon’s work that is useful the same night. Forgiving enough that imperfect stitching barely shows.
Elastic Waist Skirt
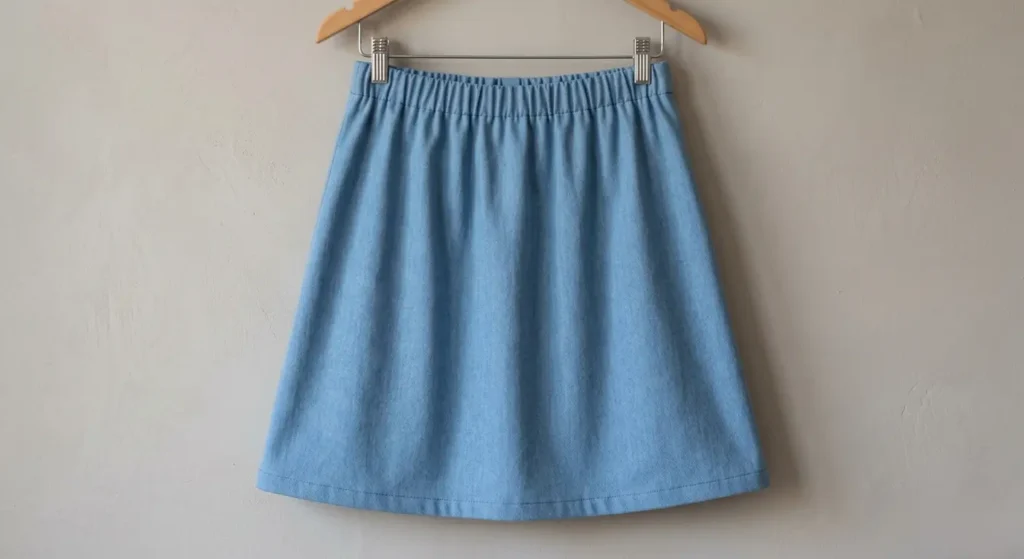
A rectangle gathered onto an elastic waistband. One unfamiliar step with the elastic casing but everything else is straight sewing. A real wearable garment you can finish in a couple of hours.
Sewing Mistakes Every Beginner Makes
Not Reading the Pattern First
Sleeves get sewn inside out, pockets face backwards, pieces get cut in the wrong order. Ten minutes of reading beforehand stops all of it.
Skipping the Pre-Wash
Wash the fabric before you cut it. This is not optional. A finished garment that shrinks the first time you wash it is a hard lesson that sticks.
Using Blunt Scissors
Dull blades drag and distort the fabric. Keep your fabric scissors for fabric only and keep them sharp.
Not Pressing as You Go
This has more impact on the finished look than almost anything else. Every seam, every time, no exceptions.
Feeling Bad About the Seam Ripper
Every sewer uses one constantly. If yours is untouched, you are not trying hard enough things yet. The seam ripper is not a sign of failure, it is a sign of effort.
Frequently Asked Questions About Sewing for Beginners
Can I teach myself to sew with no experience?
Yes. Most people who sew well are self-taught. Start with hand sewing, move to simple machine projects, and build from there. This guide is written exactly for that path.
What is the easiest thing to sew for a beginner?
A tote bag. It is nothing but straight seams, takes a couple of hours, and teaches you everything you need to know about using a sewing machine. A pillowcase is a close second.
Do I need an expensive sewing machine to start?
No. A basic machine that does a straight stitch and zigzag is all you need. Many beginners start on machines that cost very little and make excellent work with them.
How long does it take to learn to sew?
You can finish your first project in an afternoon. Getting comfortable with the basics takes a few weeks of regular practice. Getting good takes longer, but the early results come fast.
What fabric should a beginner use?
Cotton is the easiest fabric to work with. It does not stretch, it presses well, and it is forgiving of small mistakes. Avoid stretchy fabrics, silk, and anything slippery until you have a few projects under your belt.
Ready to Start Sewing?
Pick the simplest project on this list. Get what you need. Read the instructions all the way through.
Then start.
The first one will not be perfect. Finish it anyway. A completed imperfect project beats an abandoned perfect one every single time.
What are you making first? Leave a comment below.
Pingback: 15+ Embroidery Design Ideas That'll Make You Pick Up Needle
Pingback: How to Sew a DIY Maxi Dress at Home
Pingback: Crochet for Beginners: Complete Starter Guide (2026)
Pingback: Sewing Machines for Beginners: Complete Buying Guide (2026)
Pingback: Hand Embroidery Stitches for Beginners: 6 to Start With