My mother-in-law asked me to make her a kitchen apron for her birthday, and I said yes before checking whether I actually knew how. I found a pattern online with darts, a curved neckline, and bias tape binding, three techniques I’d never touched, and spent an entire weekend unpicking the same curved seam four times. The apron she actually got, the one she still uses years later, came from a completely different pattern I found afterward, one built entirely from straight lines and right angles. It took ninety minutes and looked, if anything, more polished than my failed first attempt.
Quick Answer: A basic apron needs one main body panel, two straps, and a waist tie, all cut as straight rectangles with no curves or darts required. Most beginners finish a full apron, from cutting fabric to tying it on, in under 90 minutes using only straight stitching.
Why Curved Patterns Trip Up Beginners Unnecessarily
Plenty of apron patterns online lean into a fitted, curved neckline and a shaped waist, which looks polished but adds real technical difficulty for very little practical benefit. Curved seams need clipping, careful pinning, and a level of stitching precision that most beginners haven’t built yet.
A straight-line apron sacrifices almost nothing in usefulness. It still protects clothes while cooking, still ties comfortably, and still looks intentional rather than makeshift, all without requiring a single curved seam. Once you’re comfortable with straight-line construction, going back to add a curved neckline to a second version becomes a manageable next step rather than a frustrating starting point.
There’s also a simple reason this pattern is worth mastering even beyond its use as a first project: it teaches reinforcement stitching, the technique of sewing back and forth over a stress point multiple times, which shows up constantly in bags, straps, and anything else that gets pulled or carries weight. Learning it here means you already know it the next time a pattern calls for it.
What You’ll Need
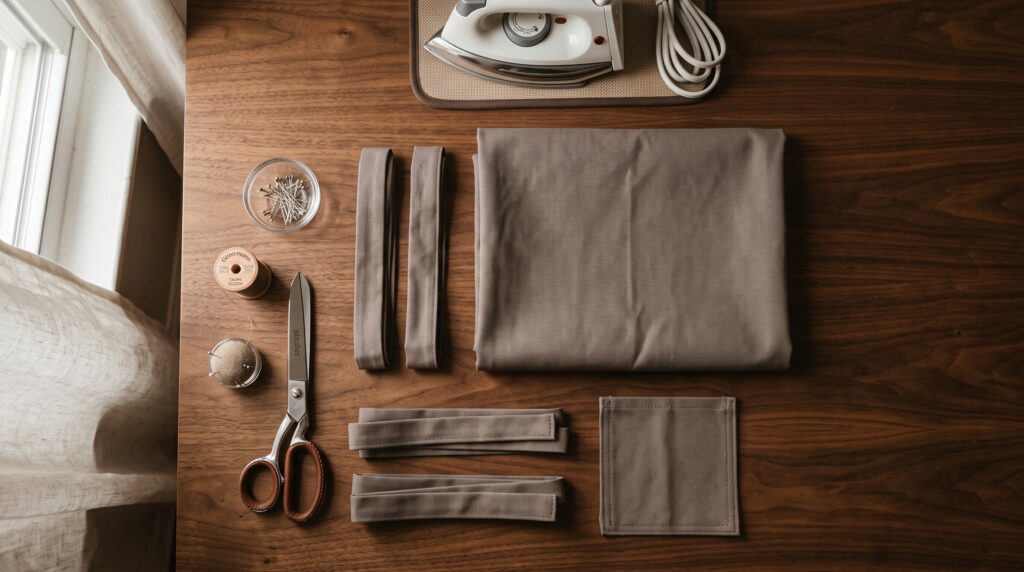
- One piece of medium-weight cotton or canvas, roughly 24 by 28 inches for the main body
- Two strips of fabric, each about 3 by 22 inches, for the neck strap
- Two strips of fabric, each about 3 by 30 inches, for the waist ties
- Matching thread
- Scissors, pins, and an iron
- Optional: one pocket panel, roughly 8 by 8 inches
A Note on Fabric Choice
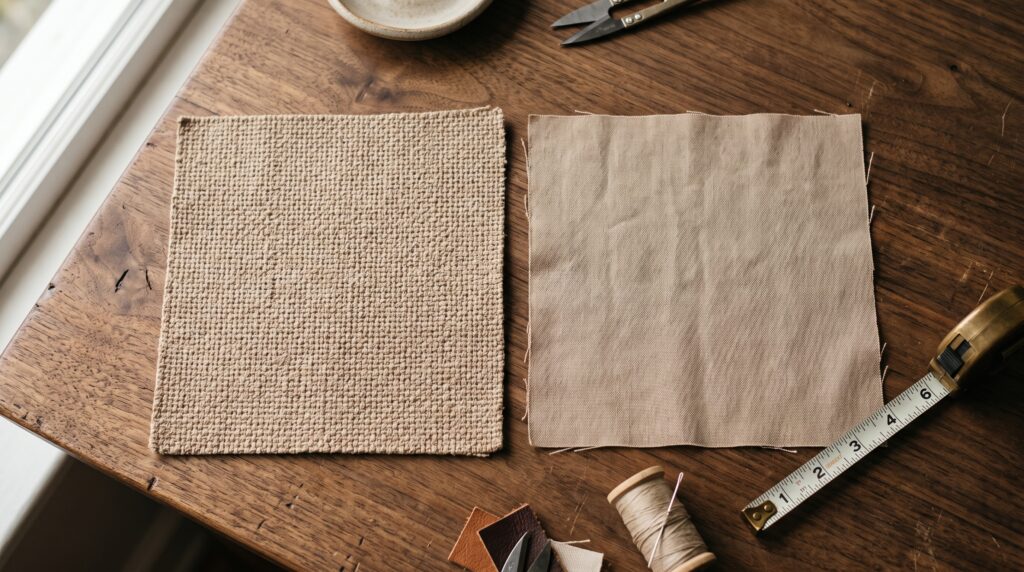
Medium to heavyweight cotton or canvas holds up best for kitchen use, since it needs to withstand regular washing and the occasional splash or spill. Lighter quilting cotton works fine for a decorative or gift apron that won’t see heavy daily wear, but for anything going into regular kitchen rotation, a sturdier weave lasts considerably longer. For general guidance on matching fabric weight to a project’s actual use, the American Sewing Guild is a solid ongoing resource as you take on more projects like this one.
Apron Style Comparison
| Style | Best For | Difficulty |
|---|---|---|
| Straight-line apron (this pattern) | First apron, gifts, everyday kitchen use | Easiest |
| Curved neckline apron | Fitted, polished look | Moderate |
| Cross-back apron | No neck strap, better for long wear | Moderate |
| Full bib apron with pocket panels | Café or workshop use | Advanced |
How to Sew a Straight-Line Apron (Step by Step)
Step 1: Cut Your Fabric
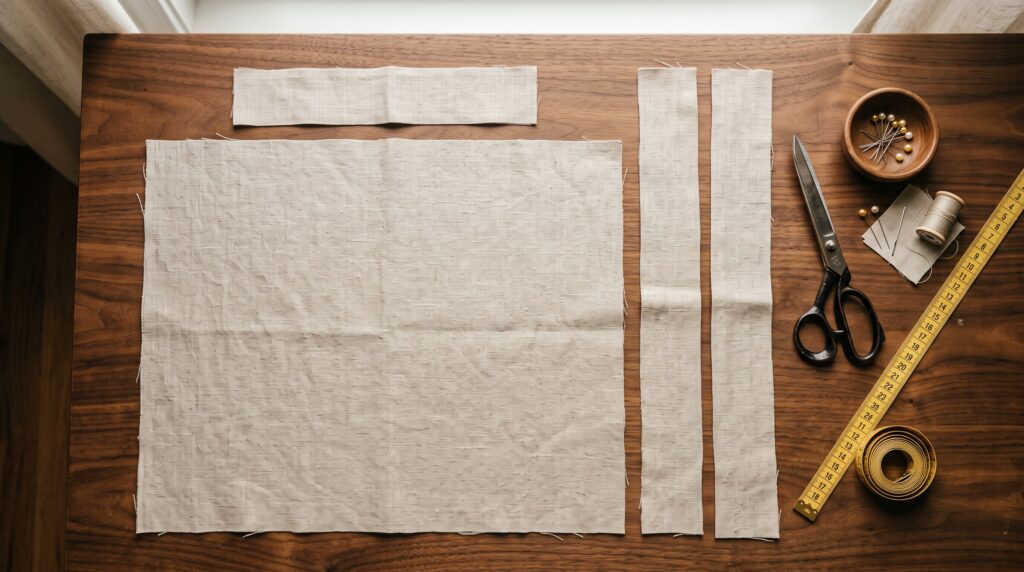
Cut the main body panel at 24 by 28 inches, two neck strap pieces at 3 by 22 inches, and two waist tie pieces at 3 by 30 inches. If adding a pocket, cut an 8 by 8 inch square as well.
Step 2: Hem the Main Body Edges
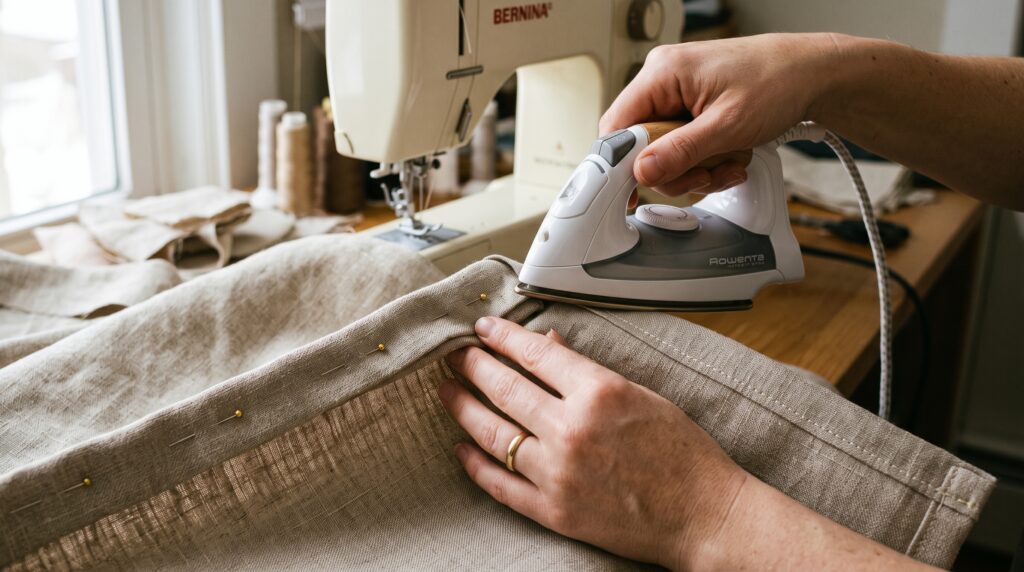
Fold each raw edge of the main body panel under a quarter inch, press, then fold under another quarter inch and press again. Stitch close to the folded edge on all four sides. This clean hem is what gives the finished apron its polished look, even though it’s a straight seam the entire way around.
Step 3: Make the Straps and Ties
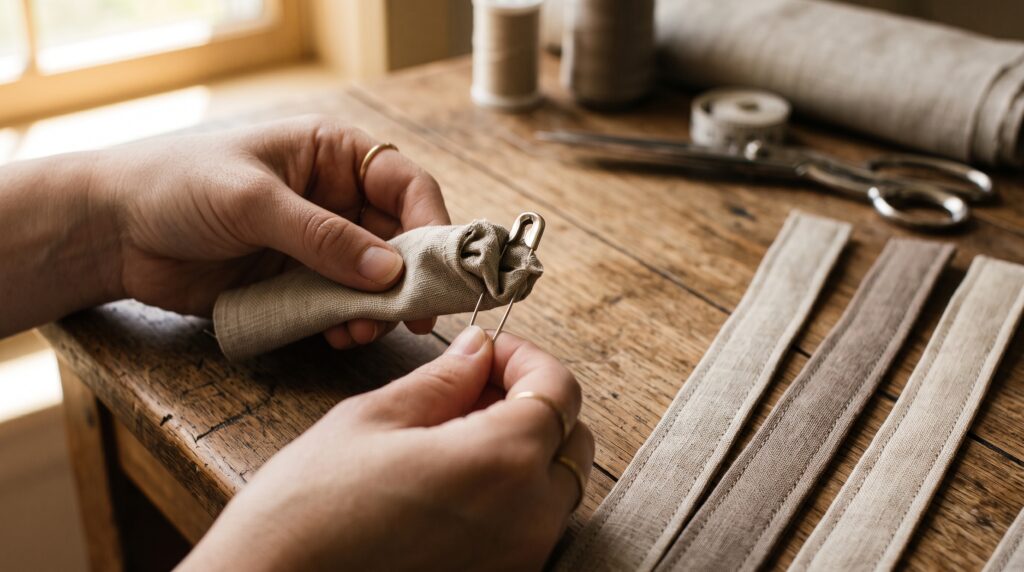
For each strap and tie piece, fold it in half lengthwise with right sides together, stitch down the long open edge, then turn it right side out using a safety pin to guide the fabric through. Press each strip flat once turned, then topstitch close to both long edges for a clean, finished look.
Step 4: Attach the Neck Strap
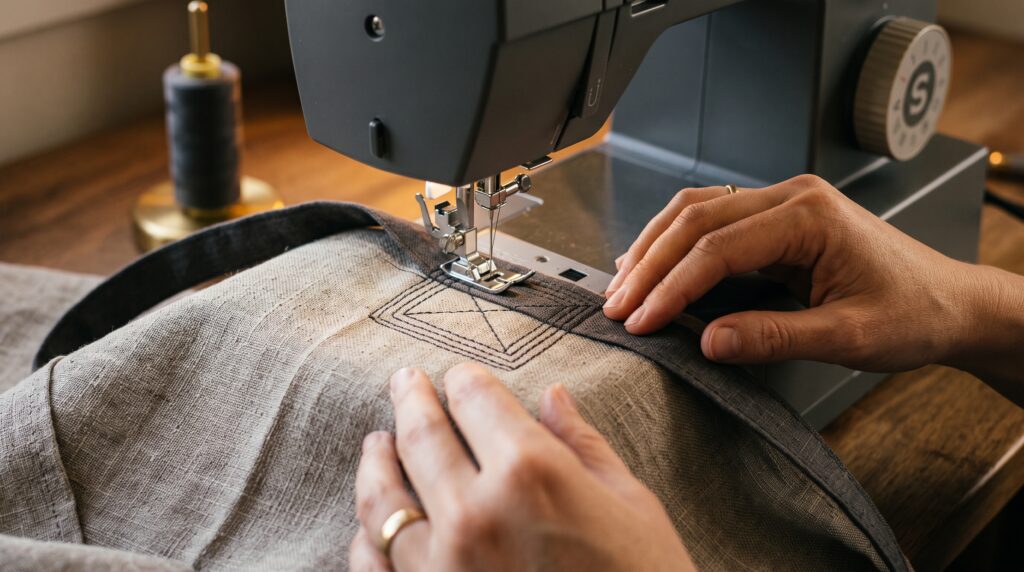
Fold the top corners of the main body panel down slightly to create angled shoulder points, then pin the neck strap ends to the top corners on the wrong side of the fabric. Stitch back and forth a few times over this attachment point to reinforce it, since the neck strap carries weight every time the apron is worn.
Step 5: Attach the Waist Ties
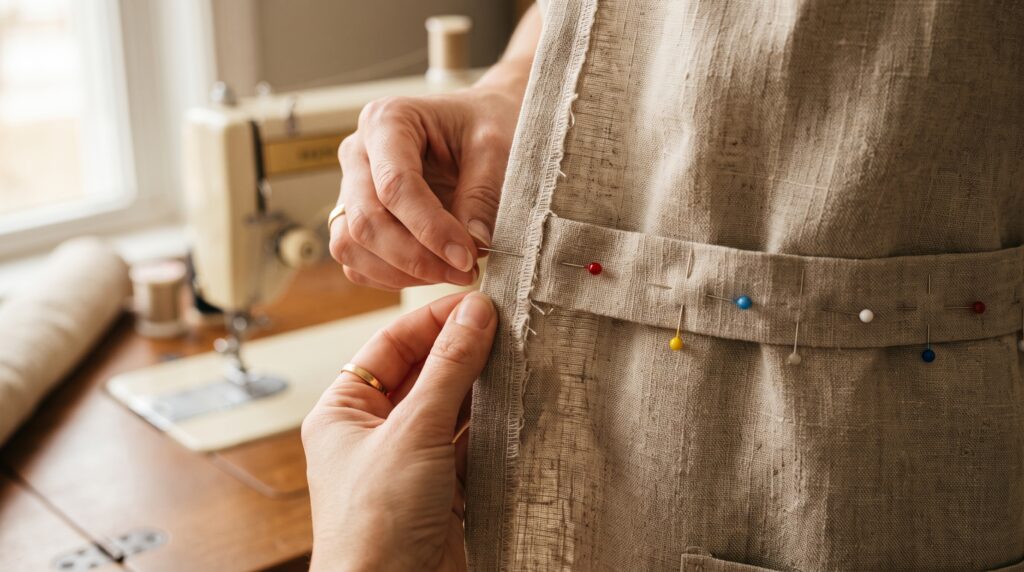
Pin one waist tie to each side seam, roughly at natural waist height on the panel, again attaching on the wrong side of the fabric. Stitch back and forth several times to reinforce this point as well, since the waist ties see regular pulling and tying.
Step 6: Add the Pocket (Optional)
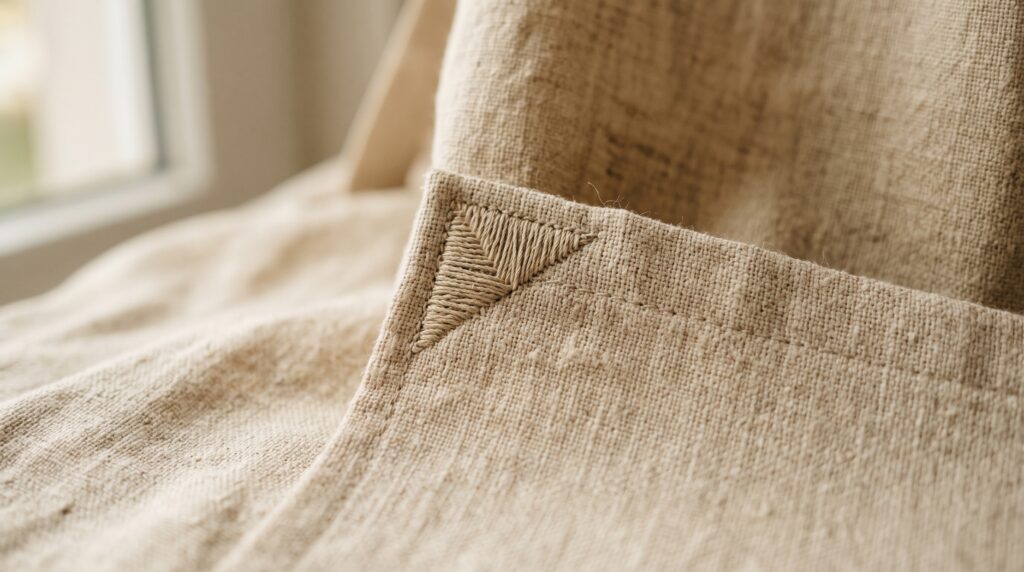
If including a pocket, hem all four edges of the pocket square the same way you hemmed the main panel, then pin it to the front of the apron at a comfortable height. Stitch around three sides, leaving the top open, and backstitch firmly at both top corners since this is where pocket stress concentrates most.
Step 7: Final Press and Inspection
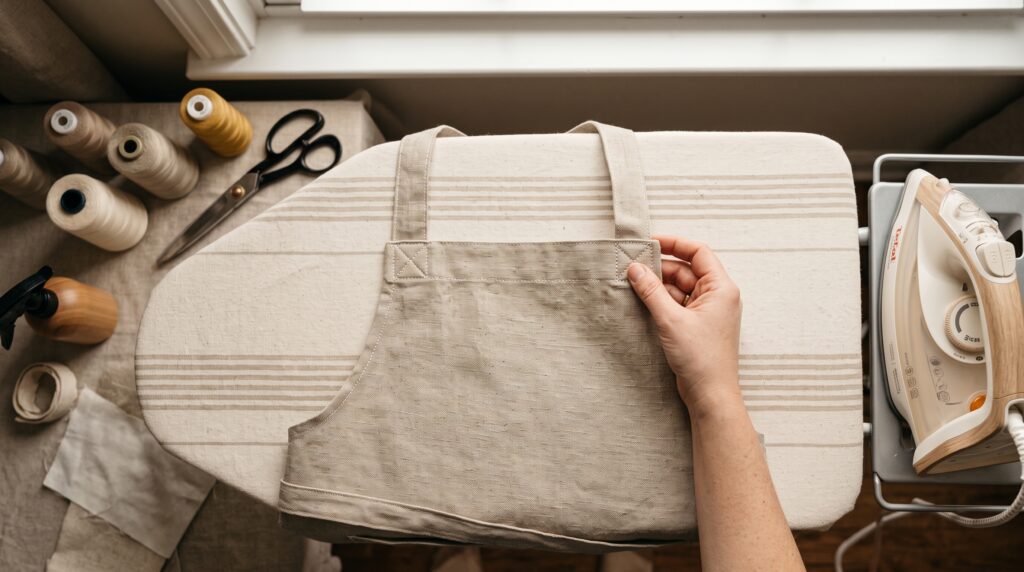
Give the entire apron a final press, checking that all reinforcement stitching at the strap and tie attachment points is solid. These are the spots most likely to need a second pass of stitching before the apron sees regular use.
Common Beginner Mistakes on This Project
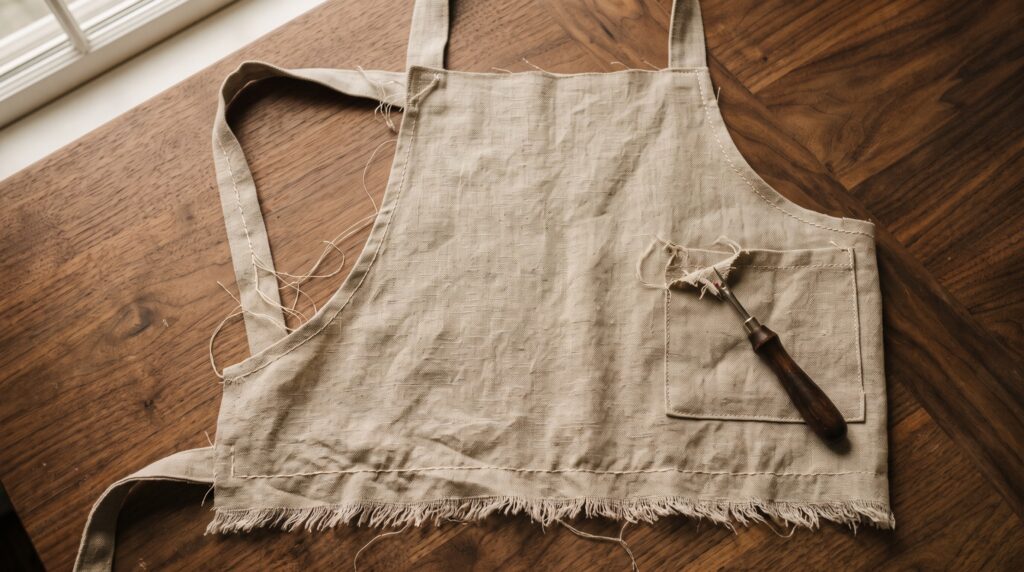
- Attaching straps and ties with only a single line of stitching, which fails under regular pulling within a few uses, and this is exactly what happened to the very first apron I gave away, back at the recipient’s door within a month for a repair
- Skipping the pressing steps, which makes every hem look uneven no matter how straight the stitching is
- Cutting the main panel unevenly, which throws off symmetry that’s hard to correct once sewn
- Using lightweight fabric for a kitchen apron that needs frequent washing, leading to premature wear
- Forgetting to reinforce the pocket corners, which are the first place a pocket tears under weight
Sizing Adjustments for Different Wearers
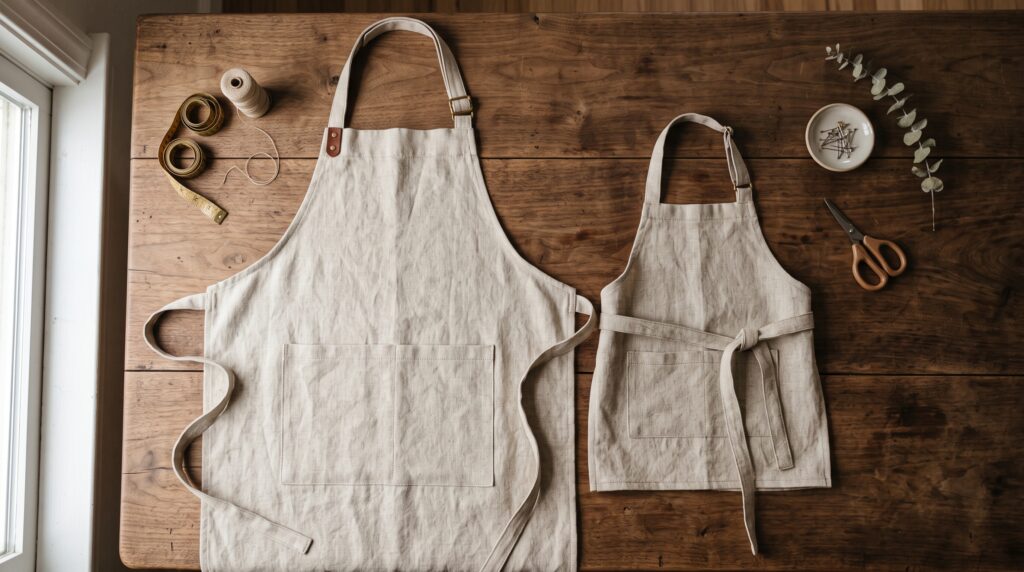
The measurements above suit an average adult frame, but the pattern scales easily. For a child-sized apron, reduce the main panel to roughly 16 by 20 inches and shorten both strap types proportionally. For a taller or broader wearer, add 2 to 3 inches to the body panel’s width and length, and extend the waist ties by a similar amount to ensure a comfortable double-knot at the front.
Frequently Asked Questions
How much fabric do I need for a beginner apron? Roughly 1 yard of 44 to 60 inch wide fabric covers the main body, straps, and ties with some margin for cutting error, even before accounting for a pocket panel.
Can I make this apron without a sewing machine? Yes, though it takes considerably longer by hand. Since every seam is straight, a hand backstitch works fine throughout, making this a reasonable hand-sewing project for someone without machine access.
Do I need to add a pocket, or is it optional? Entirely optional. The apron functions completely without one, and adding a pocket is a straightforward upgrade once you’re comfortable with the base pattern.
Why did my neck strap tear away from the apron after a few uses? This almost always means the attachment point was stitched only once. Reinforcing with several passes of stitching, as described in Step 4, is what allows the strap to hold up under regular wear.
What’s the best fabric weight for a kitchen apron specifically? Medium to heavyweight cotton or canvas holds up best against regular washing and kitchen spills, while lighter cotton is better suited to a decorative or occasional-use apron.
Can I turn this into a cross-back apron instead of a neck-strap style? Yes, and it’s a reasonable upgrade once the basic version feels comfortable. Instead of one strap over the neck, two straps cross at the back and attach to the waist ties, which distributes weight differently and suits longer wear without neck strain.
Once you’re comfortable with straight-line construction, our complete guide to hand and machine sewing covers the next set of techniques worth building on, including the curved seams this pattern intentionally avoids.