You know that plain white t-shirt sitting in your closet that you never wear? Fabric painting might be exactly what it needs. A little paint, a brush, and some patience can turn it into something you actually want to wear.
The good news is you do not need any art background to get started. Thousands of beginners start fabric painting every day with zero experience and end up with results they are genuinely proud of. You just need to know the basics before you pick up that brush.
This guide covers everything from choosing the right fabric to fixing mistakes, shading like a pro, and making your design last through dozens of washes.
What Is Fabric Paint and How Is It Different?
Most beginners assume fabric paint is just regular acrylic paint in a different bottle. That assumption leads to cracked, peeling designs after the first wash.
Regular acrylic paint dries hard and stiff on fabric. It does not flex when you move, so it starts cracking almost immediately. Wash it a couple of times and the design starts flaking off in pieces.
Fabric paint has a textile medium already mixed into the formula. This is what makes it dry soft and flexible. It moves with the fabric when you wear it, stretches without cracking, and bonds permanently to the fibers. Once it is properly set, you can wash it over and over without the design falling apart.
So the short answer is this: fabric paint is made for clothes, regular paint is not. Using the wrong one is the single biggest mistake beginners make and it is completely avoidable.
Best Fabric for Fabric Painting
The fabric you choose matters more than most beginners realize. The same paint on two different fabrics can give you completely different results.
Cotton
Cotton is the best fabric to start with, full stop. It has a tight flat weave that soaks up paint evenly, holds color well, and gives you a smooth surface to work on. Plain cotton t-shirts, canvas tote bags, and cotton bed sheets all work beautifully. If you are just starting out, buy a cheap plain cotton tee and practice on that before you touch anything you care about.
Denim
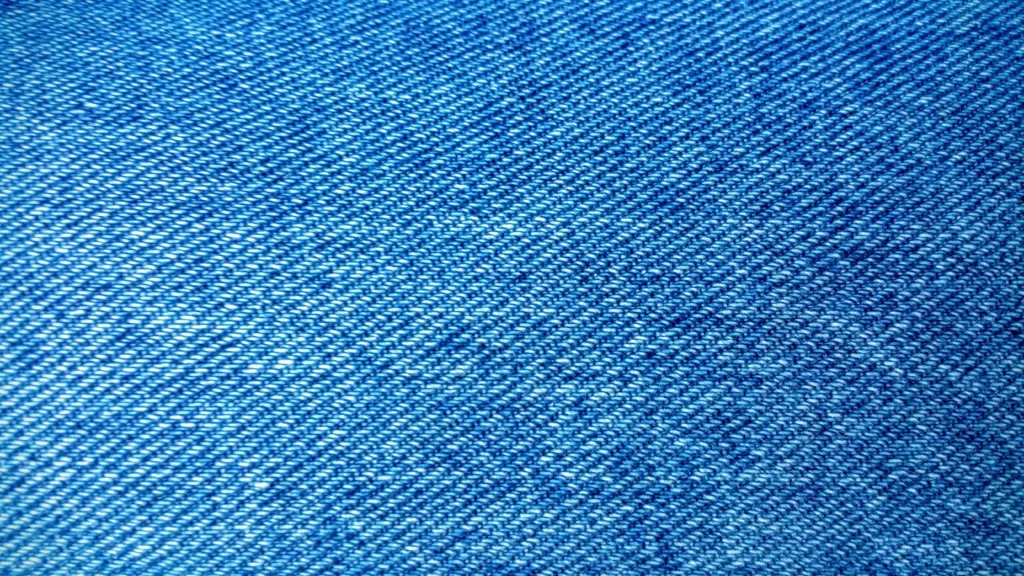
Denim is thick and tough, which makes it perfect for bold graphic designs. Because it does not absorb paint as deeply as cotton, colours sit right on the surface and come out looking vivid and sharp. Just pre-wash your denim before painting and try to avoid painting over areas that stretch a lot like knees or elbows. Paint on stretchy areas tends to crack with wear.
Linen
Linen has a slightly rough, textured weave that gives painted designs a natural, organic quality. It takes paint well and works great for home items like cushion covers, wall hangings, and table runners. The texture adds character to the finished piece.
Polyester and Why to Avoid It
Polyester is a synthetic fabric and fabric paint simply does not bond to it properly. The surface is too smooth and non-porous, so paint sits on top instead of soaking into the fibers. The result is a design that starts peeling after the first wash. If you only have polyester fabric available, look for paint labeled specifically for synthetic fabrics, but even then the results are hit or miss. Whenever you have a choice, go with natural fabrics.
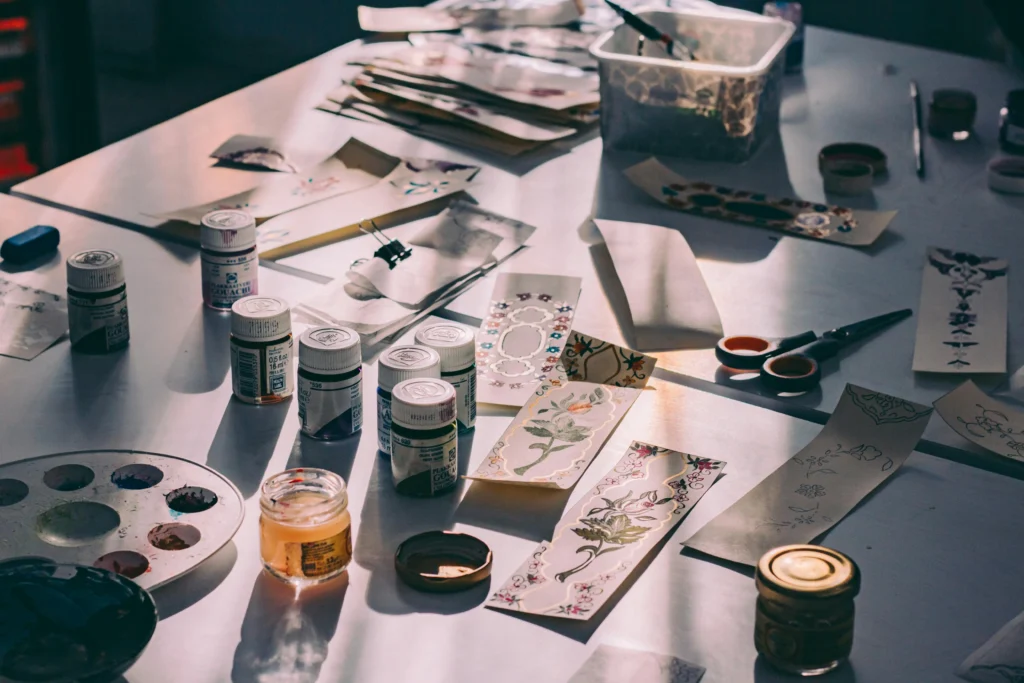
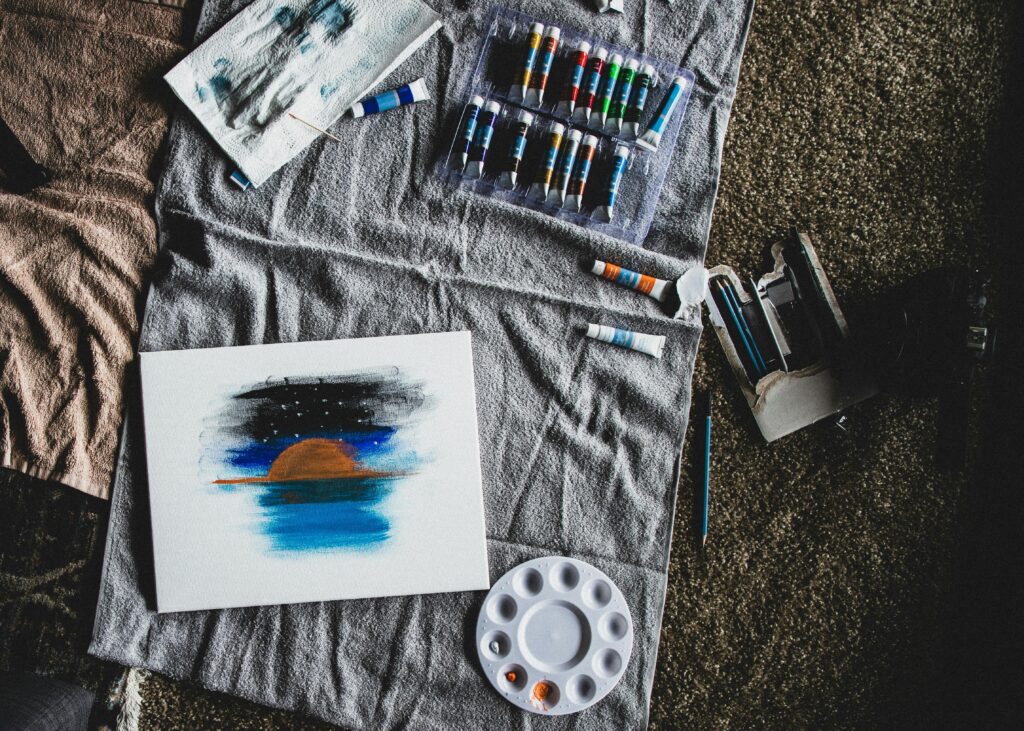
What You Need Before You Start
Fabric Paint Types
There are a few different forms of fabric paint and each one works better for different things:
Regular fabric paint comes in bottles or pots and is what most people start with. It works with brushes and covers large areas well. Puff paint or 3D paint dries raised and textured, which makes it great for outlines and adding dimension to a design. Fabric markers are basically fabric paint inside a pen. They give you much more control for fine lines, small details, and writing. Fabric sticks look like crayons and work well for smooth broad strokes and handwriting-style lettering. And if you only have regular acrylic paint on hand, you can mix it with fabric medium at a 1:1 ratio to make it safe for fabric.
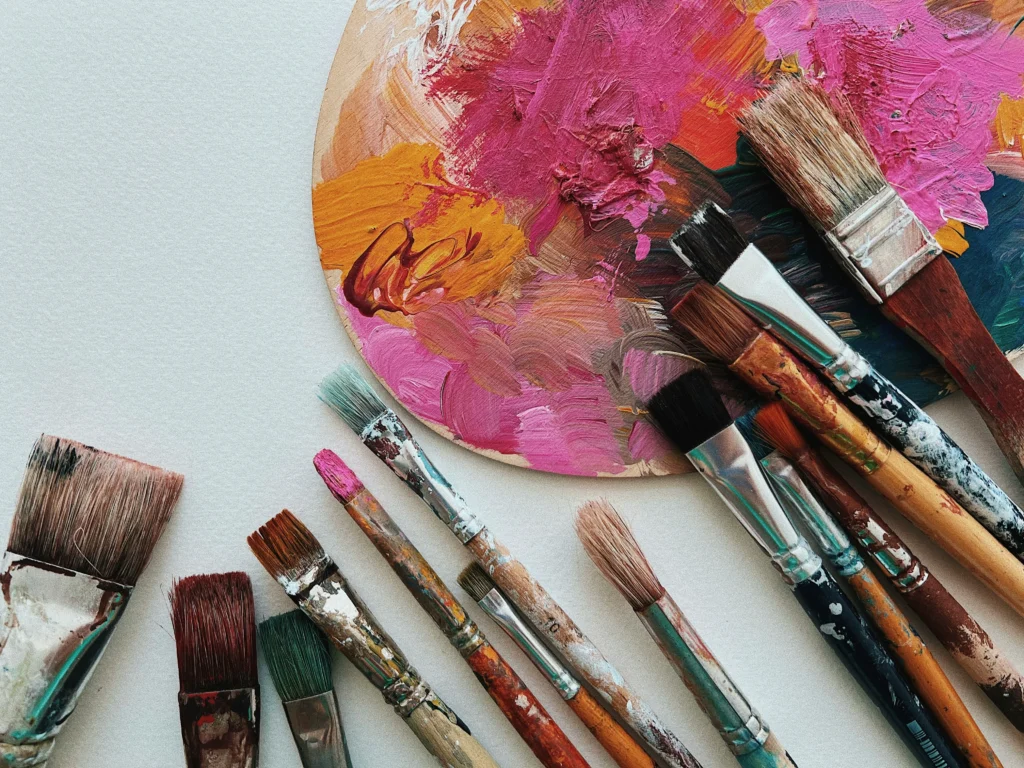
Brushes
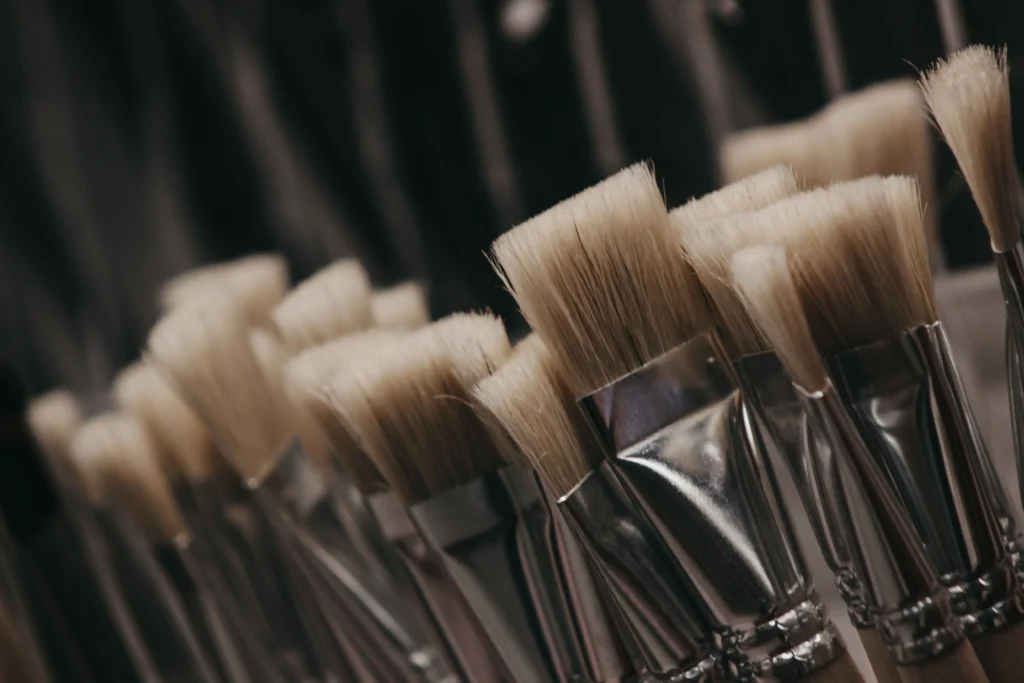
The right brush makes a noticeable difference in how your design turns out. Round tip brushes are good for general painting and filling in shapes. Get one small and one medium. Flat or shader brushes are what you want for shading, blending, and covering large flat areas. Liner brushes, especially size 000, are thin enough for fine lines and outlines. Foam brushes are great for stenciling and covering wide areas quickly without brush marks.
Other Supplies
You will also need cardboard to slip inside garments so paint does not bleed through to the back. A pencil or chalk for sketching your design before you paint. Painter’s tape or masking tape for clean edges. A palette for mixing colors. At least two cups of clean water, one for rinsing brushes and one to keep clean. Old cloth or paper towels for wiping brushes. A plastic sheet to protect your table. An iron and a clean pressing cloth for heat setting after the paint dries.
How to Do Fabric Painting Step by Step
Step 1: Pre-Wash Your Fabric
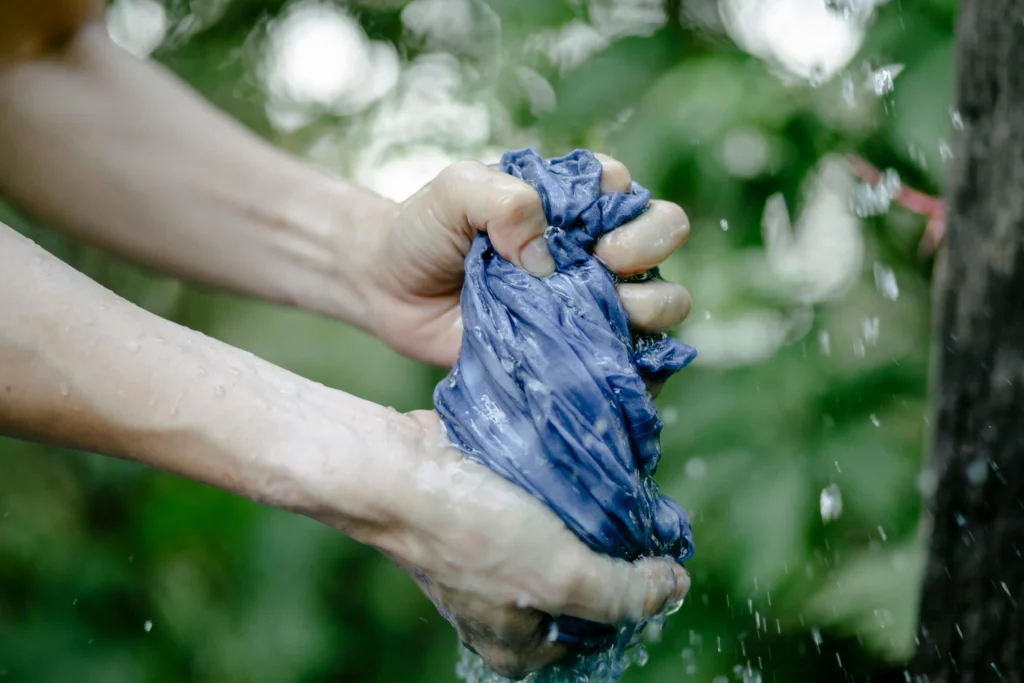
This step is not optional. New fabric straight from a store is coated with sizing, which is a starch-like chemical finish used during manufacturing. If you paint over it, the paint cannot bond properly to the fibers underneath. It will look fine at first and then flake off after washing.
Wash your fabric with regular detergent and skip the fabric softener. Softener leaves a coating on fibers that also blocks paint adhesion. Dry the fabric fully, then iron it flat before you start.
If you are painting on an old garment, just make sure it is clean and has no starch or softener residue from the last wash.
Step 2: Prepare Your Workspace
Work on a flat stable surface and cover it with plastic or old newspaper to protect it from spills. Good lighting matters more than people think. You will be making small careful strokes and poor lighting leads to mistakes you do not notice until the paint dries.
Iron out any wrinkles in your fabric before you start. Wrinkles distort your design as you paint over them and they are very obvious in the final result. Keep all your supplies within arm’s reach before you begin because once your brush has wet paint on it, you do not want to be searching around for your tape.
Step 3: Sketch Your Design
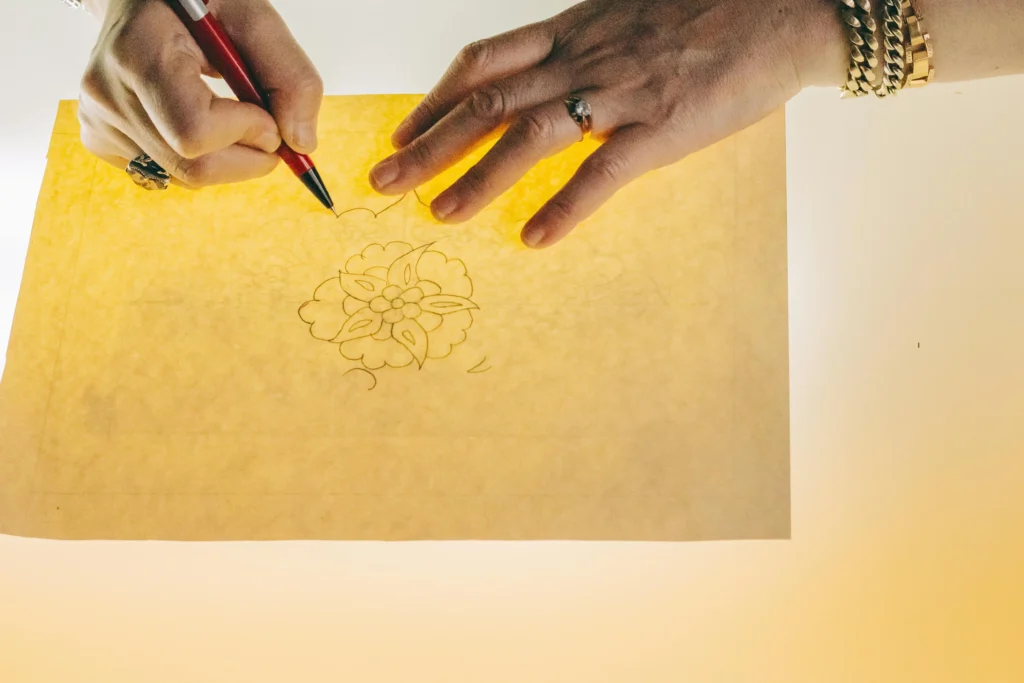
Use a pencil or fabric chalk to lightly draw your design directly onto the fabric. Keep the lines light, just enough to see them and follow along. This sketch is your guide. Even experienced fabric painters sketch before they paint because fixing a pencil line is easy and fixing a painted mistake is not.
If you are using a stencil, tape it firmly to the fabric now with painter’s tape. Press down all the edges so paint cannot sneak underneath and blur the lines.
Step 4: Place Cardboard Inside
Slip a piece of cardboard inside your garment before you touch a brush. This is one of the most important steps and beginners skip it constantly. Without something between the front and back of the fabric, wet paint soaks straight through and ruins the other side.
The cardboard should be slightly larger than your design area to make sure everything is covered. Secure the fabric to the cardboard with pins if it keeps shifting around.
Step 5: How to Apply Fabric Paint
Load your brush with less paint than you think you need. This is probably the most important rule in fabric painting. Too much paint on the brush leads to blobs, uneven coverage, and designs that crack when they dry.
Apply paint in thin even layers and work from the outer edges of your design toward the center. Use smooth brush strokes that follow the direction of the fabric weave. If you want deeper color, let the first layer dry completely and then add a second layer on top. Two thin layers always look better than one thick one.
Start at the top of your design and work downward so your hand never drags across wet paint.
Step 6: How to Shade with Fabric Paint
Shading is what makes a flat design look three-dimensional and almost no beginner tutorial covers it. Once you understand how it works, your fabric paintings will look completely different.
The basic idea is to use three tones of the same color: a dark shade, a midtone, and a light shade. Dark areas appear to go back or sit in shadow. Light areas appear to come forward or catch the light. When you place these tones next to each other and blend them where they meet, the design suddenly has depth.
There are two ways to do this. The first is wet blending, where you apply your base color and then, while it is still wet, pick up a slightly darker shade and place it in the shadow areas. Use a clean flat brush to gently blend where the two colors meet. You have to work quickly before the paint dries. The second method is dry layering, where you let the base color dry completely and then paint darker shadow tones on top, let that dry, and then add lighter highlights. Dry layering takes more time but gives you more control and is easier to get right.
A simple starting rule: edges and areas under other parts of the design get the dark tone, the center of raised or forward-facing areas gets the lightest highlight, and everything in between gets the midtone.
Read More: How Long Does Fabric Paint Take to Dry? (And How to Speed It Up)
Step 7: Let It Dry
Once your design is finished, set it somewhere flat and leave it alone. Do not touch it, fold it, or put anything on top of it.
Most fabric paints need 24 hours to dry completely. The surface might feel dry to the touch after a couple of hours but the paint underneath can still be wet. Moving or folding it too early causes smudges and the fabric can stick to itself. A well-ventilated room speeds up drying time noticeably.
Step 8: Heat Set Your Design
Heat setting is what makes the paint permanent. If you skip this step, your design will slowly wash out over time no matter how carefully you applied it.
Wait for the full 24-hour dry time before you start. Then lay a clean dry pressing cloth or piece of parchment paper over the design. Set your iron to medium heat with no steam. Press firmly and slowly over every part of the painted area for about 30 to 45 seconds per section. Let the fabric cool down before handling it.
Never iron directly on the painted surface. Direct contact between a hot iron and wet or dried paint causes the paint to stick to the iron and smear across your design.
If you are working with fabric that should not be ironed, like leather or heavily textured material, use a hair dryer on high heat instead. Hold it close to the surface and work over the entire painted area for about 30 minutes.
Step 9: Wash Your Painted Fabric
Even after heat setting, the paint needs more time to fully cure inside the fibers. Wait at least 4 to 5 days after heat setting before you wash the garment for the first time.
When you do wash it, turn it inside out, use cold water, run it on a gentle cycle with mild detergent, and skip the fabric softener. Air dry rather than putting it in the dryer. Machine dryer heat breaks down paint over time and causes it to crack and fade faster than it should.
Fabric Painting Techniques for Beginners
Freehand Painting
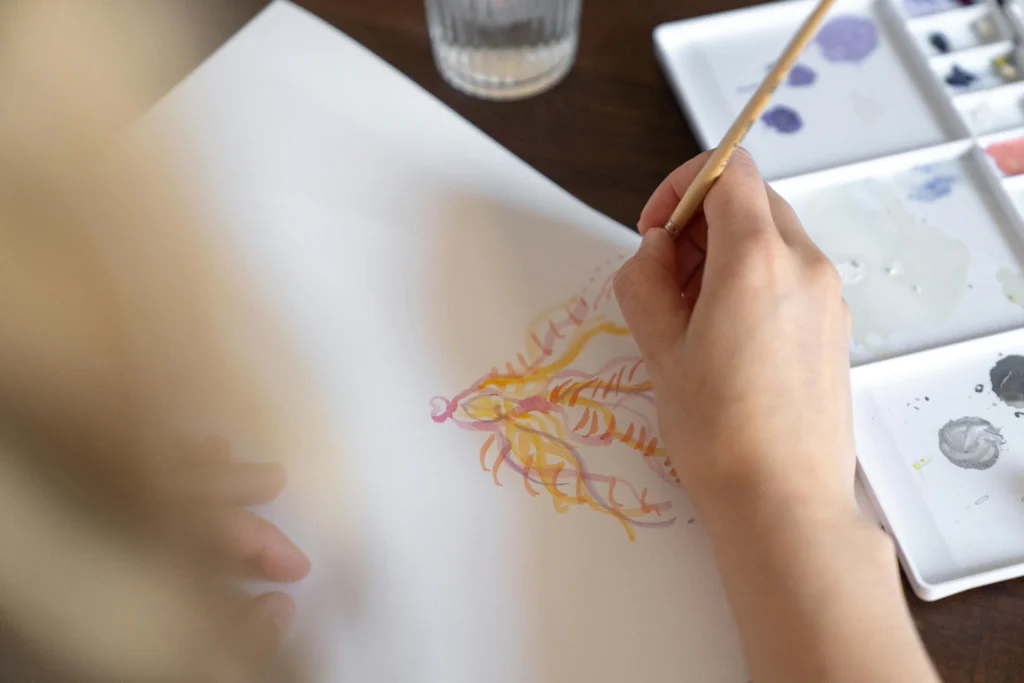
Freehand means painting directly on the fabric without any template. It is the most expressive way to work and also the most intimidating for beginners. Start simple. Flowers, leaves, simple shapes, and basic geometric patterns are all achievable for a first attempt. Sketch lightly in pencil first, use your liner brush for outlines, and fill in with your round brushes. The more you practice the more natural it feels.
Read More: 7 Fabric Painting Ideas That Look Expensive (But Are Surprisingly Easy)
Stenciling
Stenciling is the easiest technique to get clean, sharp results with. Cut a shape from cardboard, watercolor paper, or thin plastic, or pick up pre-made stencils from any craft store. Tape the stencil flat against the fabric with no gaps along the edges. Use a foam brush or flat brush to dab paint inside the stencil openings using an up-and-down stippling motion rather than side-to-side strokes. Stippling prevents paint from slipping under the edges. Peel the stencil off carefully while the paint is slightly wet for the cleanest edges.
Stamping
Stamping is great for repeating patterns and is really satisfying once you get the hang of it. You can buy rubber stamps, cut shapes from foam sheets, or even use vegetables. A halved potato or carrot pressed into paint makes a surprisingly clean stamp. Apply paint to the stamp with a sponge for even coverage, press it firmly onto the fabric, and lift straight up without sliding. Try it on paper a few times first to figure out how much paint gives the best result.
Tie Dye
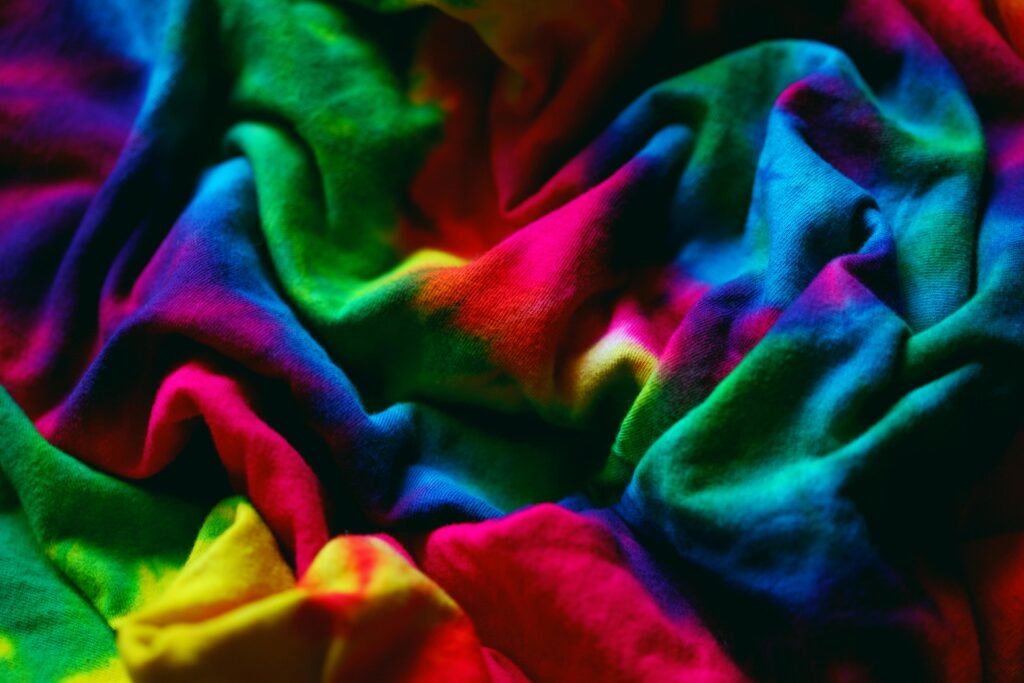
Tie dye uses diluted fabric dye or transparent fabric paint rather than standard opaque fabric paint. Fold, twist, or scrunch the fabric and hold the shape with rubber bands. Apply different colors of diluted paint or dye to different sections, wrap the whole thing in plastic, and leave it for several hours. Rinse it out, remove the rubber bands, and wash. The patterns are always a surprise, which is half the fun.
How to Paint on Colored Fabric
Painting on dark or colored fabric is one of the trickiest parts of fabric painting and most guides barely touch it.
The problem is that when you apply paint directly to dark fabric, the fabric color bleeds through and makes your paint look dull or barely visible. You can put coat after coat of red paint on black fabric and it still looks more brown than red.
The fix is a white base layer. Before you paint your actual design, cover the design area with a solid layer of white fabric paint and let it dry completely. Then paint your design on top of the white. The white blocks the dark fabric underneath and lets your colors appear the way they actually look on the palette.
For very dark fabrics like black or navy, you may need two coats of white before the colors sit properly. Use opaque fabric paints rather than transparent ones for the best coverage. Keep a tube of white nearby while you work and mix a little into colors that start looking transparent or washed out.
How to Use Acrylic Paint on Fabric
Regular acrylic paint works on fabric but only if you add fabric medium first. Without it, the acrylic dries hard and stiff, and cracks after a few washes. With fabric medium mixed in, it becomes flexible and behaves almost exactly like commercial fabric paint.
Mix fabric medium and acrylic paint together at a 1:1 ratio and stir thoroughly. The combined mixture should feel similar to regular fabric paint in terms of consistency.
Do not use water to thin acrylic paint for fabric painting. Water weakens the bond between paint and fibers and causes the colors to bleed into areas you do not want. If you need to thin the paint, always use fabric medium instead.
For a watercolor style transparent effect, use a higher ratio of medium, around 5 parts medium to 1 part paint. For a matte finish, add matte medium to the mix. Apply, dry, and heat set acrylic-plus-fabric-medium exactly the same way as regular fabric paint.
One advantage of using acrylics this way is access to a much wider color range. Artist-quality acrylic paints come in hundreds of colors, which gives you far more options than most fabric paint sets.
Read More: How to Use Fabric Paint: A Complete Beginner’s Guide
How to Remove Fabric Paint Mistakes
Everyone makes mistakes, especially when starting out. How bad the damage is depends entirely on how quickly you catch it.
If the paint is still wet, act right away. Blot the area gently with a damp cloth to lift as much paint as possible. Do not rub because rubbing spreads the paint further into the fibers. After blotting, gently scrub with a small amount of dish soap and water, then rinse thoroughly.
If the paint has partially dried, use a palette knife or old credit card to scrape off the surface layer first. Then apply isopropyl alcohol to the area with a cloth and scrub with a soft bristle brush. Machine wash on cold immediately afterward.
If the paint is fully dry and heat-set, removing it completely is very difficult because it was designed to be permanent. You can try repeated applications of isopropyl alcohol with firm scrubbing. On lighter fabrics, a small amount of bleach tested on a hidden spot first may remove it, but bleach can also change the fabric color, so test carefully before committing.
The best approach is prevention. Keep a damp cloth next to you as you work, use thin paint layers so any mistake is small, and sketch your design before painting so you are not guessing as you go.
Tips for Long-Lasting Results
Always pre-wash fabric before painting to remove sizing and any chemical finishes. Use thin layers of paint rather than thick ones because thin layers flex with the fabric instead of cracking. Let each layer dry completely before adding the next. Never skip heat setting even if the paint brand says it is optional. Wait at least 4 to 5 days after heat setting before washing the garment for the first time. Wash inside out on a cold gentle cycle. Air dry instead of machine drying. Hand wash when you can because it is the gentlest option. And when storing painted garments, avoid tight folds over the painted area because repeated folding at the same crease causes cracking over time.
Frequently Asked Questions
Can I use regular acrylic paint on fabric?
Yes but you need to mix it with fabric medium first at a 1:1 ratio. Without fabric medium, acrylic dries hard and cracks after washing. With fabric medium mixed in, it becomes flexible and durable and works just like commercial fabric paint.
What is the best fabric for beginners?
100% cotton is the easiest to start with. It absorbs paint evenly, holds color well, and gives you a smooth surface. A plain cotton t-shirt or canvas tote bag is the perfect first project.
How long does fabric paint take to dry?
The surface feels dry within 1 to 2 hours but the paint needs a full 24 hours to dry all the way through before heat setting. Thick applications or humid weather can make it take longer. Always wait the full time.
Can I paint on dark fabric?
Yes, but you need to apply a white base layer over the design area first. Paint it white, let it dry completely, then paint your design on top. This stops the dark fabric from showing through and muting your colors.
How do I make fabric painting last longer?
Heat set the design properly, wait 4 to 5 days before the first wash, wash inside out on cold gentle cycles, and air dry. Avoid fabric softener, bleach, and hot dryer cycles on painted clothing.
You do not need to be an artist to get good results with fabric painting. You just need the right materials, a little patience, and the willingness to practice. Start simple, follow the steps, and your first design might surprise you.
Pingback: Acrylic Painting on Fabric: Transforming Textiles into Permanent Art Acrylic Painting on Fabric
Pingback: 10 Fabric Painting Ideas You Never Knew You Were Missing - Brush & Thread