You bought fabric paint. Now what?
Most people open their first bottle and immediately freeze. Do you use it straight from the bottle? Do you water it down? What brush do you use? And how do you make sure it actually stays on the fabric after washing?
This guide walks you through the whole process from start to finish. No fluff, just what actually works.
What You Need Before You Start
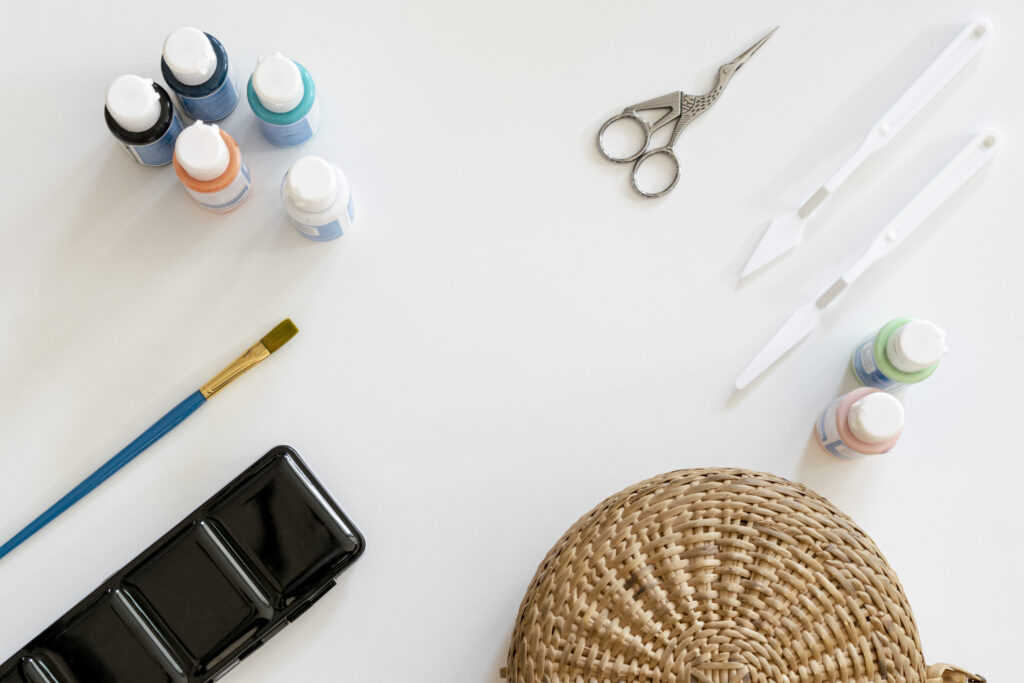
You do not need much to get started. Here is the basic list:
- Fabric paint (any beginner brand works)
- Paint brushes in flat and round sizes
- A plain fabric item like a shirt, tote bag, or canvas shoes
- Cardboard or wax paper to place inside the fabric
- Chalk or a light pencil for sketching
- A cup of water for rinsing brushes
- Paper towels for blotting
That is it. Resist the urge to buy everything at once.
Step 1: Pick the Right Fabric
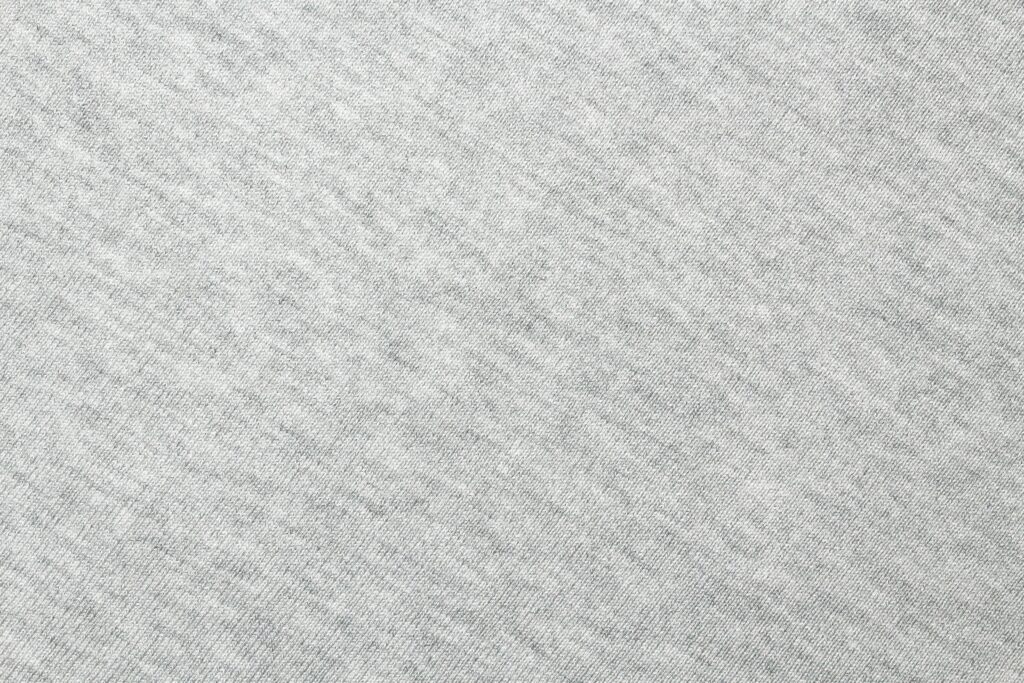
Some fabrics take paint beautifully. Others fight it the whole way.
Good choices for beginners:
- 100% cotton: absorbs paint well, smooth finish, very forgiving
- Cotton linen blend: gives a slightly textured, handmade look
- Canvas: ideal for tote bags and shoes
Fabrics to skip for now:
- Silk: too slippery, paint spreads before you can control it
- Polyester: paint sits on top instead of absorbing in
- Stretchy knit fabrics: dried paint tends to crack when the fabric moves
One more thing before you start painting. Wash and dry your fabric first. There is often a factory coating on new fabric that stops paint from sticking. A quick wash removes it.
Step 2: Prepare Before You Paint
Two things to do before your brush touches the fabric.
First, slide cardboard or wax paper inside your item. If it is a shirt, put it between the front and back layers. This is the step most beginners skip and then regret when paint bleeds through to the other side.
Second, sketch your design lightly with chalk or pencil. Chalk disappears after washing so you do not need to worry about it showing through. Even a rough outline makes the painting process much easier and less stressful.
Step 3: Apply the Paint
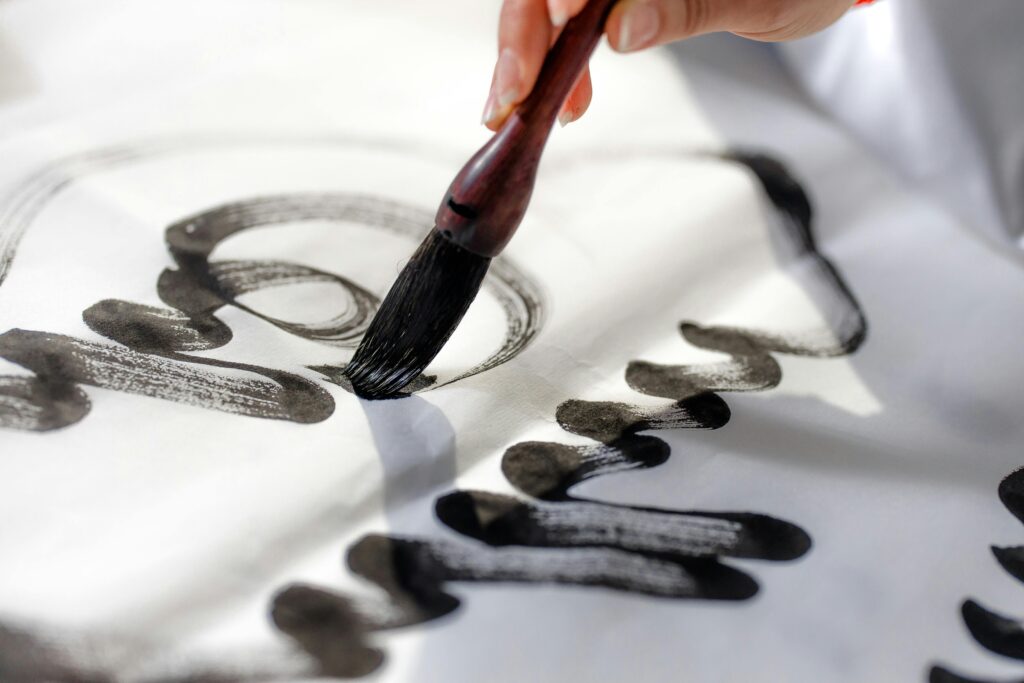
This is where most beginners go wrong. They load the brush and apply too much at once.
The trick is thin layers. Dip your brush, then blot it once on a paper towel. You want just enough paint to leave a mark, not a puddle.
Apply your first layer lightly. Let it dry for about 10 to 15 minutes, then apply a second layer on top. Two thin layers always look cleaner and more even than one heavy layer.
Use a flat brush for filling in large areas. Use a thin round brush for outlines and fine details.
If you need to thin the paint slightly, add a tiny drop of water. Just a drop. Too much water makes the paint runny and hard to control.
Step 4: Fix Mistakes Before They Dry
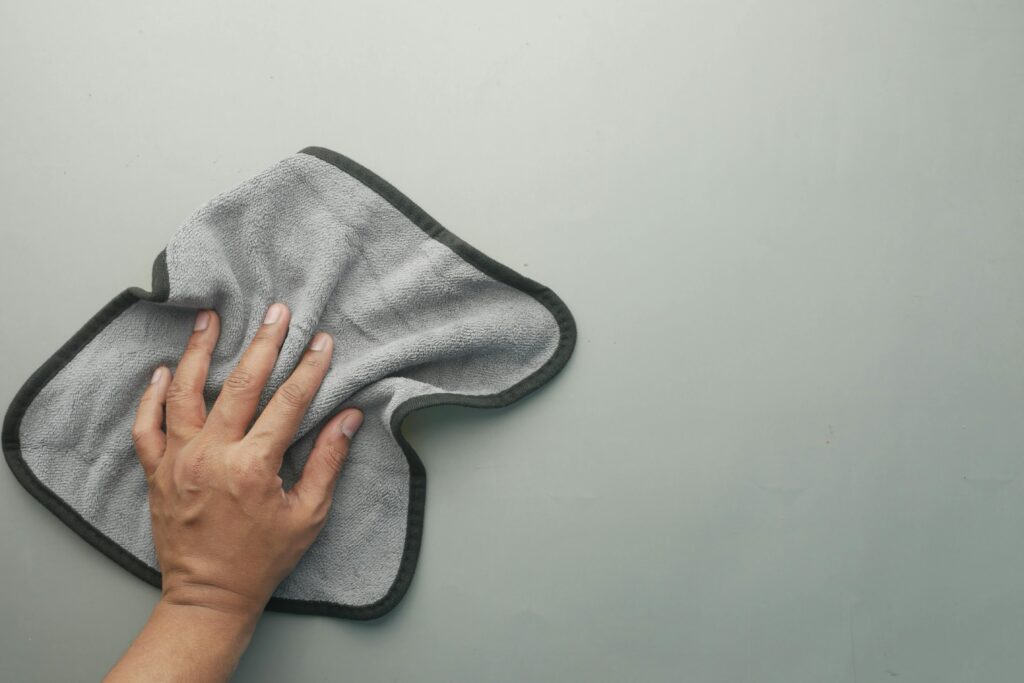
Made a mistake? You have a short window to fix it.
While the paint is still wet, blot it gently with a damp cloth. Most fabric paints lift cleanly while wet. Once dry they are much harder to remove.
If the paint has already dried, the easiest fix is to paint over it with the correct color once the area is fully dry. Wait, then repaint.
For a thin line that went wrong, use a very fine brush with the base fabric color to paint over the error.
Read More: 7 fabric painting ideas that look expensive
Step 5: Let It Dry Fully
Do not rush this step.
Leave your painted piece flat for at least 24 hours. Do not fold it, hang it, or stack anything on top of it while it is drying. If you seal it too early the paint can smudge or crack later.
A well ventilated room speeds up drying without damaging the paint.
Step 6: Heat Set the Design
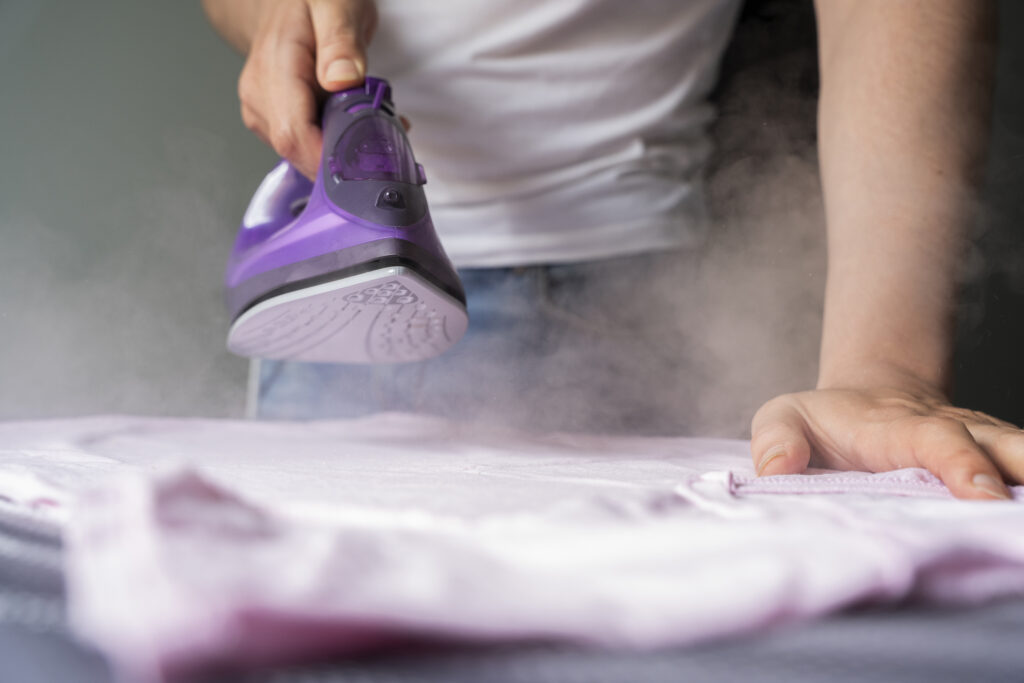
This step is what makes your design permanent. Skip it and the paint will fade or wash off no matter how carefully you wash.
Once the paint is completely dry, lay a thin cloth or parchment paper over your design. Press a dry iron on medium heat firmly over the painted area for 3 to 5 minutes. Keep the iron moving slowly so you cover the whole design.
No steam. Dry heat only.
This bonds the paint to the fabric fibers and makes it washable.
Step 7: Wash It the Right Way

Wait at least 72 hours after heat setting before the first wash.
When you do wash it:
- Turn the item inside out
- Cold water only
- Gentle cycle
- Air dry flat, skip the dryer
Do this every time and your design will stay sharp for years.
Mistakes That Ruin Most First Projects
These are the ones that catch almost every beginner:
Skipping the pre-wash. The paint will not stick to fabric that still has a factory coating on it.
Applying too much paint at once. One thick layer always looks worse than two thin ones.
Forgetting the cardboard inside. Paint will bleed straight through without it.
Not waiting long enough to dry. Patience here saves the whole project.
Skipping heat setting. The most skipped step and the one that matters most.
Two Fabric Paints Worth Starting With
If you are unsure what to buy, these two are reliable and easy to find:
Tulip fabric paint works well on cotton, comes in a wide range of colors, and is available almost everywhere. It is a solid first choice.
Arteza fabric paint has a smooth consistency that is easy to control and blends well. The colors stay vibrant after washing.
Both are on Amazon and will not break the budget.
Start Small
Pick one plain tote bag or an old white shirt. Follow these steps once and you will see how straightforward it actually is. Most people are surprised by how clean their first project turns out when they just slow down and use thin layers.
Want a free set of beginner fabric painting patterns to practice with? Download them below and start today.
Questions? Drop them in the comments below.
Pingback: how to sew clothes even if you're a complete beginner
Pingback: How Long Does Fabric Paint Take to Dry? And How to Speed It Up
Pingback: How to Use Fabric Paint on Clothes