
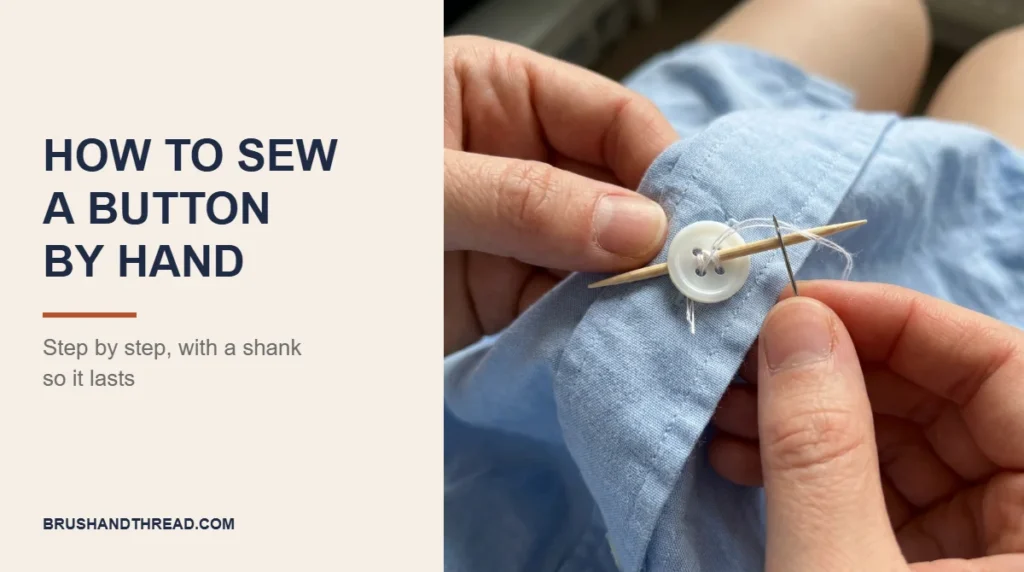
Sewing a button back on is the first hand sewing job most people ever need, and it takes about ten minutes once you know the steps. A button sewn on properly sits at the right height, lines up with its buttonhole and stays put for years. A rushed one either hangs loose after a week or pulls so tight that the fabric puckers around it.
This guide covers flat buttons with two or four holes, shank buttons, and heavier buttons on coats. If hand sewing is new to you, our complete guide to hand and machine sewing explains needles, thread and basic stitches.
This post contains affiliate links. As an Amazon Associate I earn from qualifying purchases, at no extra cost to you.
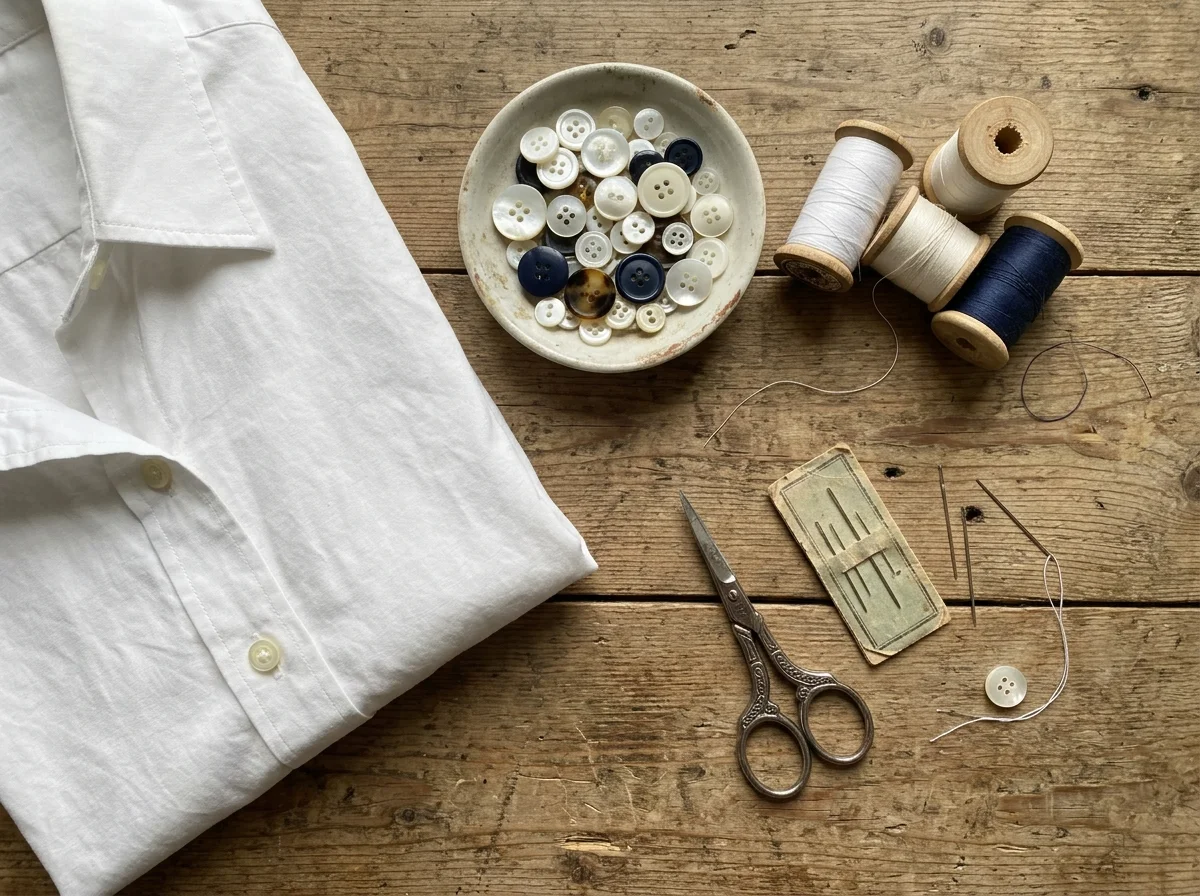
What You Need
You probably have most of this already. For shirts and light clothing, regular all-purpose thread is fine. For coats, jeans and bags, a stronger thread such as button thread holds up much better under strain.
- The button, or a matching replacement
- Thread in a color that matches the button or the fabric
- A hand sewing needle small enough to pass through the button holes
- A toothpick, matchstick or straight pin to use as a spacer
- Scissors
- A fabric pen or chalk to mark the spot
Cut a piece of thread about as long as your arm, from fingertips to elbow is plenty for one button. Longer thread tangles and knots on itself while you sew.
Step 1: Thread the Needle and Mark the Spot
Push the thread through the eye of the needle and pull it through until both ends are even. Knot the two ends together. Sewing with a double strand means fewer passes and a stronger hold, which is ideal for buttons.
If you are replacing a lost button, look for the old holes or the tiny tufts of leftover thread. That is exactly where it should go. If there are no marks, button up the garment, push a pin through the buttonhole into the fabric underneath, and mark that point with a dot of chalk.
Step 2: Anchor the Thread
Start from the back of the fabric so the knot is hidden. Push the needle up through the mark and pull until the knot sits against the fabric. Take one tiny stitch on the spot, then another across it. These small stitches anchor the thread so the knot cannot pull through.
Step 3: Sew Through the Holes With a Spacer
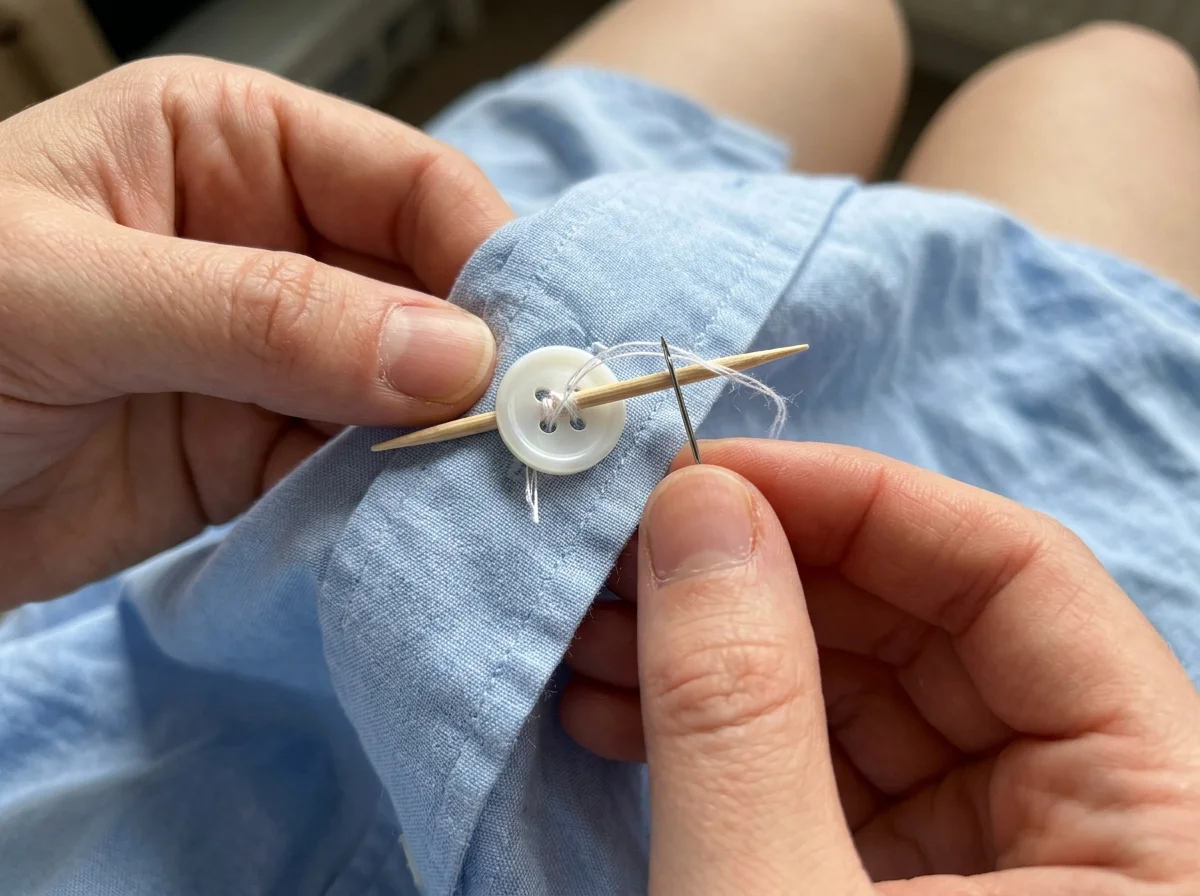
Slide the button onto the needle through one hole and let it drop down the thread onto the fabric. Lay a toothpick or pin across the top of the button, between the holes. Push the needle down through the opposite hole, over the toothpick, and through the fabric.
Repeat this up and down movement about six to eight times. On a four-hole button you can sew two parallel bars or make an X, whichever matches the other buttons on the garment. Keep the stitches snug but not tight.
The toothpick is the step most people skip, and it is why their buttons are hard to fasten. It leaves a little slack in the thread so the button can sit on top of the buttonhole fabric instead of being pulled flat against the garment.
Step 4: Make a Thread Shank
Pull out the toothpick. The button will now lift slightly away from the fabric. Bring the needle up through the fabric under the button, but not through a hole, and wrap the thread around the stitches between button and fabric five or six times. This wrapped column is the shank.
A shank gives the buttonhole room to sit underneath the button and spreads the strain, so the thread does not wear through as quickly. Thicker fabrics such as coats need a slightly longer shank, which you get by using a thicker spacer, like a matchstick.
Step 5: Tie Off on the Back
Push the needle down to the back of the fabric. Take two or three tiny stitches through the threads on the back, and each time pass the needle through the loop before pulling tight to form a knot. Trim the thread close to the knot.
If you want extra security, dab a very small amount of clear fabric glue or seam sealant on the knot. This is optional, but helpful on children’s clothes and coats that get a lot of wear.
Shank Buttons and Heavy Coat Buttons
Shank buttons have a loop on the back instead of holes through the front. They already have their own shank, so you do not need a spacer. Stitch through the loop and the fabric about six to eight times, keeping the loop lined up with the buttonhole, then tie off on the back.
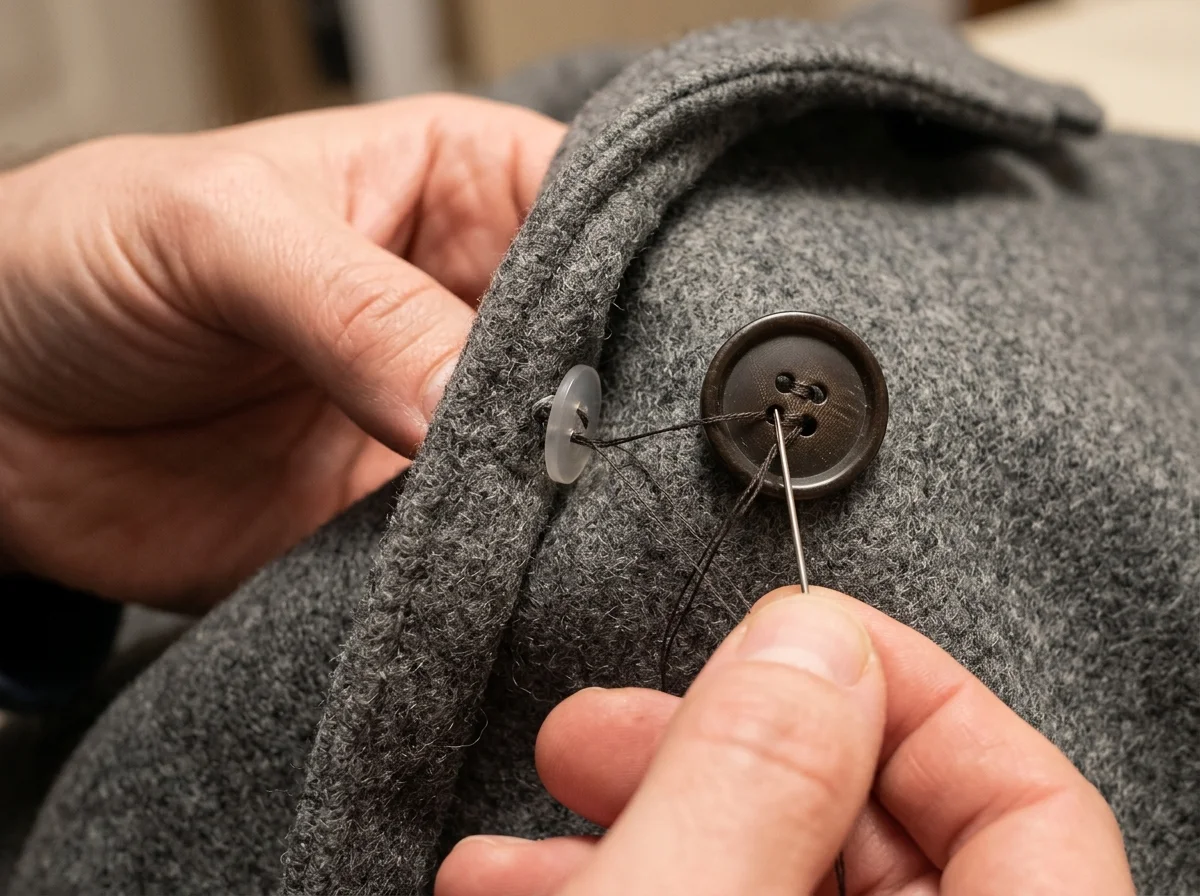
Heavy buttons on coats and jackets pull hard on thin fabric. Sew a small, flat backing button on the inside of the garment directly behind the main button, and stitch through both at the same time. The backing button takes the strain and stops the fabric from tearing. You can read more about button types in this overview of buttons.
| Button type | Thread | Spacer | Tip |
|---|---|---|---|
| Flat 2 or 4 hole, shirts | All-purpose thread, doubled | Pin or toothpick | Match the stitch pattern of the other buttons |
| Flat button, coats and jeans | Strong button thread | Matchstick | Add a backing button on the inside |
| Shank button | All-purpose or button thread | Not needed | Keep the loop in line with the buttonhole |
Common Mistakes to Avoid
Pulling the stitches too tight is the most common mistake. The button sits flat against the fabric, the buttonhole cannot slide underneath, and the thread wears through quickly. Always use a spacer for flat buttons.
Using thread that is too long or too weak is the second. Long thread tangles and slows you down, and fine thread on a coat will snap. Use an arm’s length of thread and a strong thread where the button takes strain. If you find yourself sewing often, our guide on how to sew clothes as a complete beginner is a good next step.
Once your button is on, learn the other everyday repair stitches in our guide to basic hand sewing stitches.
Frequently Asked Questions
How many times should you sew through a button?
About six to eight passes through each pair of holes is enough for most clothing when you use a double strand of thread. Coats and heavy buttons can take a few more.
Why do you put a pin or toothpick on top of a button?
It acts as a spacer and leaves slack in the thread. After you remove it, you wrap that slack into a shank, so the button sits above the fabric and fastens easily.
What thread is best for sewing on buttons?
All-purpose polyester thread works for shirts and light clothes. For coats, jeans and bags, use a stronger button or upholstery thread.
Should I use a single or double thread?
Double thread is usual for buttons because it is stronger and needs fewer passes. Single thread is fine for very small or delicate buttons.
The Bottom Line
Sewing a button by hand comes down to a double strand of thread, a spacer while you stitch, a wrapped shank and a secure knot on the back. Take your time on the shank, because it is what makes the button easy to fasten and long lasting. Once you have done one, every other button on your mending pile will take only a few minutes.