
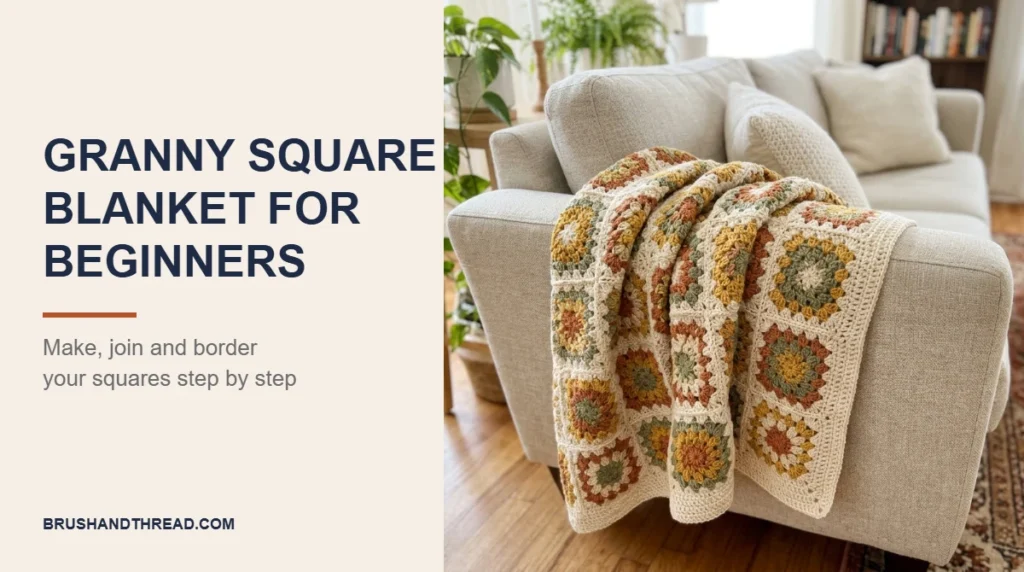
A granny square blanket is one of the best first big projects in crochet. You only need three basic stitches, every square is small enough to finish in one sitting, and mistakes stay contained in one square instead of ruining a whole blanket. Once the squares pile up, joining them turns a stack of little pieces into something you will use for years.
This guide is a technique guide rather than a fixed pattern. It shows you how to make the classic square, how to plan any blanket size with simple math, and how to join and border it neatly. If you have never held a hook before, start with our complete crochet starter guide and come back once you can chain and double crochet.
This post contains affiliate links. As an Amazon Associate I earn from qualifying purchases, at no extra cost to you.
What You Need Before You Start
Granny squares are forgiving, so you do not need special supplies. A smooth, light-colored yarn makes it much easier to see your stitches while you learn. Most beginners do well with a soft worsted weight acrylic yarn, which is affordable, comes in many colors and survives the washing machine.
- Worsted weight yarn (weight 4) in two to four colors you like together
- A 5 mm (US H-8) crochet hook, or the size on your yarn label
- A blunt yarn needle for weaving in ends and joining
- Scissors and a few stitch markers
- A tape measure
The Craft Yarn Council yarn weight system explains the numbers on yarn labels, so you can swap brands without changing the size of your squares too much.
Granny Square Blanket Spec Box
- Skill level: Beginner
- Yarn: Worsted weight (4), smooth acrylic or cotton blend
- Hook: 5 mm (US H-8)
- Stitches: chain (ch), slip stitch (sl st), double crochet (dc), US terms
- Square: classic granny, 3 dc clusters with ch 2 corners
- Joining: whip stitch or slip stitch join
- Border: 2 to 3 rounds of dc
- Yarn amount: weigh one finished square and use the formula below
The Classic Granny Square, Round by Round
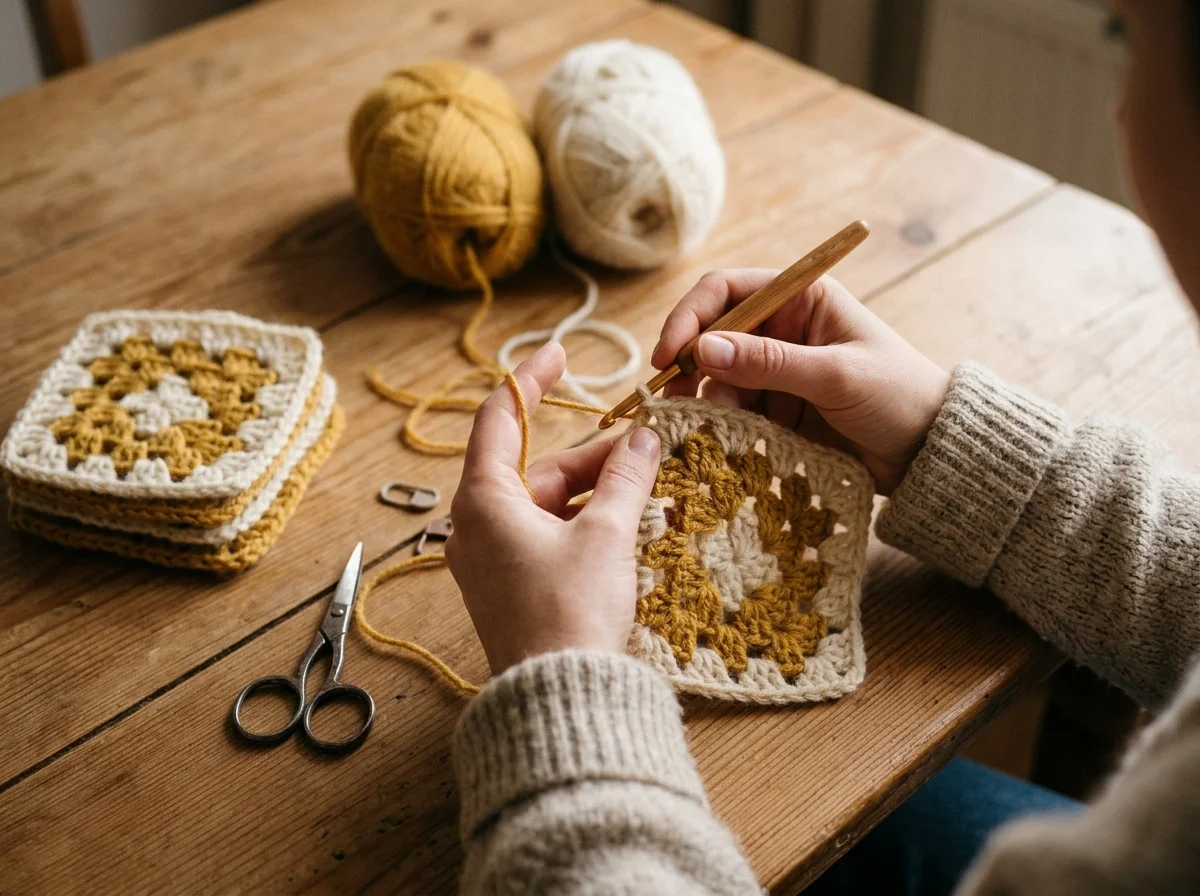
The classic square is built from clusters of three double crochets. Corners are made of two clusters in the same space with a chain 2 between them, and along the sides each cluster sits in the chain space of the round below. The instructions below use US terms.
- Start: Chain 4 and slip stitch into the first chain to make a ring. (A magic ring also works.)
- Round 1: Chain 3 (this counts as your first dc), work 2 dc into the ring, chain 2. Then work (3 dc, chain 2) into the ring three more times. Slip stitch into the top of the starting chain 3. You now have 4 clusters, 12 dc and 4 corner spaces.
- Round 2: Slip stitch across to the first corner space. Chain 3, work 2 dc, chain 2 and 3 dc in that corner. Chain 1. In each of the next three corners work (3 dc, chain 2, 3 dc), chain 1. Join with a slip stitch. You now have 8 clusters and 24 dc.
- Round 3: Work the corners the same way. Along each side, work 3 dc into each chain 1 space, with a chain 1 between clusters. Join. You now have 12 clusters and 36 dc.
- Next rounds: Keep going the same way. Each round adds one cluster to every side, so round 4 has 16 clusters and 48 dc, and round 5 has 20 clusters and 60 dc.
The pattern follows a simple rule: round number times 4 gives the number of clusters, and clusters times 3 gives the number of dc. If your count does not match, the most common reason is a missed chain 1 or an extra cluster in a corner. Counting each side as you finish it catches mistakes early.
How Many Squares You Need
Instead of trusting a fixed number, measure your own square. Make one square with as many rounds as you like, block it (see below), and measure one side. Then divide the size of the blanket you want by the size of one square.
A common throw size is around 50 by 60 inches, though you can make any size you like. As a worked example, with 6 inch squares a throw that is 8 squares wide and 10 squares long comes out at 48 by 60 inches, which needs 80 squares. The border adds a little more on every side.
| Square size | Squares across x down | Total squares | Size before border |
|---|---|---|---|
| 6 in | 8 x 10 | 80 | 48 x 60 in |
| 6 in | 6 x 6 | 36 | 36 x 36 in |
| 5 in | 10 x 12 | 120 | 50 x 60 in |
| 4 in | 9 x 9 | 81 | 36 x 36 in |
Smaller squares mean more joining, so many beginners prefer 6 inch squares or larger. A bigger square is simply more rounds of the same pattern.
How Much Yarn You Need
Yarn use depends on your tension, your hook and the yarn itself, so any fixed yardage would only be a guess. The reliable way is to weigh one finished square on a kitchen scale. Multiply that weight by the number of squares, then add about 15% for joining and the border.
For example, if one square weighs 20 grams and you need 80 squares, that is 1,600 grams for the squares. Adding 15% gives about 1,840 grams in total. Divide by the weight of one skein on your label to see how many skeins to buy, and buy all of each color at once so the dye lots match.
If you are using several colors, weigh each color separately on your test square. Then you know exactly how much of each color the blanket needs.

Blocking Your Squares So They Match
Even careful crocheters end up with squares that are slightly different in size. Blocking evens them out. Pin each square to a foam mat or folded towel at the size you measured, spray it with water until damp, and leave it to dry completely before unpinning.
Acrylic yarn responds best to light steam: hold a steam iron a few centimetres above the square without pressing down, then let it cool. Pressing acrylic flat with a hot iron can make it limp and shiny, so keep the iron in the air. Cotton and wool can be wet blocked as described above.
While you work on the squares, keep the finished ones together so none get lost. A simple drawstring project bag is perfect for carrying squares and yarn around.
Joining Granny Squares
There are several ways to join squares. These two are the easiest for beginners, and both give a neat, strong seam.
Whip stitch: Place two squares right sides together and thread a yarn needle with matching yarn. Sew through the back loops of both squares, stitch by stitch, from one corner to the next. Whip stitch gives a flat seam and is easy to undo if you make a mistake.
Slip stitch join: Hold two squares wrong sides together and slip stitch through both edges with your hook. This is faster than sewing and creates a small ridge on the front, which many people like as a design detail.
Join squares into strips first, then join the strips together. Lay the whole layout out on the floor before you start, so you can move colors around until you are happy.
Adding a Simple Border
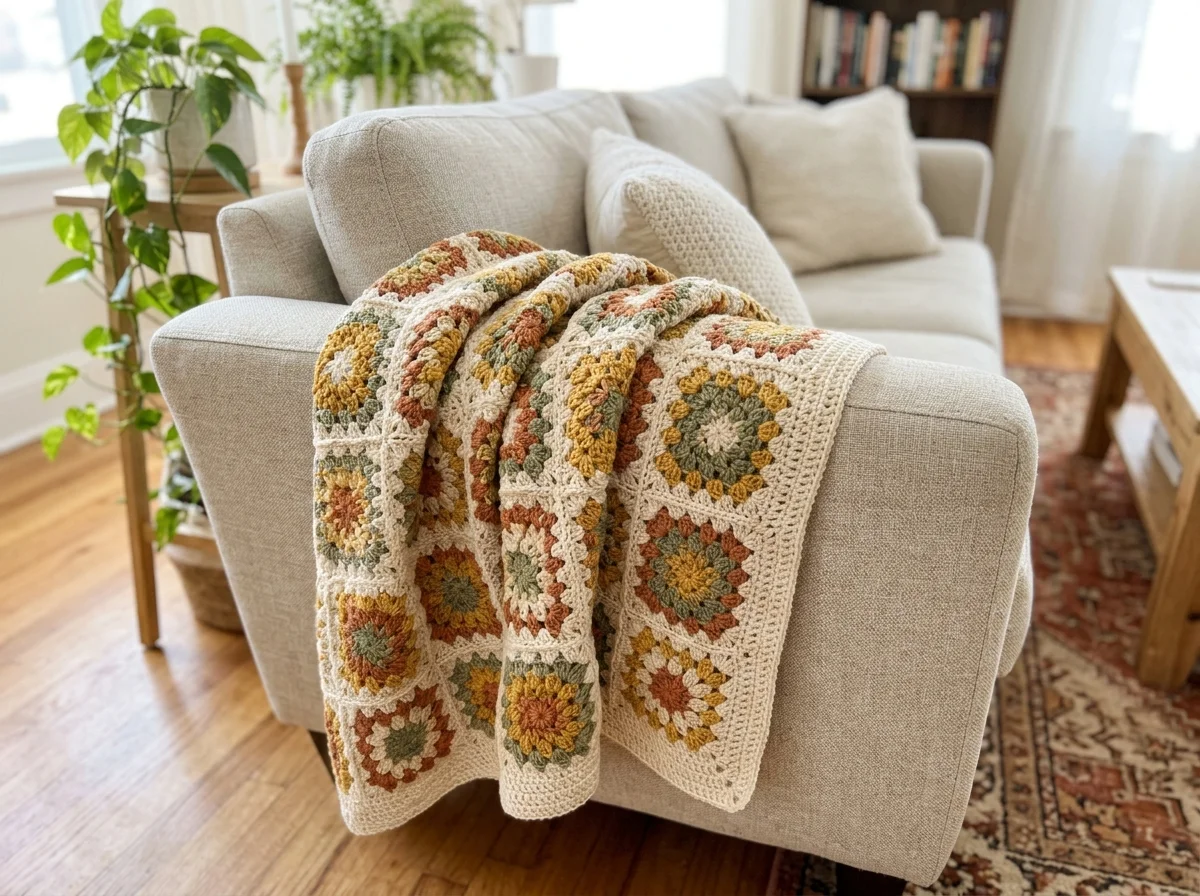
A border hides the slightly uneven outer edge of the joined squares and makes the blanket look finished. Attach your yarn in any corner, chain 3, and work double crochet evenly all the way around, placing 3 dc in each corner. Join with a slip stitch.
Two or three rounds of double crochet are enough for most blankets. If your border starts to ripple, you are adding too many stitches along the sides, so skip a stitch now and then. If it pulls in, add a stitch now and then. Weave in all ends with your yarn needle when you finish.
Prefer a blanket made in one piece? The moss stitch crochet blanket is a calm, easy alternative to squares.
Frequently Asked Questions
Is a granny square blanket good for beginners?
Yes. It uses only chain, slip stitch and double crochet, and each square is a small, quick piece that teaches you to count stitches and work into spaces.
What size hook do I use for a granny square blanket?
With worsted weight yarn, a 5 mm (US H-8) hook is a common choice. Check your yarn label and go up a size if your squares feel stiff.
How do I make all my granny squares the same size?
Use the same yarn and hook for every square, crochet the same number of rounds, and block each square to the same measurement before joining.
Should I use acrylic or cotton yarn?
Acrylic is soft, affordable and easy to wash, which makes it a good everyday choice. Cotton is cooler and sturdier but heavier, so the finished blanket will weigh more.
If you work your squares or border in several colors, our guide on how to change colors in crochet shows how to keep every change neat and hide the ends.
Want a different finish for your granny square blanket? Our guide to easy crochet blanket borders covers crab stitch, picot and shell edges, plus how to keep the corners square.
The Bottom Line
A granny square blanket is a slow project built from very simple steps. Learn the classic square, count your stitches each round, measure and weigh one finished square, and let the math tell you how many squares and how much yarn you need. When you are ready for a blanket made in one piece instead, our guide on how to crochet a blanket for beginners shows you how.