
Winding a bobbin and dropping it into the machine is the first thing you do every time you sit down to sew, and it is also the step most beginners rush. A loosely wound or upside down bobbin causes skipped stitches, loops under the fabric and thread jams that look like a tension problem but are not.
The good news is that the whole job takes about two minutes once you know the order. This guide walks through choosing the right bobbin, winding it evenly, inserting it in drop-in and front loading machines, and bringing the bobbin thread up so you are ready to stitch. If your top thread is not on yet, start with our guide on how to thread a sewing machine and come back here.
This post contains affiliate links. As an Amazon Associate I earn from qualifying purchases, at no extra cost to you.
What a Bobbin Does (and Why Winding Matters)
Every machine stitch is made from two threads. The top thread comes down through the needle, and the bobbin thread waits underneath the needle plate. Each time the needle goes down, a hook catches the top thread and wraps it around the bobbin thread, locking the two together in the middle of the fabric. That lock is the stitch you see.
For that lock to sit in the right place, the bobbin thread has to come off the bobbin smoothly and at an even pull. A bobbin that is wound tight and level does exactly that. A bobbin with soft, spongy layers or thread piled up on one side releases thread in jerks, so the stitch lock moves around and you get loops on the underside or puckers on top. That is why careful winding fixes so many stitch problems before they start.
Choose the Right Bobbin for Your Machine
Bobbins look alike, but they are not interchangeable. The common household sizes are class 15 (sometimes sold as 15J), class 66, and the L and M styles used in some industrial and long arm machines. A class 15 and a class 66 bobbin are almost the same width, yet the curve of the sides is different, and the wrong one can wobble in the case and cause tangles.
Your manual names the bobbin your machine takes, and many machines have the class printed near the bobbin cover. Some machines are designed for plastic bobbins only and others need metal, because the sensor or the bobbin case spring is built around one material. When you buy spares, match both the class and the material. Keeping a few spare class 15 bobbins (if that is what your manual lists) means you can wind several colors before a project and never unwind one bobbin to make room for another.
| Bobbin type | Found in | Quick tip |
|---|---|---|
| Class 15 (15J) | Many Brother, Janome, Singer and Baby Lock household machines | Flat sides; check plastic or metal in your manual |
| Class 66 | Many older and some newer Singer models | Slightly curved sides; do not swap with class 15 |
| L style | Many industrial straight stitch and some long arm machines | Larger capacity; not for most home machines |
| M style | Long arm quilting machines | Holds a lot of thread for big quilts |
Supplies You Need
You only need a few things, and most of them came with your machine.
- An empty bobbin of the correct class
- A spool of the same thread you will use on top (all-purpose polyester is a good default)
- Small scissors or thread snips
- Your machine manual, or the threading diagram printed on the machine
Use the same thread on the bobbin as on top while you are learning. Mixing a thick top thread with a thin bobbin thread changes how the stitch lock balances, and it makes troubleshooting harder.
How to Wind a Bobbin Step by Step
Most modern machines follow the same winding path, and the numbers or dotted lines printed on the top of the machine show it. Here is the order to follow.
- Place the spool on the spool pin and add the spool cap so the spool cannot jump while it turns.
- Pull the thread to the left and wrap it around the bobbin winding tension disc, usually a small round guide on the top left. Make sure the thread is pulled down between the disc plates, not resting on top.
- Pass the thread end through the small hole in the empty bobbin from the inside out.
- Put the bobbin on the winder spindle and push the spindle to the right (or press the bobbin stopper) until it clicks into winding position.
- Hold the thread tail straight up and press the foot pedal gently for five to ten turns, then stop and trim the tail close to the bobbin.
- Press the pedal again at a steady medium speed. Most machines stop on their own when the bobbin is full; if yours does not, stop when the thread is just below the rim.
- Push the spindle back to the left, cut the thread, and take the bobbin off.
Older machines without an automatic clutch need one extra move: loosen the inner knob on the handwheel so the needle does not move while you wind, then tighten it again before sewing. Your manual will say whether your machine works this way.
Signs of a Well Wound Bobbin
Take a second to look at the bobbin before you put it in. A good bobbin feels firm when you squeeze it, the thread lies in smooth, level layers from side to side, and the thread does not bulge past the edges. It should look the same at both ends.
If the thread is soft and squishy, the thread probably missed the tension disc in step 2. If the thread piles up on one side like a cone, the thread guide is not centered or the spool is feeding at an angle. Either way, unwind it and start again, because a bad bobbin will cause more trouble later than the minute it takes to rewind. Do not wind new thread over old thread of a different type, and do not overfill; a bobbin wound past the rim can rub in the case and drag.
How to Insert a Drop-In (Top Loading) Bobbin
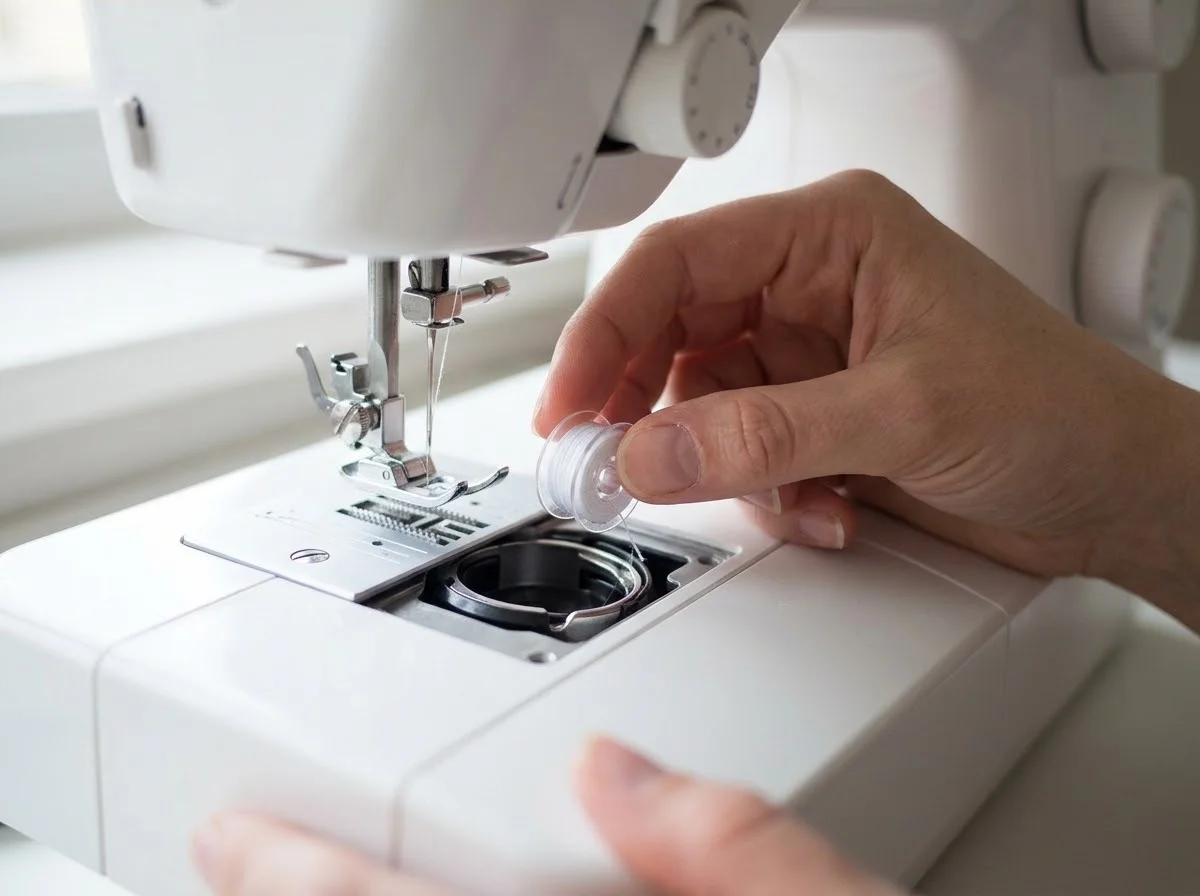
Drop-in bobbins sit flat under a clear cover in front of the presser foot. They are common on newer computerized machines and are the easiest type for beginners because you can see how much thread is left.
- Raise the needle to its highest point by turning the handwheel toward you, and lift the presser foot.
- Slide off the clear bobbin cover.
- Hold the bobbin so the thread unwinds in the direction shown on the diagram next to the bobbin area. On many drop-in machines the thread comes off counterclockwise, so the loose end looks like the letter P, but always check your own machine’s arrow.
- Drop the bobbin in and guide the thread into the slot, then along the channel marked on the needle plate, so it slides under the small tension spring.
- Pull the thread over the built-in cutter if your machine has one, and replace the cover.
A good check: hold the thread tail and give it a gentle tug. The bobbin should turn in the direction of the arrow. If it spins the other way, take it out, flip it over and insert it again.
How to Insert a Front Loading Bobbin Case
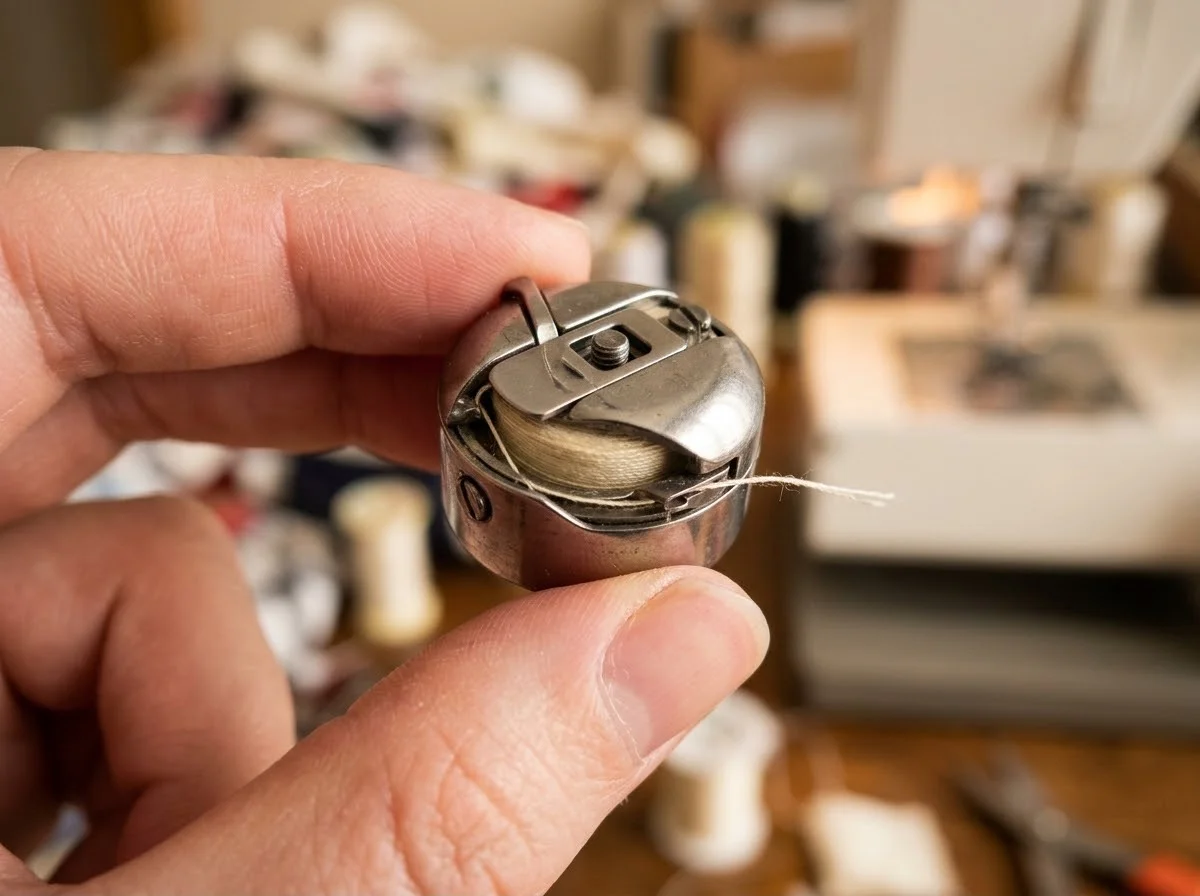
Front loading machines keep the bobbin in a separate metal case that clicks into the hook behind a small door below the needle. Many mechanical and older machines use this system.
- Raise the needle, open the front cover below the needle plate and pull out the bobbin case by its hinged latch.
- Hold the case in one hand with the slot at the top. Put the bobbin in so the thread unwinds in the direction your manual shows, usually clockwise on these cases.
- Pull the thread into the slot and under the curved tension spring until it comes out of the small opening at the end of the spring.
- Leave a tail of about 10 cm (4 inches). Hold the latch open and push the case onto the center pin until it clicks firmly.
- Close the cover.
If the case is not seated with a click, the needle can hit it, so press until you feel it lock. The tension screw on the case is set at the factory; leave it alone until you have ruled out threading and bobbin winding, as we explain in our sewing machine troubleshooting guide.
How to Bring Up the Bobbin Thread
Some drop-in machines with a quick set bobbin do not need this step, because the first stitch catches the bobbin thread automatically. For every other machine, you need to pull a loop of bobbin thread up through the needle plate before you sew.
Hold the top thread lightly in your left hand. With your right hand, turn the handwheel toward you one full turn so the needle goes down and comes back up. Now pull gently on the top thread and a loop of bobbin thread will come up through the hole in the needle plate. Use scissors or your finger to pull the loop out, then lay both thread tails under the presser foot and toward the back of the machine. Starting with both tails held back keeps the first stitches from tangling into a nest.
Common Bobbin Mistakes and How to Fix Them
Most bobbin problems come down to a short list, and each has a quick fix.
- Loops or a thread nest under the fabric: usually the top thread missed the tension discs, not the bobbin. Rethread the top with the presser foot up.
- Bobbin thread showing on top of the fabric: the bobbin may be in upside down or the thread is not under the case spring. Reinsert it and listen for the thread to click into the spring.
- Spongy or uneven bobbin: rewind it with the thread pulled firmly into the winding tension disc.
- Bobbin rattles or the machine knocks: check that you have the right bobbin class and that it is not wound past the rim.
- Machine will not sew after winding: the winder spindle is still pushed to the right, or the handwheel clutch on an older machine is still loose.
If you still have trouble after rewinding and rethreading, change the needle; a bent needle can look like a bobbin problem too. Our guide to sewing machine needle sizes and types shows which needle to fit for your fabric.
FAQ
How full should I wind a bobbin?
Wind until the thread is just below the rim on both sides. Most machines stop the winder automatically at the right point. An overfilled bobbin can rub inside the case and cause tension trouble.
Can I wind a bobbin with a different thread from the top?
You can, and some sewists use a finer bobbin thread for machine embroidery. While you are learning, use the same thread top and bottom so the stitch is balanced and problems are easier to spot.
Why does my bobbin wind unevenly?
Usually the thread is not pulled down between the plates of the bobbin winding tension disc, or the spool is catching. Rewind with the thread seated in the disc and the spool cap on.
Do I need to remove the bobbin case on a drop-in machine?
No. On a drop-in machine you only remove the clear cover, drop the bobbin in and guide the thread through the slot. The case stays in the machine unless you are cleaning lint from the hook area.
How do I know which way the bobbin goes in?
Look for the small arrow or diagram next to the bobbin area or inside the manual. As a quick test, pull the thread tail after inserting it: the bobbin should turn the way the arrow points.
The Bottom Line
A well wound bobbin is firm, level and the right class for your machine. Wind it through the tension disc at medium speed, drop it in so the thread unwinds the way your machine’s arrow shows, slide the thread under the spring and pull the bobbin thread up before your first stitch. Once this becomes a habit, most of the loops and jams that frustrate beginners simply stop happening. When you are ready for your first project, our beginner guide to sewing clothes is a good next step, and if you are still choosing a machine, see our list of beginner sewing machines. For a bit of background on how bobbins developed from spinning and weaving tools, the bobbin entry on Wikipedia is a short, interesting read.