
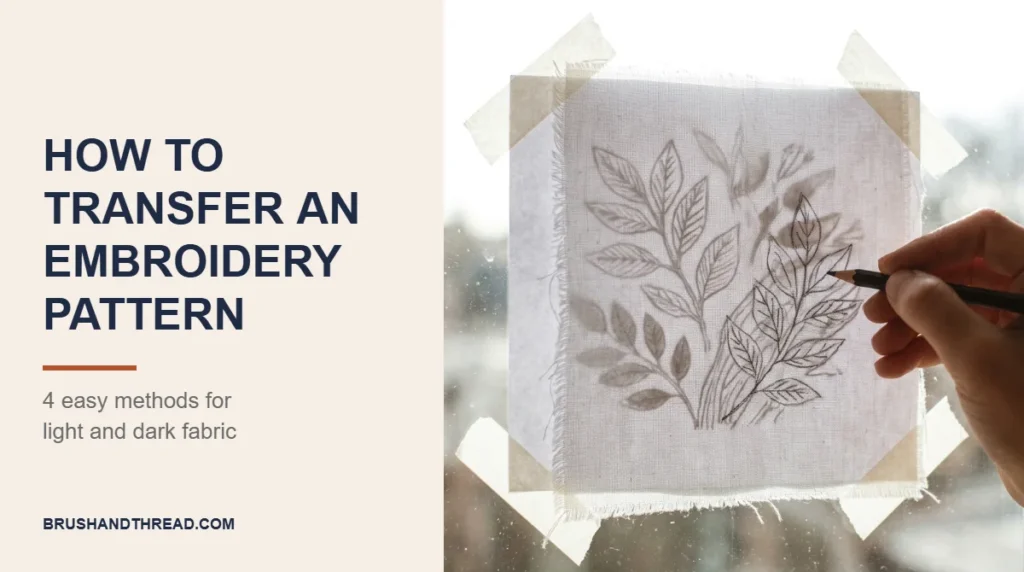
Before you can stitch a design, you need to get it onto the fabric. That sounds simple, but the method you choose decides how clean your lines look, whether the marks wash away, and whether the design works on dark or thick fabric at all. The good news is that a few cheap tools cover almost every situation a beginner will meet.
This guide explains each transfer method, when to use it and the small mistakes that leave lines showing through your finished stitches. If you are new to stitching, keep our guide to hand embroidery stitches every beginner should know open next to this one.
This post contains affiliate links. As an Amazon Associate I earn from qualifying purchases, at no extra cost to you.
What You Need for Transferring Patterns
You do not need every tool on this list. Pick the method that suits your fabric, then buy only what that method needs. Most beginners start with a water soluble fabric marker, because it works on the light cotton and linen most first projects use.
- The printed pattern, sized to fit your hoop
- A water-soluble or heat-erasable fabric pen, or a sharp fabric pencil
- Masking tape
- A bright window or a light box for tracing
- Dressmaker’s carbon paper and a stylus or dry ballpoint pen, for dark fabric
- Printable or plain water-soluble stabilizer, for thick or textured fabric
- An embroidery hoop
Whatever you use, wash and iron the fabric first so it does not shrink or shift after the design is on it. A wrinkle under the pattern turns into a wobble in your lines.
Method 1: Tracing With a Window or Light Box
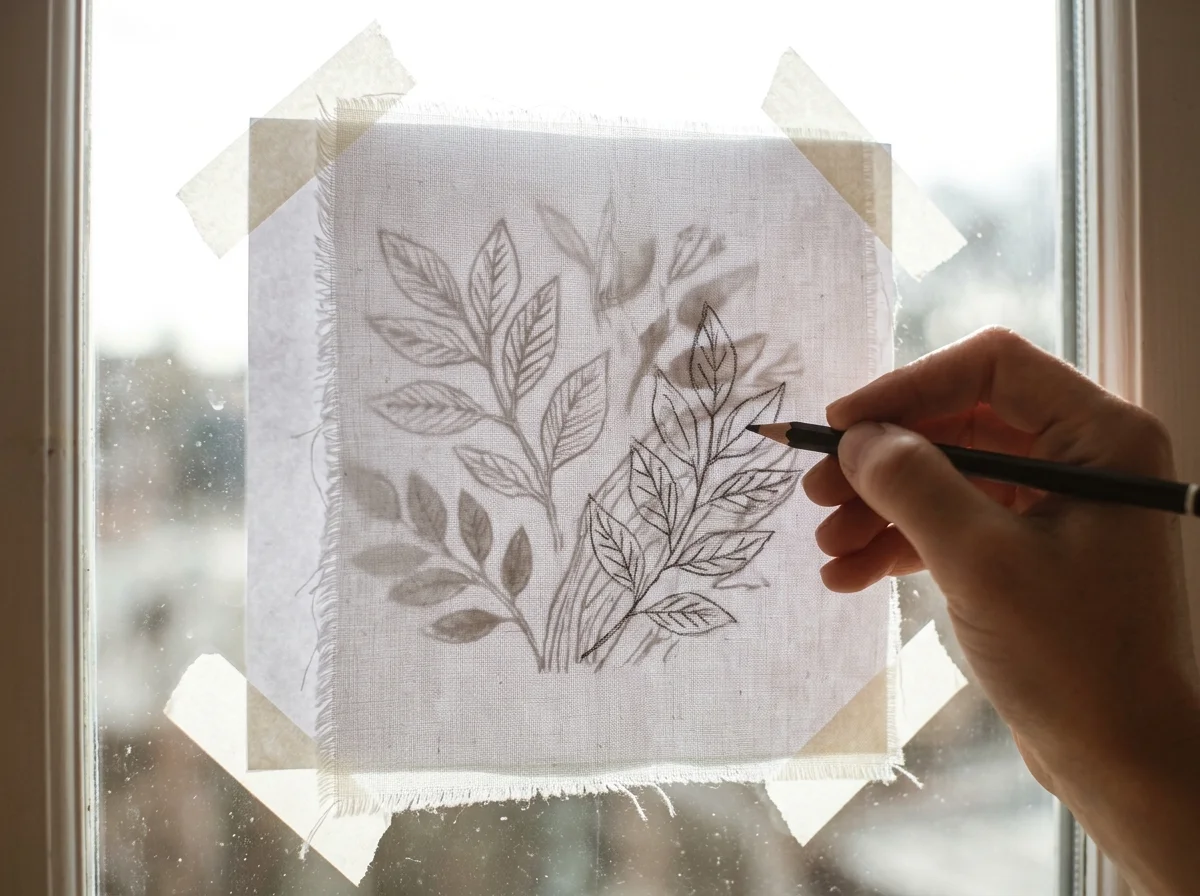
This is the quickest method and the one most beginners should try first. Tape the printed pattern to a sunny window or a light box. Center your fabric over it, smooth it flat and tape the edges so nothing moves. The light shines through, and you can see the lines clearly through thin, light fabric.
Trace the lines with a water-soluble pen or a fine fabric pencil. Use light, steady strokes and stay just inside the line rather than drawing a thick mark. Your stitches only need a guide, and a thin mark is much easier to hide and remove.
This method works best on white or pale cotton, linen and muslin. On dark or heavy fabric, the light cannot shine through, so move on to one of the methods below.
Method 2: Dressmaker’s Carbon Paper
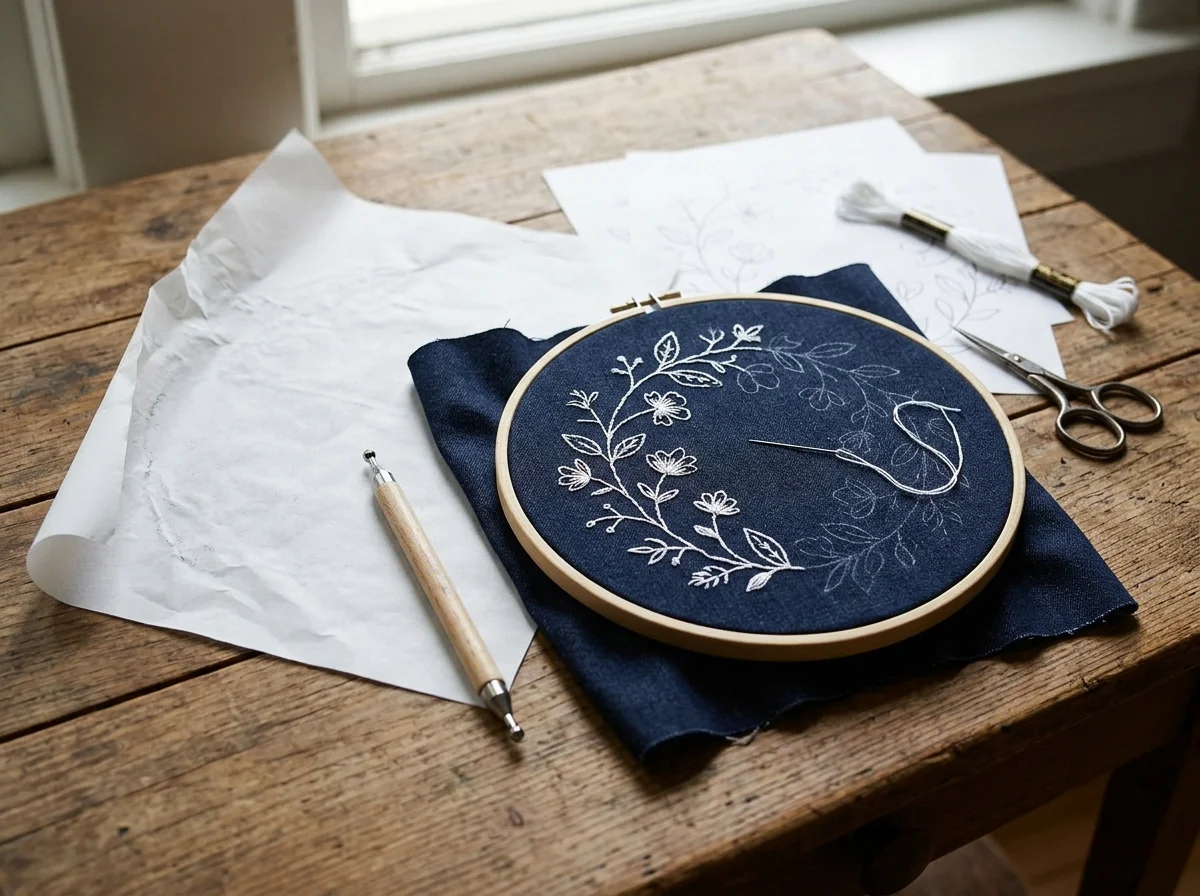
Carbon transfer paper is the classic choice for darker or thicker fabric. Lay the fabric flat on a hard surface, place the carbon paper on top with its colored side down, then put your pattern on top of that. Pin or tape the stack so it cannot slide.
Go over every line with a stylus, a dry ballpoint pen or the tip of a knitting needle. Press firmly and evenly. Lift one corner now and then to check that the lines are coming through before you remove everything.
Choose a carbon color that contrasts with your fabric, such as white or yellow on navy and black. Some carbon marks wash out easily and some are hard to remove, so test on a scrap first and plan to cover every line with stitches.
Method 3: Water-Soluble Stabilizer
For towels, sweatshirts, denim, felt and other textured or dark fabrics, water-soluble stabilizer is often the cleanest option. It is a thin film or fabric-like sheet that dissolves in water. You either trace the pattern onto it or print straight onto a printable sheet, then stick or baste it to the front of your fabric.
You stitch right through the stabilizer and the fabric together. When the design is finished, soak the piece in cool water and the stabilizer dissolves, leaving only your stitches. Because nothing is drawn on the fabric itself, there are no marks to worry about.
The main downside is cost and a slightly stiffer feel while you stitch. Use a sharp needle and keep the hoop tight so the stabilizer does not tear before you finish.
Method 4: Iron-On Transfer Pens and Pencils
Iron-on transfer pens let you draw the design on paper and then press it onto fabric with a hot iron. They are handy when you want to transfer the same design several times, and many printed embroidery patterns come as iron-on sheets.
Two things trip beginners up. First, the design transfers as a mirror image, so trace it in reverse if it includes letters. Second, most transfer ink is permanent, so every line must be covered by stitches. Keep the lines thin and practice on a scrap before you press the real piece.
Mistakes That Leave Lines Showing
The most common mistake is ironing over water-soluble marks before rinsing them out. Heat can set those marks so they no longer wash away. Finish stitching, rinse the piece in cool water until the lines disappear, let it dry, and only then iron it from the back.
Heat-erasable pens have their own catch. The lines vanish with heat, but on some fabrics they can return as a faint ghost when the fabric gets very cold, and they may leave a light mark. Test them on a scrap of the same fabric before trusting them on a gift.
Finally, avoid regular ballpoint pens, felt-tip markers and graphite pencils pressed hard. They can smear onto your floss and are very hard to remove. A pattern is meant to disappear under your stitches, so a light touch always wins. Our list of embroidery design ideas has simple designs that are easy to transfer for a first try.

Which Method Should You Choose?
| Fabric | Best transfer method | Why |
|---|---|---|
| White or pale cotton and linen | Window or light box with a water-soluble pen | Fast, cheap and the marks rinse out |
| Dark cotton, denim or canvas | Dressmaker’s carbon paper | Shows clearly on dark fabric |
| Towels, fleece, knits and felt | Water-soluble stabilizer | No marks on the fabric and it supports stretchy pieces |
| Repeating the same design | Iron-on transfer pen | Draw once and press several times |
If you are unsure, start with the window method on a light cotton scrap. It teaches you how much detail you actually need on the fabric, which makes every other method easier. You can read more about the history and range of the craft in this overview of embroidery.
Once the pattern is on, mount the fabric in an embroidery hoop so it stays drum tight while you stitch. A tight hoop keeps the transferred lines from distorting as you work.
Frequently Asked Questions
What is the easiest way to transfer an embroidery pattern?
Tracing over a bright window or light box with a water-soluble fabric pen is the easiest method for light fabric. It needs no special equipment and the marks rinse out in cool water.
How do you transfer an embroidery pattern to dark fabric?
Use dressmaker’s carbon paper in a light color, or print the design onto water-soluble stabilizer and stitch through it. Both work where light cannot shine through the fabric.
Can I use a regular pencil to transfer embroidery patterns?
A light pencil line can work on some fabrics, but graphite can smudge onto your thread and may not wash out fully. A fabric pencil or water-soluble pen is a safer choice.
Do water-soluble pen marks come out completely?
Usually yes, when you rinse them in cool water. Avoid heat until the marks are gone, because ironing or a hot dryer can set them.
The Bottom Line
Match the method to the fabric: a window and a water-soluble pen for light fabric, carbon paper for dark fabric, and stabilizer for anything thick, textured or stretchy. Keep your lines thin, test every marker on a scrap, and rinse before you iron. Do that, and the only thing anyone sees in your finished piece will be your stitches. For more basics on needles, threads and simple stitches, see our guide to hand and machine sewing.