Ever looked at a hand-painted jacket or a decorated tote bag and thought, “That must have cost a fortune”? Well, most of those pieces were made at home, with basic supplies, by someone who had never painted on fabric before.
Fabric painting looks hard but it is actually pretty forgiving once you know a few tricks. Here are 7 ideas that look high-end without costing much at all.
What You Need Before You Start
Here is a quick supply list that works for all 7 ideas below:
- Fabric paint (Tulip or Arteza are good for beginners)
- Flat and round brushes in different sizes
- A plain fabric piece like a shirt, tote bag, denim jacket, or canvas shoes
- Cardboard or wax paper to place inside the fabric so paint does not bleed through
- Fabric medium (optional but it makes acrylic paint more flexible on fabric)
- Pencil or chalk for sketching your design first
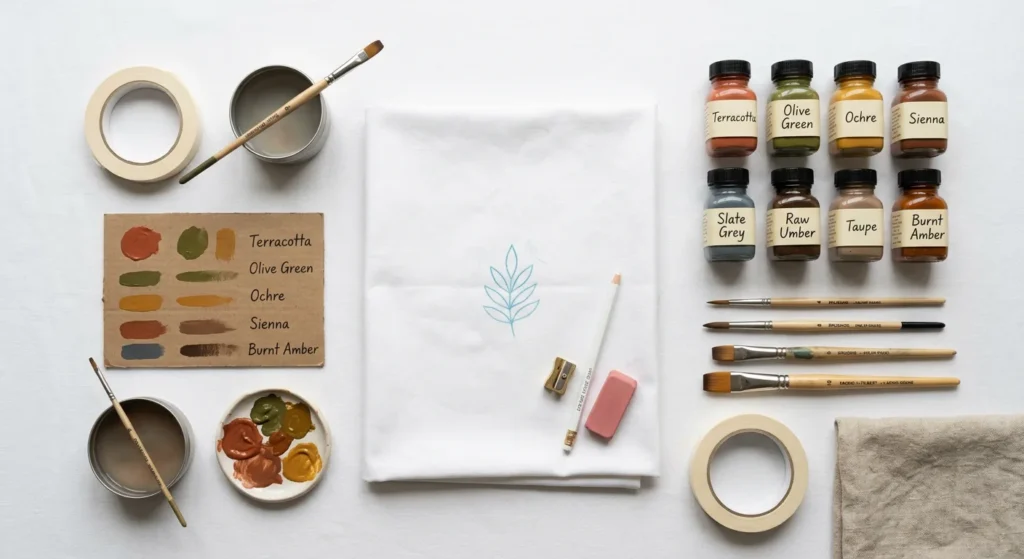
That is really all you need to get started.
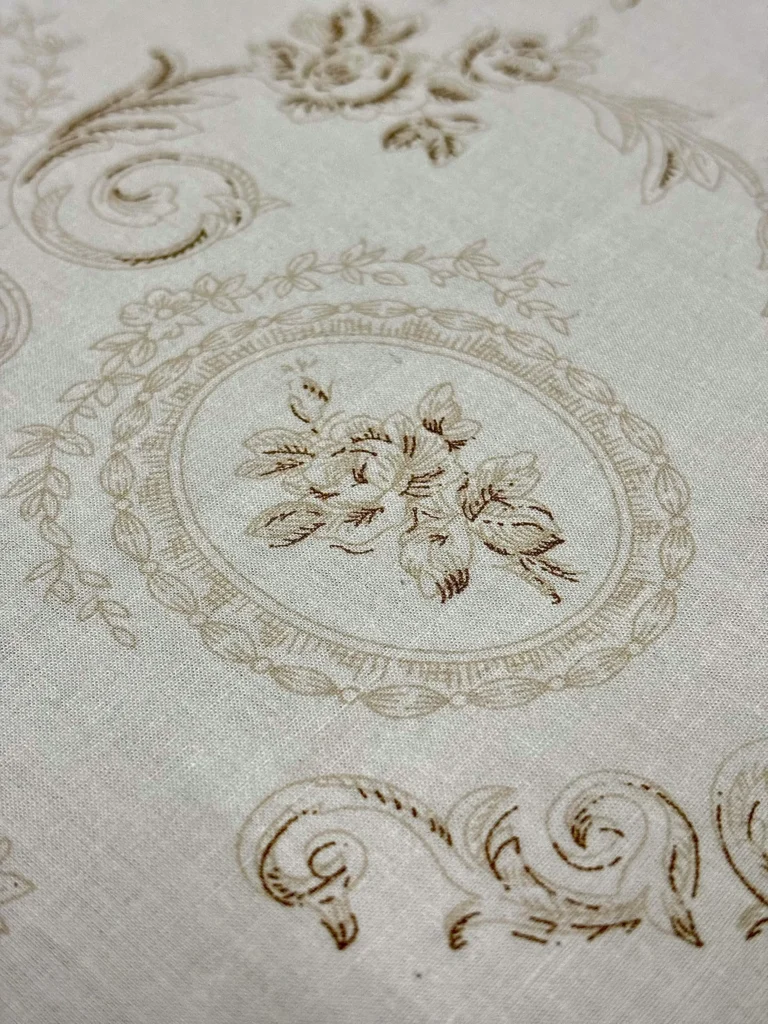
1. Minimalist Botanical Prints
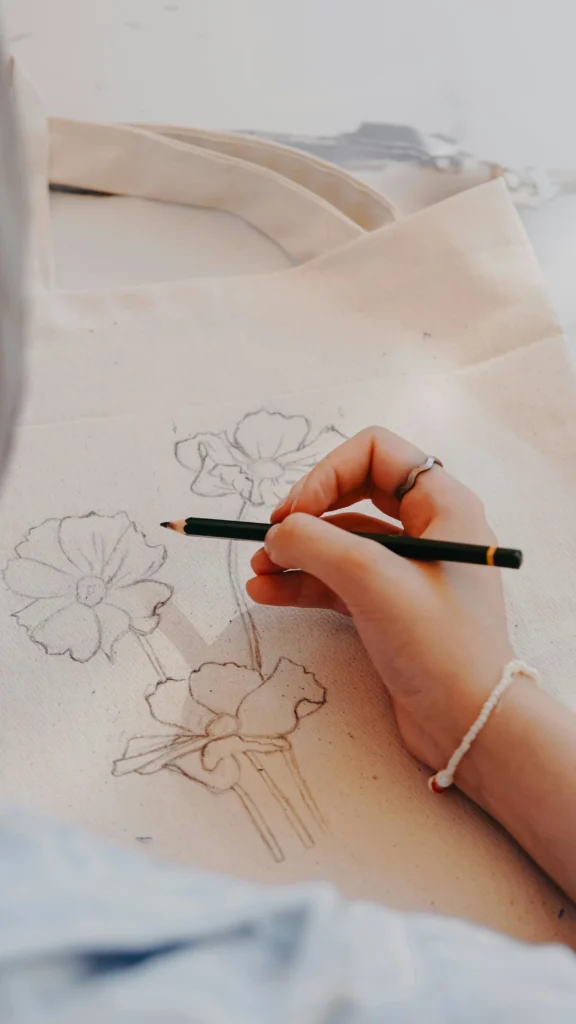
Simple leaves, stems, and tiny flowers painted in earthy tones look so good on a plain white linen shirt or cotton tote bag. This style is everywhere right now and it is one of the easiest to pull off.
How to do it:
- Sketch thin stems and leaf shapes lightly with chalk
- Use a small flat brush with olive green, terracotta, or sage paint
- Keep your brushstrokes loose because imperfect lines actually look more natural
- Let it dry completely, then heat-set with an iron
2. Abstract Colour Block
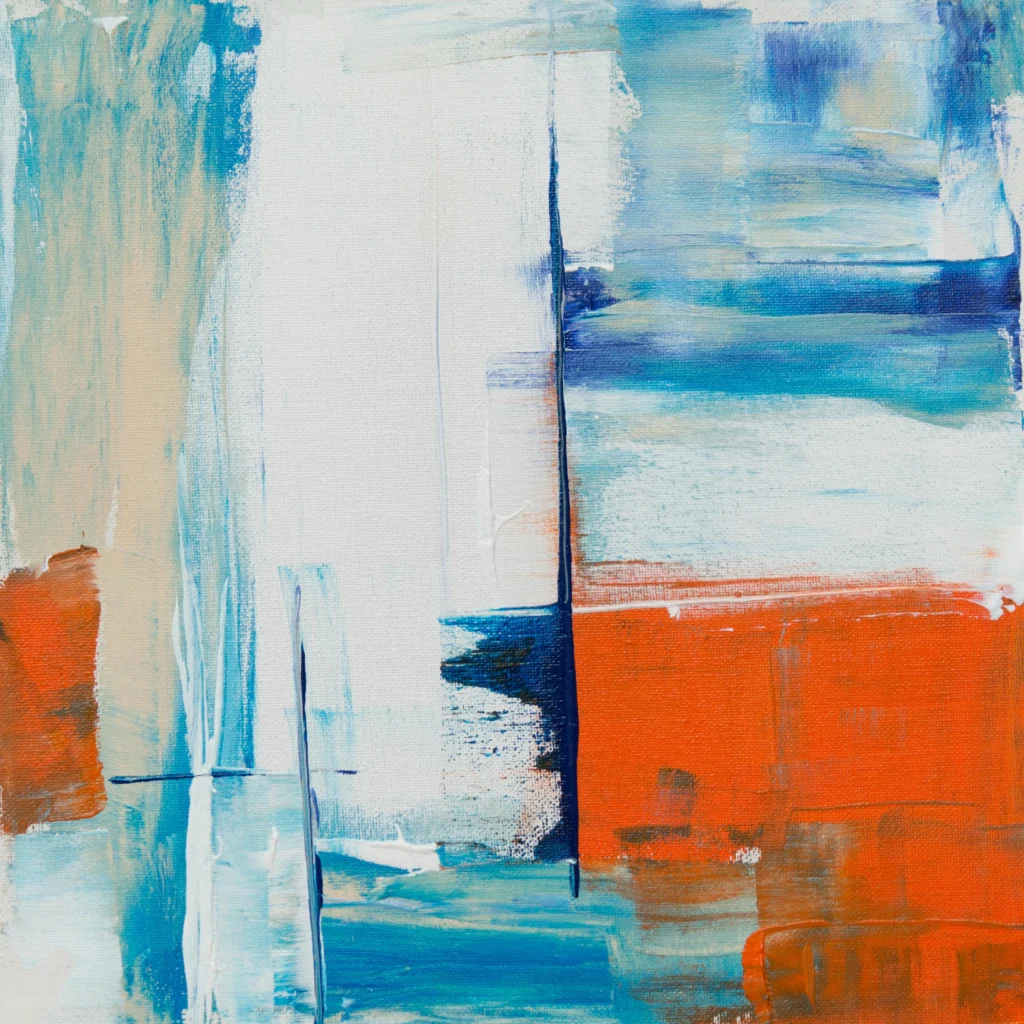
Colour blocking looks like something from a designer rack but it is one of the easiest fabric painting techniques. You literally just paint sections of fabric in bold flat colours.
How to do it:
- Tape off geometric sections of your fabric using painter’s tape
- Fill each section with a bold flat color like terracotta, mustard, or cobalt blue
- Remove the tape before the paint fully dries so you get clean edges
- Layer a second color slightly overlapping the first for a nice effect
3. Hand-Painted Floral Collar Detail
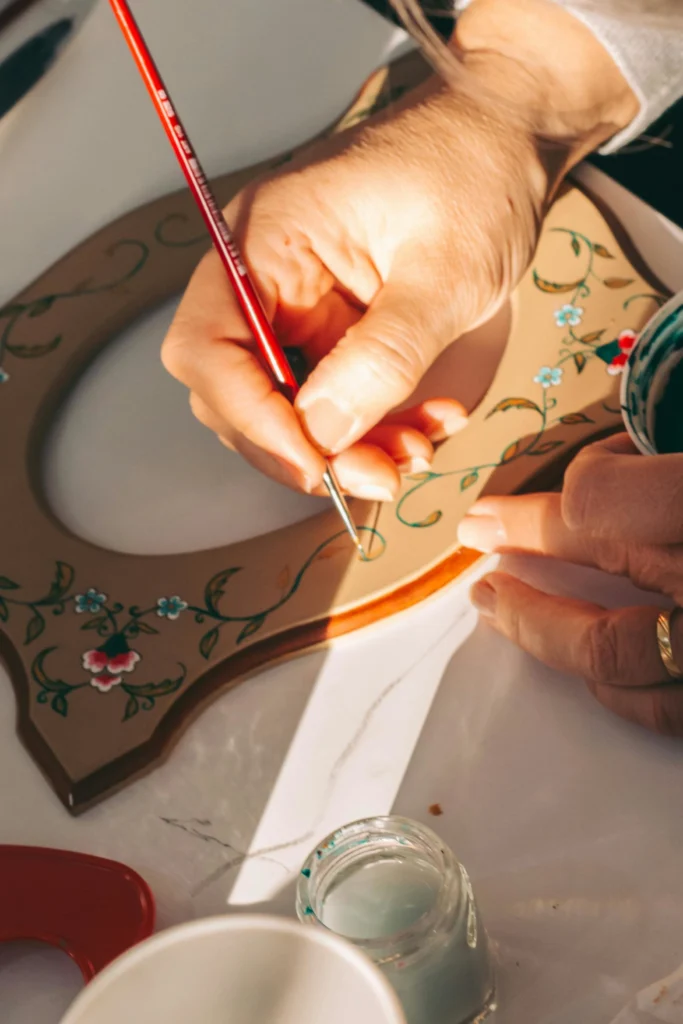
Instead of painting the whole garment, you just paint tiny floral along the collar or neckline. It looks like something from a boutique but takes maybe 30 minutes.
How to do it:
- Use a very fine detail brush
- Paint tiny five-petal flowers in blush pink, white, or lavender
- Add small leaves in between the flowers
- Keep the flowers small because smaller florals look more delicate
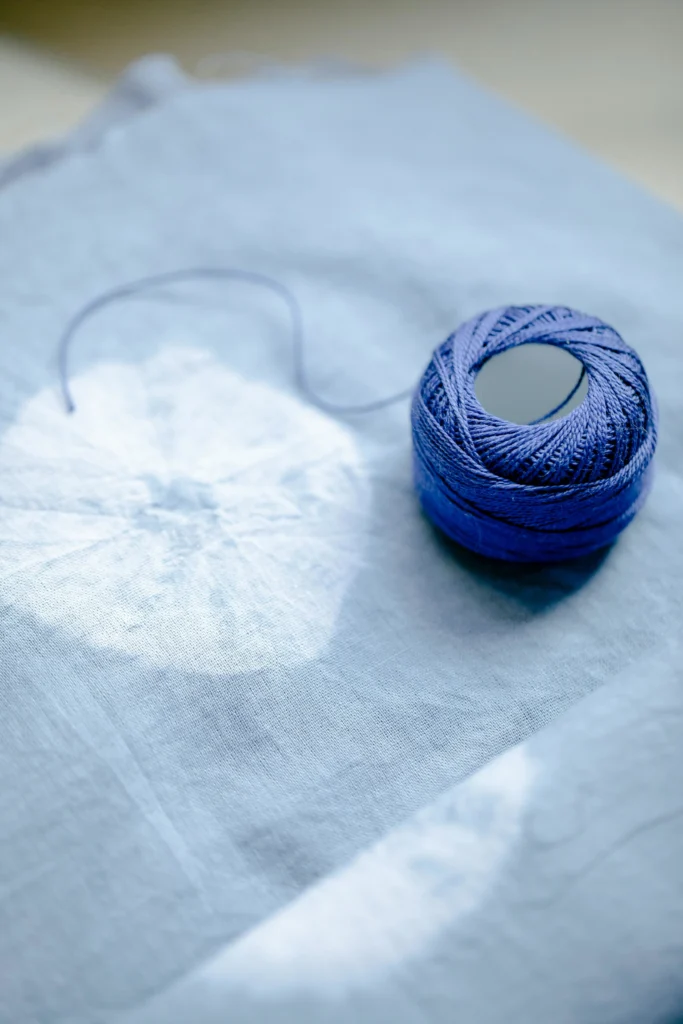
4. Shibori Style Tie-Dye
Regular tie-dye can look messy but Boorish is different. It is a Japanese folding technique that creates clean geometric patterns. The result looks very intentional and artistic.
How to do it:
- Fold your fabric in an accordion style like a paper fan
- Bind it tightly with rubber bands at different points
- Dip the bound sections into fabric dye (indigo blue is the classic color for this)
- Rinse it, unfold, and let it dry flat
5. Gold Accent Painting
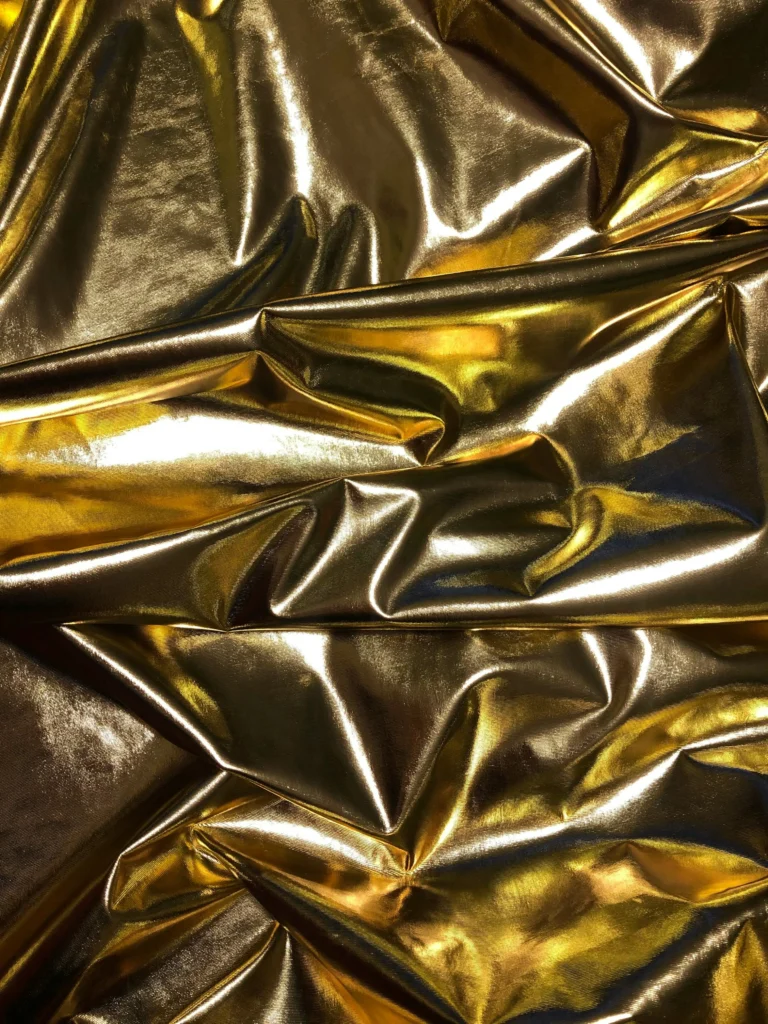
Metallic gold on fabric looks expensive every single time. Even just a few gold dots or a simple brushstroke can completely change a basic item.
How to do it:
- Use metallic gold fabric paint (Jacquard brand is reliable)
- Use a small round brush for dots or a flat brush for loose strokes
- Try scattered gold dots on black fabric or a simple gold crescent moon on a dark tote bag
- Seal with fabric medium after it dries so it lasts longer
6. Watercolour-Effect Ombre
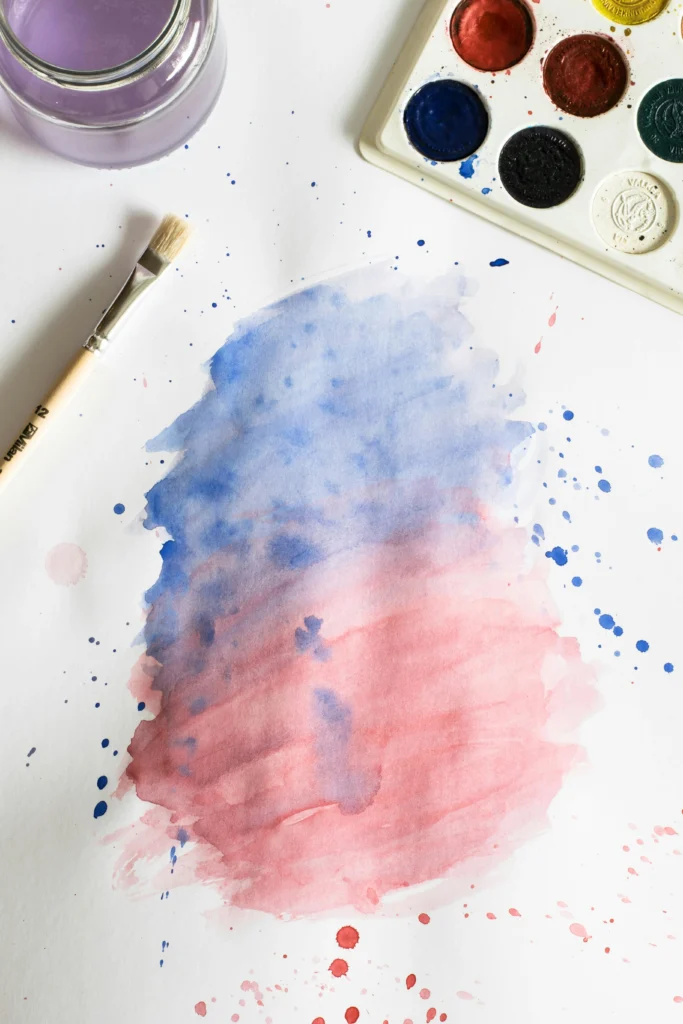
This gives you that soft dreamy look without needing actual watercolours. The blended edges are forgiving so small mistakes just disappear into the gradient.
How to do it:
- Dampen your fabric slightly with water before you start
- Apply diluted fabric paint from one edge of the fabric
- Use a clean damp brush to blend and fade the color toward the other end
- Add another color while still wet and let them blend together naturally
7. Stenciled Repeat Pattern
A repeat pattern looks very professional and you do not need to be good at drawing at all. You can buy stencils or cut a simple shape from card stock yourself.
How to do it:
- Pick a simple shape like a star, small leaf, or diamond
- Cut it out of cardstock or a plastic sheet
- Hold the stencil flat on the fabric and dab paint over it with a sponge brush
- Repeat in rows with even spacing
Why Some Fabric Painting Looks Expensive and Some Does Not
After doing all of these, I noticed the difference really comes down to three things:
- Color palette – use 2 to 3 colors that go well together and stop there
- Negative space – do not fill every inch of the fabric. Empty space looks elegant
- Heat setting – always iron your finished piece with a cloth on top to set the paint. This is what makes it survive washing
Where to Start
If you have never tried fabric painting before, start with the botanical print or the gold accent idea. Both are very beginner friendly and usually turn out well on the first try.
Want a free set of 5 beginner fabric painting patterns? Download them below and start your first project today.
Have you tried fabric painting before? Which of these are you most excited to try? Drop a comment below!
Pingback: How to Use Fabric Paint: A Complete Beginner's Guide How to Use Fabric Paint
Pingback: How to Use Fabric Paint on Clothes
Pingback: 10 Fabric Painting Ideas You Never Knew You Were Missing - Brush & Thread