You bought a sewing machine, maybe even some fabric, and then sat there staring at a pattern that looked like it was written in another language. Most people who want to sew their own clothes never make it past that moment. The pattern goes back in the envelope, the fabric stays folded, and the machine collects dust. This guide is the thing that should have come in the box. Step by step, no assumed knowledge, no skipped explanations, just everything you need to go from complete beginner to a finished garment you actually want to wear.
Why Learn to Sew Clothes? 5 Benefits You’ll Love
Learning to sew changes how you think about clothes entirely. Store bought clothes are cut for a standard size that fits almost nobody well, but when you sew your own every measurement is yours. You start looking at garments differently too. Pick up a shirt in a shop and you immediately know whether the construction justifies the price. Fast fashion stops making sense once you understand how long a decent shirt actually takes to make. And beyond all that, you end up with a wardrobe full of pieces nobody else has, plus the ability to fix or alter anything that does not sit right. That last part alone is worth learning for.
Step-by-Step Sewing Guide for Beginners
Step 1: The Sewing Starter Kit That Will Save You Hours
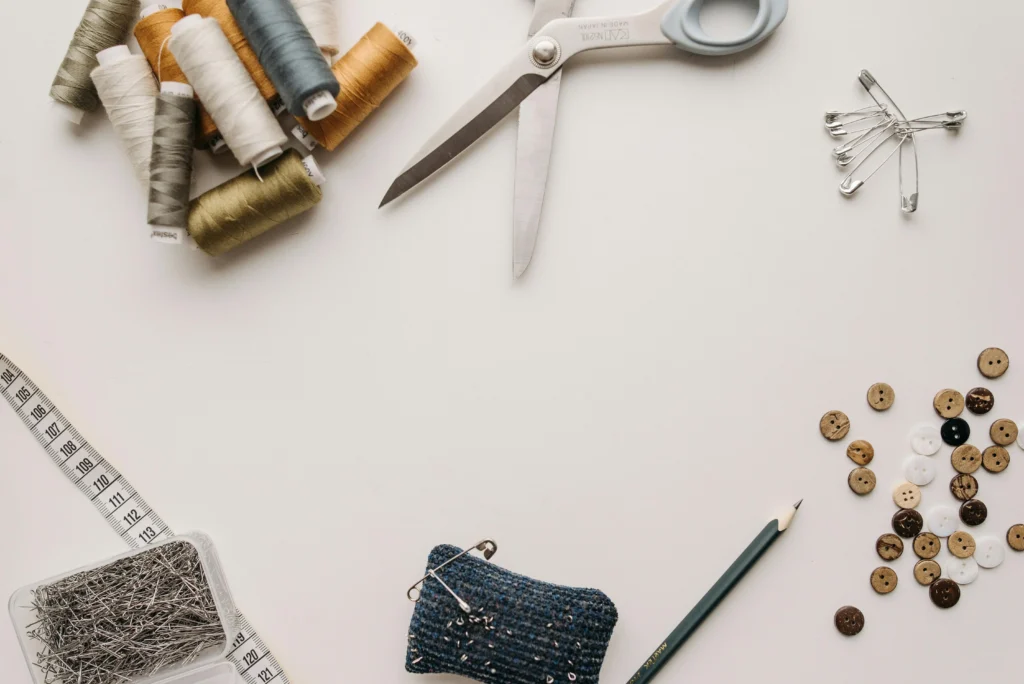
Half the frustration in beginner sewing comes from using the wrong tools. Blunt scissors make cutting harder than it needs to be. Cheap thread snaps mid-seam. A machine that skips stitches makes you think you are doing something wrong when it is just a bad needle.
Here is what you actually need before you start:
- A sewing machine with a straight stitch and zigzag. Nothing more complicated than that.
- Sharp fabric scissors. Use them only on fabric. The moment you cut paper with them they start to dull.
- Pins or sewing clips to hold pieces together
- A seam ripper. Keep it close. Every sewer uses it constantly.
- A tape measure
- An iron and ironing board
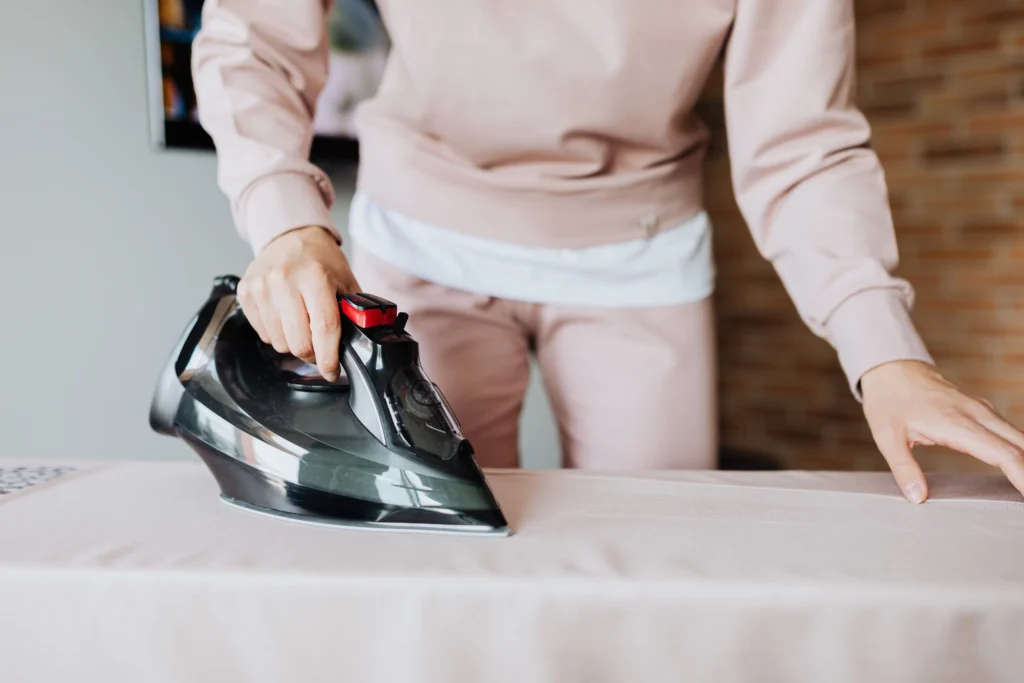
The iron is the one that surprises people. Most beginners treat it as a finishing step. It is not. You press after every seam as you sew. Skipping this is the main reason handmade clothes look unfinished. Press everything, every time, as you go.
Step 2: Pick a Pattern You Can Actually Finish
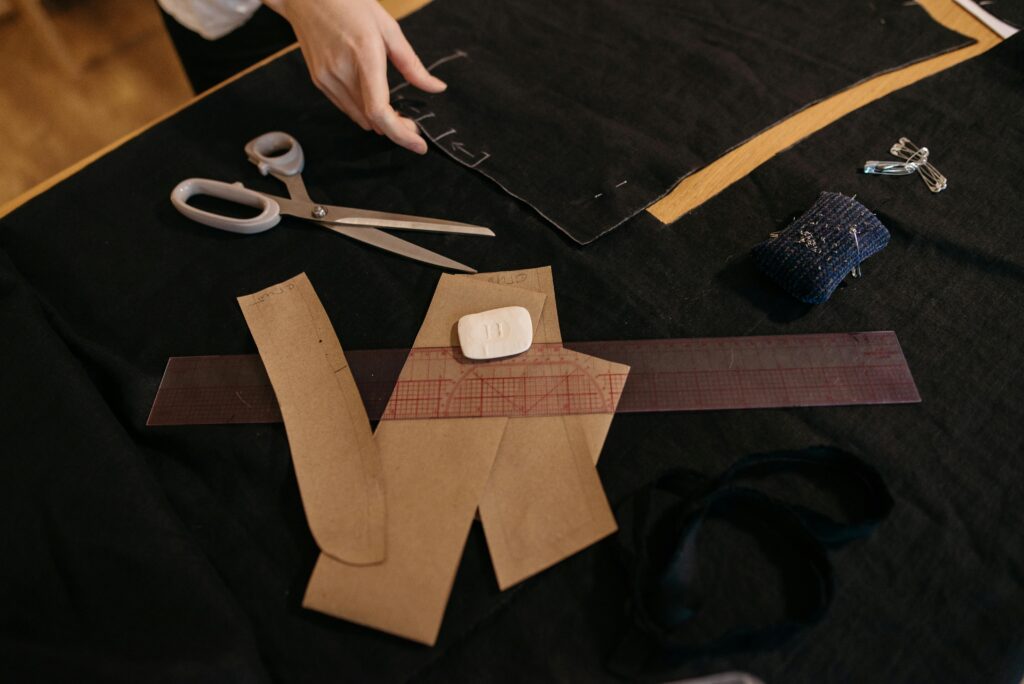
This is where most beginners go wrong before they even cut anything.
They find a beautiful pattern online, order it, open the envelope, and find 22 tissue paper pieces, notes about French seams, and instructions for an invisible zip. Two hours later they have abandoned the whole thing and the fabric is still uncut on the table.
Start with something that has fewer than ten pattern pieces, no zip, no buttonholes, no lining, and an elastic waist. A gathered skirt, a wide leg trouser, or a simple boxy top. These are not boring choices. They are the ones you will actually finish and wear.
Before you cut a single piece of fabric, read the entire pattern. Check the notions list. Check the seam allowance. Look up any technique you do not recognize. Finding a problem before you start costs you nothing. Finding it halfway through costs you the whole project.
Finish every project you start, even if it is not going well. A finished imperfect thing teaches you more than an abandoned good start.
Step 3: Choose Fabric That Won’t Fight You
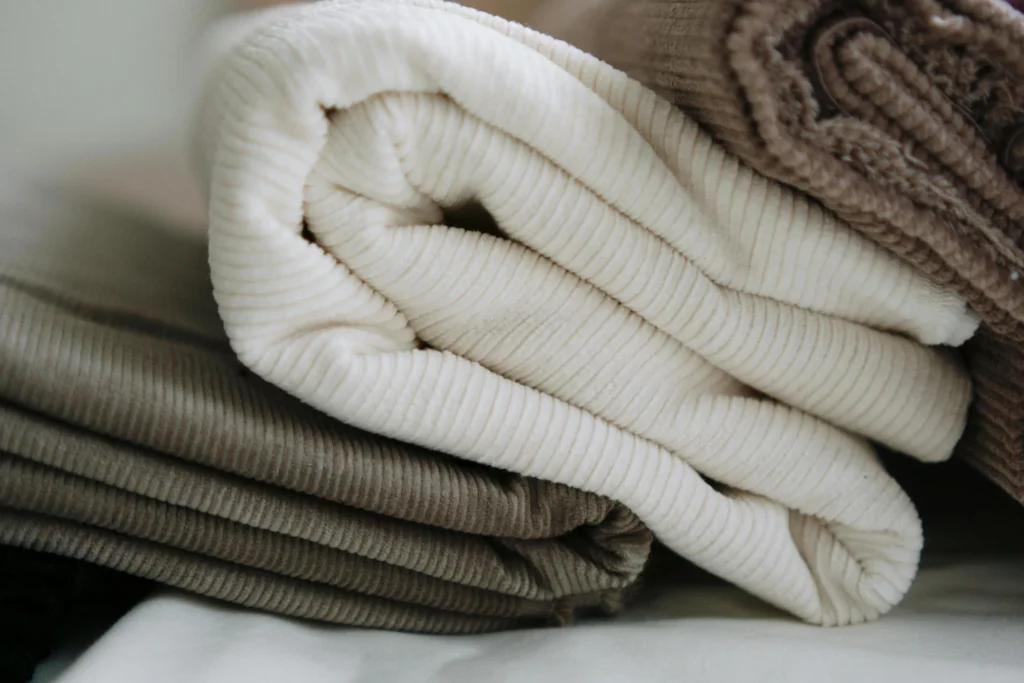
Fabric choice quietly decides whether your first project is enjoyable or miserable.
Slippery fabric moves while you cut it and shifts while you sew it. Very stretchy fabric distorts under the presser foot. Sheer fabric shows every uneven seam from the outside. All of these have their place. That place is not your first garment.
Good fabrics for beginners:
- Quilting cotton is the most forgiving fabric you can buy. It cuts cleanly, presses flat, and holds its position while you sew. Start here.
- Linen is slightly harder to find but very easy to work with. It presses beautifully and looks good even when the sewing is not perfect.
- Ponte knit is the only stretch fabric worth trying early on. It is stable enough to handle without a serger or specialty needles.
Whatever you buy, get at least half a meter more than the pattern requires. Cutting mistakes happen. Having extra fabric turns a mistake into a minor setback instead of a wasted day.
Step 4: Master Your Sewing Machine Without Overwhelm
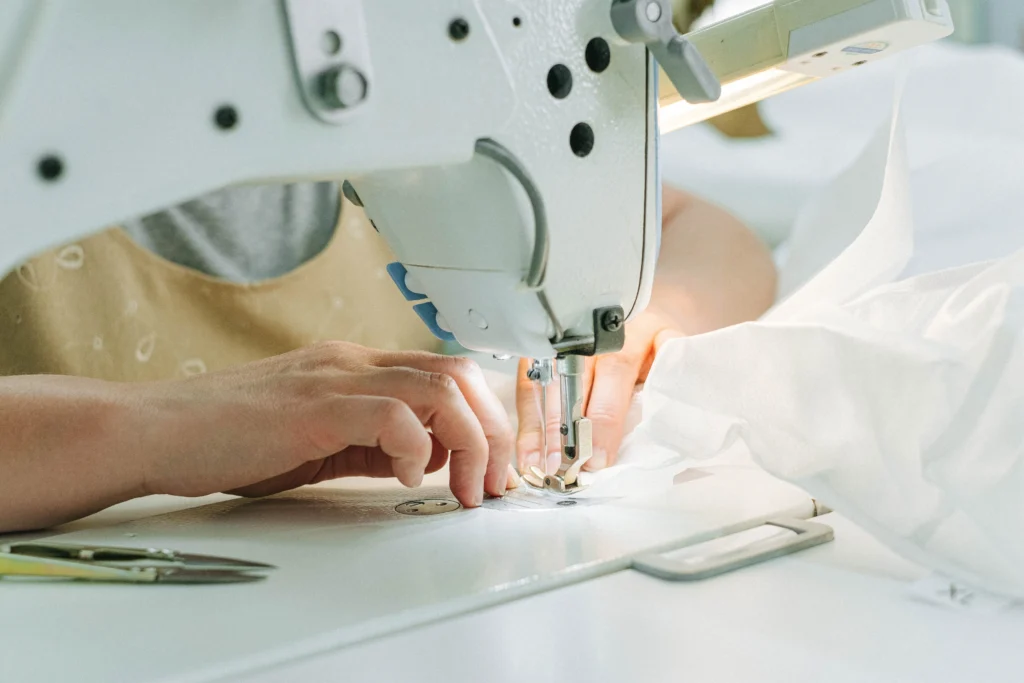
A sewing machine is not complicated once you know what each part does. The learning curve is short.
Before you start your first project, spend an hour just getting comfortable with the machine. Thread it from scratch, then unthread it, then thread it again. Do this until you do not need to look at the manual. Then sew straight lines on scrap fabric until your lines are actually straight. Then curves. Get the foot pedal under control before you work on anything that matters.
Two things trip up almost every beginner:
Thread tension. If your stitches look loopy underneath or are pulling tight on top, the tension is off. Find the tension dial on your machine and start at the middle setting. Always test on scrap fabric when you change thread or fabric weight.
Stopping mid-seam. Always stop with your needle fully up or fully down in the fabric. Never leave it halfway. When you resume sewing from a stop, hold the thread tails behind the foot for the first few stitches so they do not bunch up underneath.
When something goes wrong, stop right away. Do not sew through the problem. Unpick back to where things were correct and start again from there.
Read More: How to Use Fabric Paint: A Complete Beginner’s Guide
Step 5: Cut and Sew With Confidence
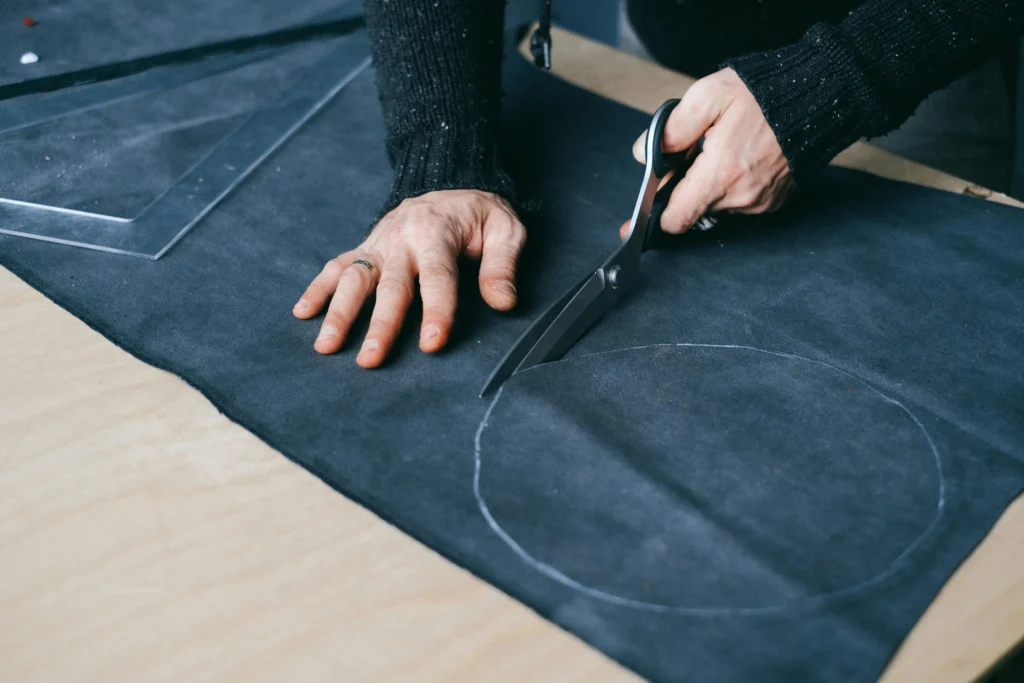
Cutting accurately is half the work. A badly cut piece causes fitting problems that cannot be fixed later.
Press your fabric completely flat before you cut anything. Wrinkles in the fabric when you cut become distortions in the finished garment.
Place your pattern pieces on grain. The straight grain arrow printed on every pattern piece needs to run parallel to the fabric selvage. Getting this wrong makes finished garments twist, pull, or hang badly. Take the time to do it right.
Cut with long, smooth strokes. Short choppy cuts leave uneven edges. Let the full length of the scissor blade do the work.
When you start sewing, line up your notches first. The small triangle marks on your pattern pieces show you exactly how pieces connect and which way they face. They prevent the most common beginner mistakes like sewing a sleeve in backwards.
Press every seam immediately after sewing it, before you move to the next step. This one habit makes a bigger difference to the finished result than any other technique.
Step 6: Finish Like a Pro (Without Complicated Techniques)
A well finished garment looks the same on the inside as it does on the outside. Clean, deliberate, done.
The simplest way to finish raw edges is a zigzag stitch along each seam allowance. Run it right after you sew each seam. It takes seconds and stops the fabric from fraying in the wash. Do it on every seam in every project.
For hems, press the hem allowance up twice so the raw edge is completely hidden inside the fold. Pin in place. Sew along the folded edge with a straight stitch. Press again once it is done.
When the whole garment is finished, press it completely one final time. Every seam, every hem, every edge. Hang it up and let it cool before you try it on.
That last press is the difference between a garment that looks made and one that looks homemade.
Ready to Sew Your First Garment? Start Here
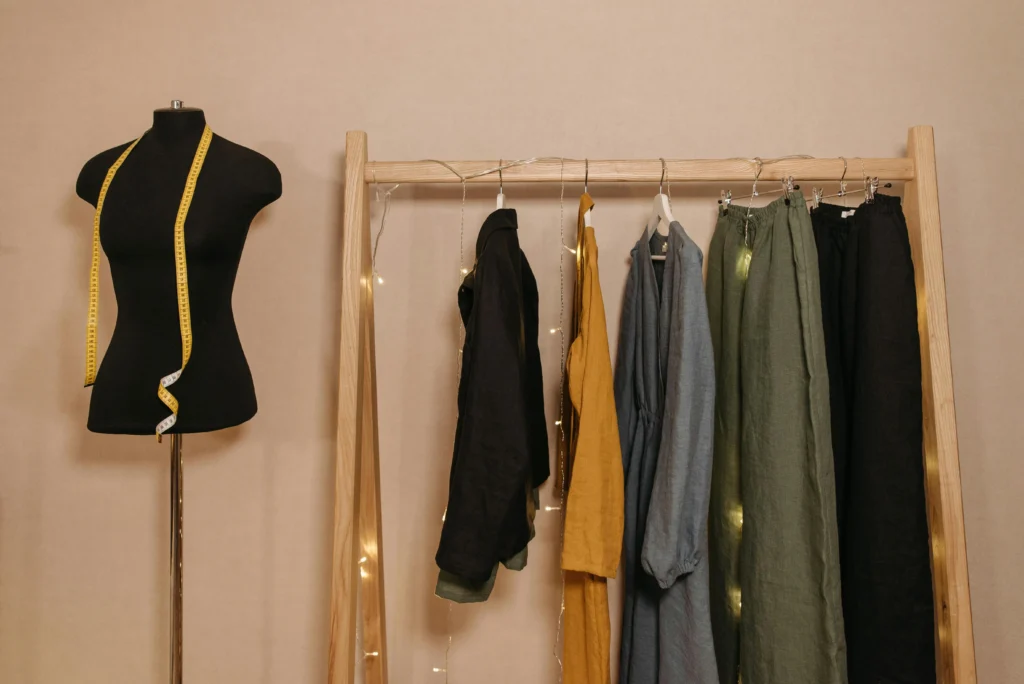
Choose the simplest pattern you can find. Buy the fabric it calls for. Read the pattern all the way through before you touch anything.
Then start.
Your first project will have mistakes in it. That is not a problem. That is how this works. The second one will be better. The one after that better again. Every finished project, however imperfect, gets you further than the perfect one you never started.
Want a free beginner sewing guide to help you get started? Download it below.
Discover More on the Blog
Sew the Perfect Knit Top: A Beginner Pattern
Knit tops look like an advanced project but with stable fabric and a beginner friendly pattern they are completely manageable. This guide covers the whole process without needing a serger.
How to Hack the Faye Blouse Sewing Pattern
The Faye Blouse works well as written. It works even better once you know which details to change. Here are the modifications worth trying once you have sewn it once.
Easy Blouse Sewing Pattern for Beginners
A beginner pattern that actually looks like something you would choose to wear. Few pieces, straightforward construction, and a finished result that reads as far more complicated than it is.
Pingback: How to Sew for Beginners