
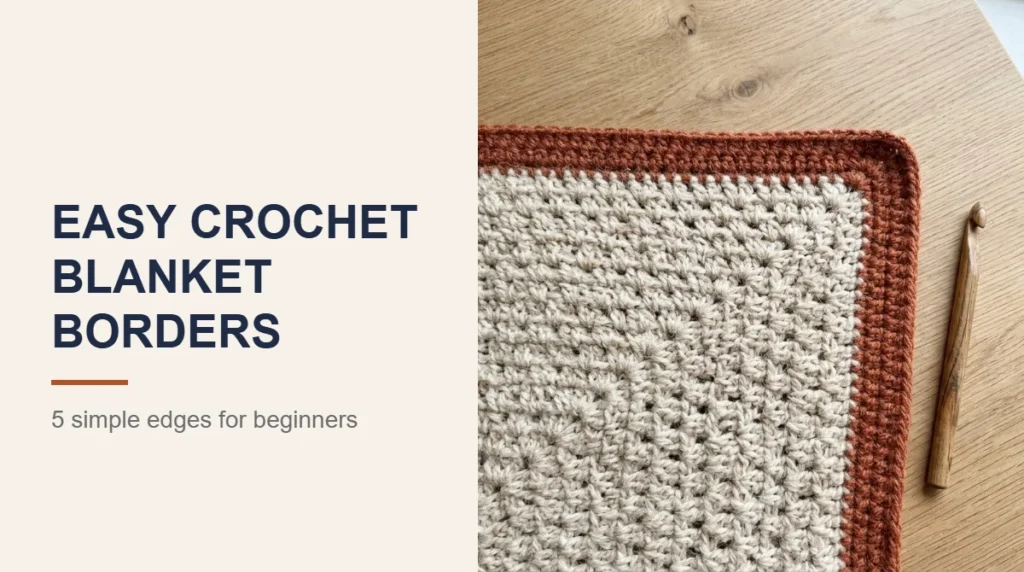
A border is the last thing you add to a crochet blanket, and it changes the whole look of the piece. A plain blanket with wavy, uneven sides can look tidy and finished after one or two rounds around the edge. A border also protects the outer stitches from wear, hides small differences in row length, and gives you a chance to add a contrast color or a pretty edge without learning a whole new pattern.
This guide uses US crochet terms and walks you through five beginner friendly borders, from the simplest single crochet edge to a soft shell edge. You will also learn how many stitches to place along the sides, how to keep corners square, and how to fix a border that ruffles or pulls in. If you are still working on your first blanket, our step by step guide to crocheting a blanket covers the body of the blanket, and this post picks up where it ends. A few locking stitch markers make borders much easier, because you can clip one into each corner stitch before you start.
This post contains affiliate links. As an Amazon Associate I earn from qualifying purchases, at no extra cost to you.
What You Need Before You Start
You do not need anything special for a border. Use the same yarn weight you used for the blanket, either in the main color or in a contrast shade. Most makers use the same hook size as the blanket body. If your stitches tend to be loose, or if you are adding several rounds, a hook one size smaller helps keep the edge firm and flat.
- Your finished blanket, with all yarn ends from the body woven in
- Yarn in the same weight as the blanket
- The blanket hook, or one size smaller
- 4 stitch markers, one for each corner
- Scissors and a yarn needle for weaving in the final ends
To estimate how much yarn a border will use, weigh your skein, work the first round along one full side, then weigh the skein again. Multiply the difference by four for the whole round, then by the number of rounds you plan, and add a little extra for safety. This simple check works for any blanket size and saves you from running out halfway around the last corner.
Step 1: Work a Single Crochet Base Round
Almost every border starts with a round of single crochet. It evens out the edge, gives you a stitch to work into along the sides, and makes the next rounds much easier to count. Join your yarn in a stitch near one corner, chain 1, and work single crochet in each stitch across the top. When you reach the corner stitch, work 3 single crochet into it. That extra stitch is what lets the border turn the corner without pulling.
Along the sides you are working into the ends of rows instead of the tops of stitches. A good starting point is 1 single crochet in the end of each single crochet row, and 2 single crochet in the end of each double crochet row, because a double crochet row is about twice as tall. Insert the hook under two strands of the edge stitch where you can, so the border is anchored firmly and does not leave holes.
Work the bottom edge into the base of the foundation stitches, add 3 single crochet in each remaining corner, and finish the round with a slip stitch into the first stitch. Before you go any further, lay the blanket flat on a table and look at the edge. It should lie flat, without waves or tight pulling.
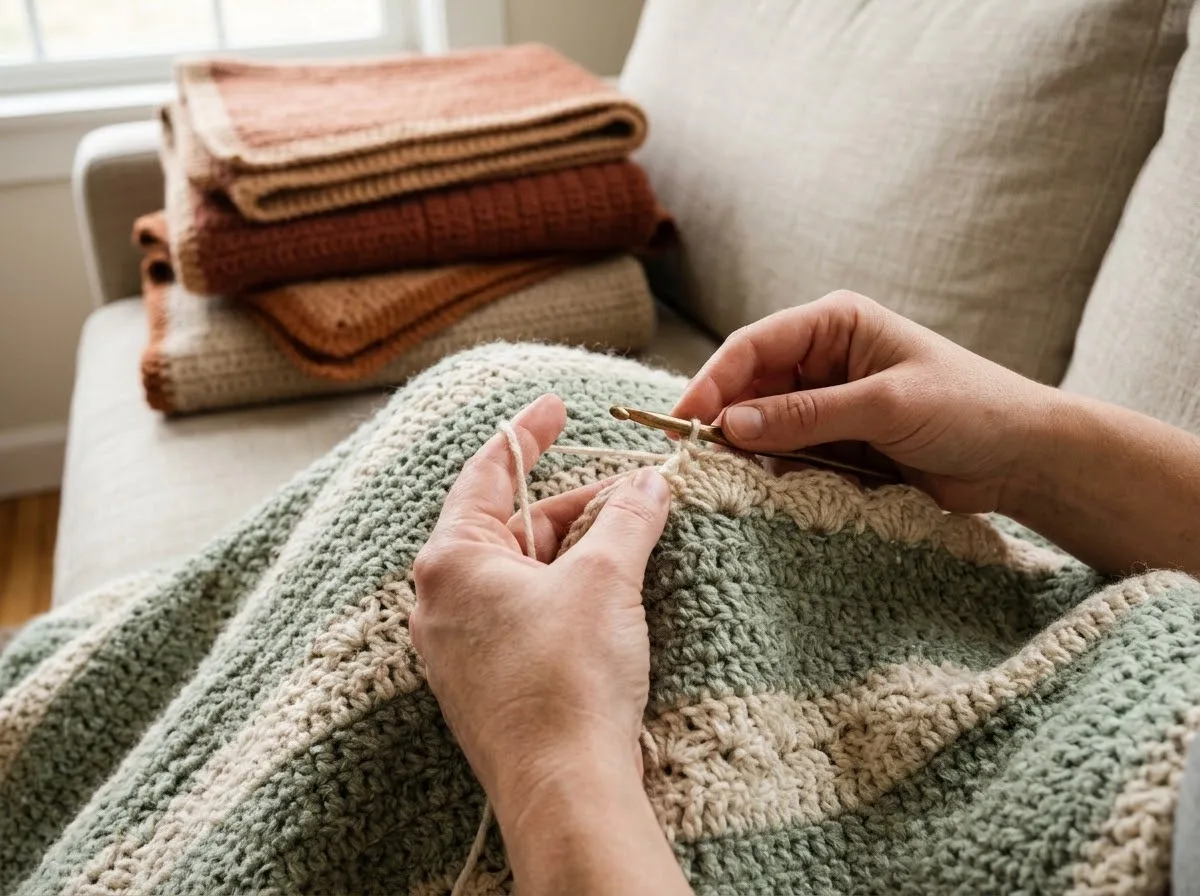
5 Easy Crochet Blanket Borders for Beginners
Once the base round lies flat, you can stop there for a simple, modern edge, or add one of the borders below. Each one is worked on top of the single crochet base round, and you can repeat or combine them to make the border as wide as you like.
1. Single Crochet Border
Simply repeat the base round two or three times. In each new round, work 1 single crochet in every stitch and 3 single crochet in the center stitch of each corner group. This gives a clean, flat frame that suits striped, moss stitch and granny square blankets alike. It is the best choice for a first border because every stitch is easy to see and count.
2. Half Double Crochet Border
For a wider frame that grows faster, work rounds of half double crochet. Chain 2 to start, work 1 half double crochet in each stitch, and in each corner work 2 half double crochet, chain 2, 2 half double crochet into the corner space or center stitch. Two or three rounds make a soft band that looks lovely in a contrast color. If you want to try stripes in the border, our guide on how to change colors in crochet shows how to switch colors neatly at the end of a round.
3. Crab Stitch Border (Reverse Single Crochet)
Crab stitch is a single crochet worked in the opposite direction. If you crochet right handed, you work from left to right instead of right to left. Insert the hook into the next stitch to the right, yarn over, pull up a loop, yarn over and pull through both loops. The twisted stitches form a firm, rope like edge that looks neat and wears well. It feels awkward for the first few stitches, so practice on a small swatch before you go around the whole blanket. Work it as the last round, with 1 crab stitch in each stitch and no extra stitches in the corners.
4. Picot Border
A picot is a tiny loop that sits on top of the edge. To make one, single crochet in the next 3 stitches, chain 3, then slip stitch into the third chain from the hook. Repeat all the way around. The picots add a delicate finish that works well on baby blankets and lighter throws. If a side does not divide evenly by 3, simply work 2 or 4 single crochet before one or two of the picots near the corner. Nobody will notice the difference once the blanket is finished.
5. Simple Shell Border
Shells are groups of taller stitches that fan out from one stitch. A common beginner shell repeat is: skip 2 stitches, work 5 double crochet in the next stitch, skip 2 stitches, single crochet in the next stitch. Each repeat uses 6 stitches, so the shells line up best when each side of the base round has a stitch count that divides by 6. Count each side first. If the count is off by a few stitches, skip 1 or 3 stitches instead of 2 once or twice near the corners, and place one shell right in each corner stitch so the border turns smoothly.
How to Get Square, Flat Corners
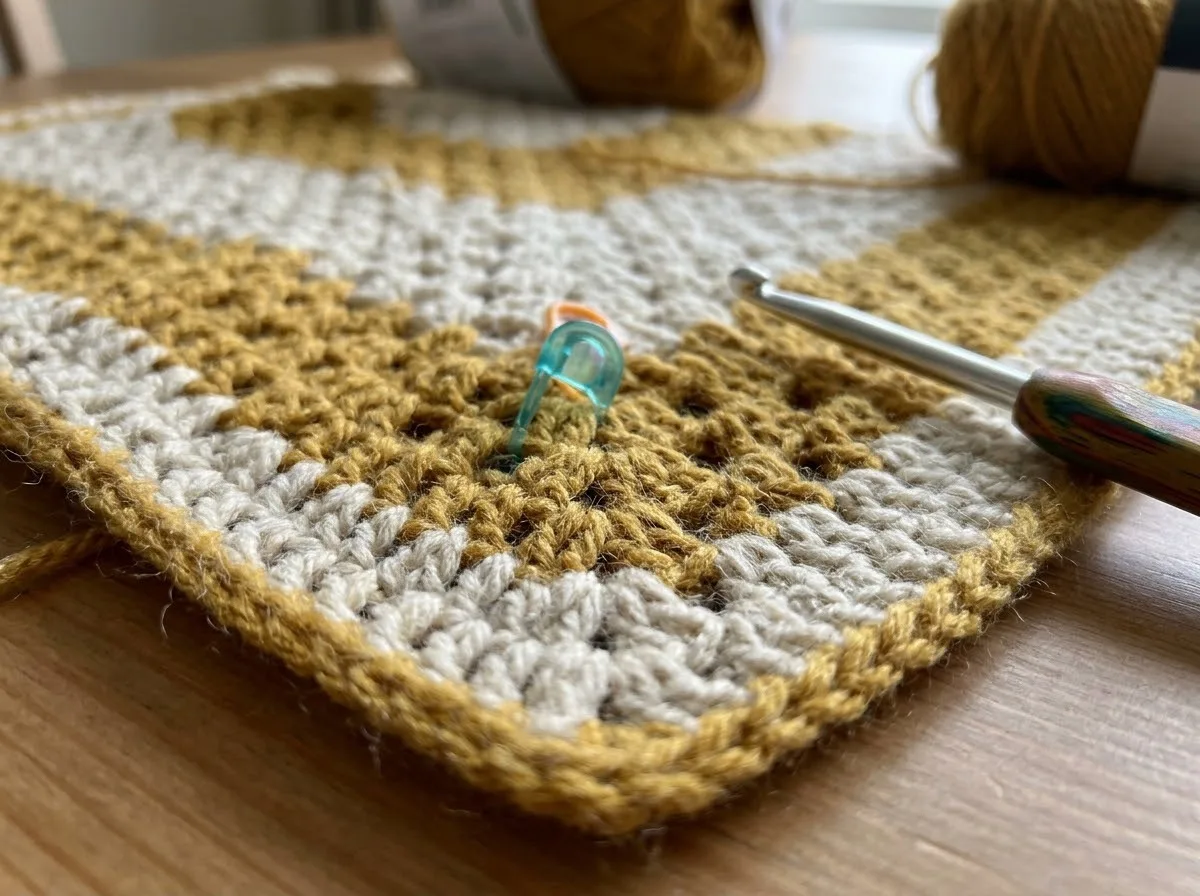
Corners are where most borders go wrong. The rule is simple: the outside edge of a border is longer than the inside edge, so every corner needs extra stitches in every round. With single crochet that means 3 stitches in the corner stitch. With half double crochet or double crochet, a group of 2 stitches, chain 2, 2 stitches in the corner space works well.
Move your stitch marker up at the end of each round, into the center stitch of the new corner group. That way you always know exactly where the next corner goes, and you will not end up with one corner that has drifted a stitch or two to the side. Square corners matter even more on granny square blankets, where the border sits right next to the square shapes.
Border Troubleshooting: Ruffles, Cupping and Gaps
If your border looks wrong, the cause is almost always the number of stitches along the sides. Lay the blanket flat after each round and compare it with the table below. It is much easier to pull out one round than to fix a whole border after it is finished.
| What you see | Likely cause | How to fix it |
|---|---|---|
| Edge waves or ruffles | Too many stitches along that side | Pull out the round and skip a row end every so often |
| Edge pulls in or cups | Too few stitches along that side | Add an extra stitch every few row ends |
| Corners curl up | Not enough stitches in the corner | Work 3 single crochet or a 2, ch 2, 2 group in each corner |
| Corners stick out like points | Too many corner stitches | Use 3 stitches instead of 5 in the corner |
| Holes along the sides | Hook inserted under only one strand | Work under two strands of the edge stitch |
Tension plays a part too. Many people crochet more loosely when they work along row ends, because the stitches feel unfamiliar. If the whole border flares even though your count is right, try a hook one size smaller for the border rounds only.
Finishing Your Border
When the last round is done, slip stitch into the first stitch, cut the yarn and leave a tail of about 6 inches (15 cm). Pull the tail through the last loop and weave it into the border in at least two directions so it cannot work loose. A simple trick for a seamless join is to skip the slip stitch, thread the tail onto your needle, pass it under both loops of the second stitch of the round, and back down through the center of the last stitch. This makes a stitch that looks just like the others.
Finally, give the blanket a gentle wash or a light steam according to the yarn label, and lay it flat to dry. This relaxes the stitches and helps the border settle into a straight, even frame. The Craft Yarn Council abbreviation list is a handy reference if you come across stitch names you have not used before.
Frequently Asked Questions
Should I use the same hook for the border as for the blanket?
Usually yes. If your border ruffles even when the stitch count is right, or if you crochet loosely along the sides, switch to a hook one size smaller for the border rounds.
How many stitches do I put along the sides of a blanket?
Start with about 1 single crochet per single crochet row end and 2 single crochet per double crochet row end. Then check that the edge lies flat and adjust the spacing if it waves or pulls in.
How wide should a blanket border be?
Two to four rounds is common for a throw or baby blanket. A narrow border looks modern, while a wider one frames a busy pattern. Keep the border in proportion to the blanket, and always finish with a round that lies flat.
Can I add a border to a blanket made by someone else?
Yes. Work a single crochet base round first to even out the edge, then add any border you like. It is a lovely way to refresh an older blanket or one with a worn edge.
The Bottom Line
The best beginner blanket border starts with a flat single crochet base round, with 3 stitches in every corner and the right number of stitches along the sides. From there you can stop for a clean frame, or add half double crochet, crab stitch, picot or shell rounds for a more decorative finish. Check the edge after every round, fix waves or cupping early, and weave in the final tail carefully. If you want more practice first, try a small moss stitch blanket and give it one of these borders as your finishing touch.