My machine jammed mid-seam three times in one afternoon before I finally admitted I had no idea what I was actually looking at underneath the needle plate. I almost paid a repair shop forty dollars just to look at it, until a quick search told me the entire problem was a tangle of lint the size of a marble sitting inside the bobbin case. Thirty seconds with a small brush and the machine ran perfectly for another two years. Most sewing machine problems are exactly like that one, small, unglamorous, and fixable at your own table in less time than it takes to drive to a repair shop.
Quick Answer: The four most common sewing machine problems, thread bunching underneath, skipped stitches, fabric not feeding, and the needle breaking, are almost always caused by incorrect threading, a dull or bent needle, lint buildup, or tension that’s out of balance. Rethreading from scratch and cleaning out the bobbin area resolves the majority of these issues without any tools beyond what came with the machine.
Why Most Problems Aren’t Actually Mechanical Failures
It’s tempting to assume a machine acting up needs professional repair, but the overwhelming majority of sewing machine complaints trace back to four things: threading mistakes, a bad needle, built-up lint, or tension settings nudged out of place. None of these require a technician. They require noticing what’s actually happening and knowing where to look.
The pattern holds true whether the machine cost eighty dollars or eight hundred. Expensive machines aren’t immune to lint buildup, and budget machines aren’t inherently more failure-prone than their pricier counterparts. What actually predicts how often a machine has problems is how it’s threaded and how often it’s cleaned, not its price tag.
There’s also a psychological trap worth naming here. A machine that suddenly refuses to sew feels like it’s broken in some fundamental way, and that panic pushes people toward the most drastic fix available, which is usually paying someone else to look at it. In reality, the machine almost certainly worked fine five minutes before the problem started, which means something small changed, a thread path slipped, lint accumulated, a needle dulled, not that the machine itself failed.
Problem, Likely Cause, and Fix at a Glance
If you’re still deciding what machine to buy in the first place, our best sewing machines for beginners guide covers which features actually reduce how often you’ll run into the problems below.
| Problem | Most Likely Cause | Quick Fix |
|---|---|---|
| Thread bunching underneath | Incorrect top threading | Rethread from scratch, top thread first |
| Skipped stitches | Bent or dull needle | Replace the needle |
| Fabric not feeding | Feed dogs lowered or lint-clogged | Check feed dog switch, clean lint |
| Needle breaking | Wrong needle size or pulling fabric | Match needle to fabric, stop pulling |
| Uneven tension | Tension dial nudged out of range | Reset to default, adjust gradually |
| Loud clunking noise | Lint or thread caught in the mechanism | Clean bobbin area and feed dogs |
How to Diagnose and Fix Common Problems (Step by Step)
Step 1: Rethread the Machine Completely
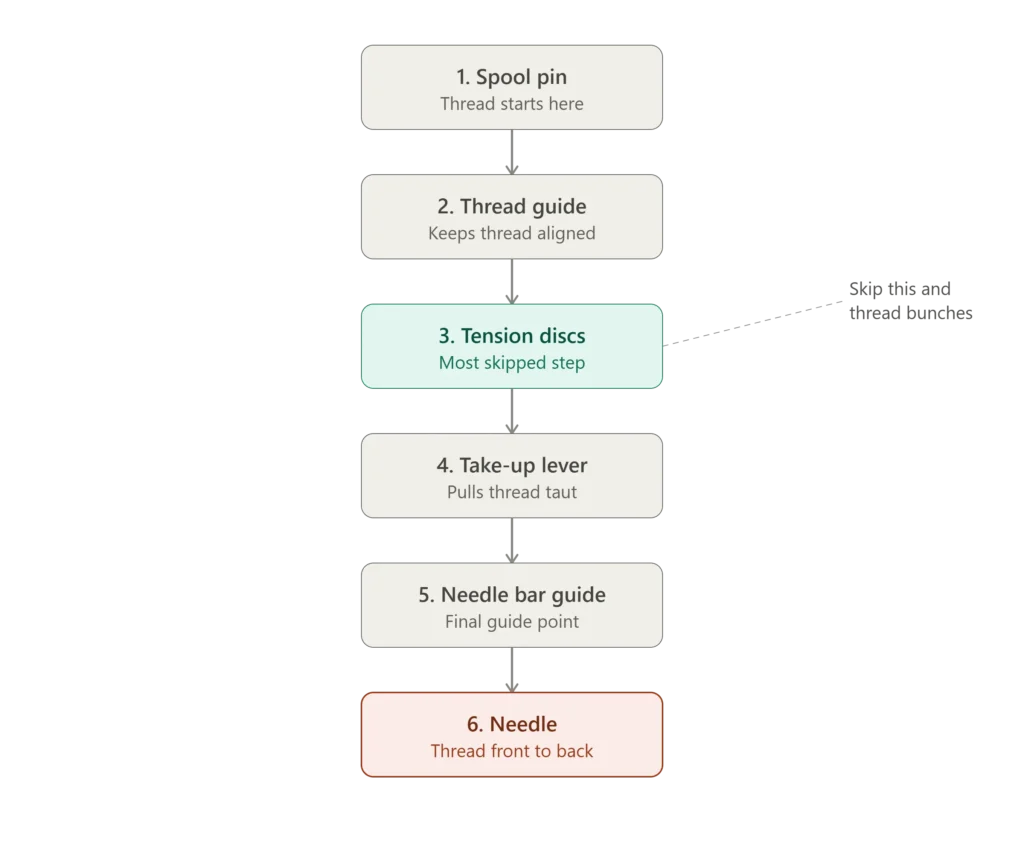
Before touching any settings, remove the thread entirely and rethread from the very top, following the machine’s threading path exactly, including the tension discs and take-up lever. A huge number of stitching problems disappear the moment threading is done correctly from scratch, since a single skipped guide point throws off the entire path. It’s worth doing this even if you’re fairly confident the machine was threaded correctly, since it’s such a fast check relative to how often it turns out to be the actual cause. If you’re still building confidence with the basics, our complete guide to hand and machine sewing covers threading fundamentals in more depth.
Step 2: Check and Replace the Needle
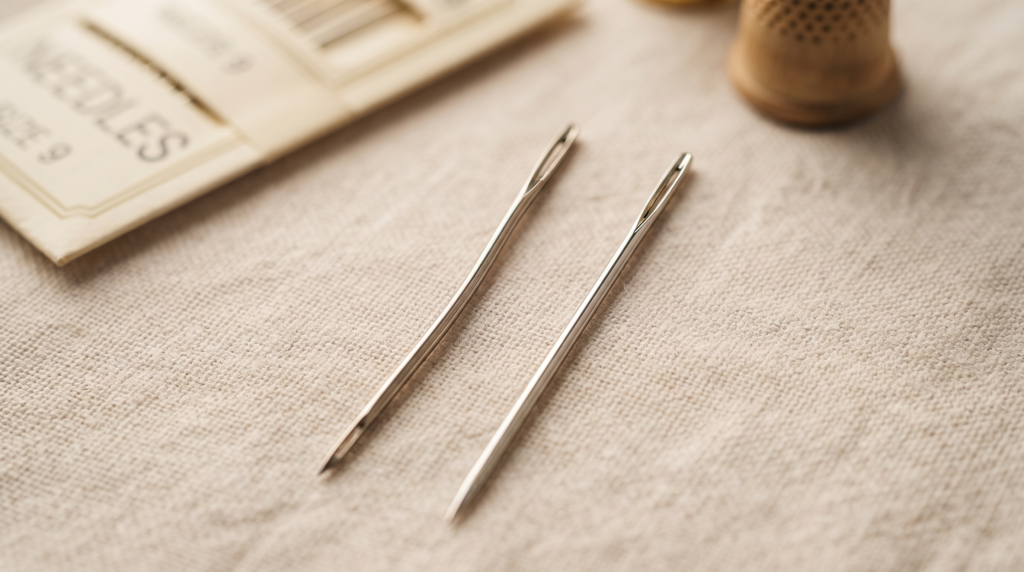
Needles bend or dull with regular use, often without any visible sign. If you’re seeing skipped stitches or hearing a faint popping sound as the needle passes through fabric, replace it, even if it looks fine. A fresh needle costs very little and solves a disproportionate number of problems for its price.
Step 3: Clean Out the Bobbin Area
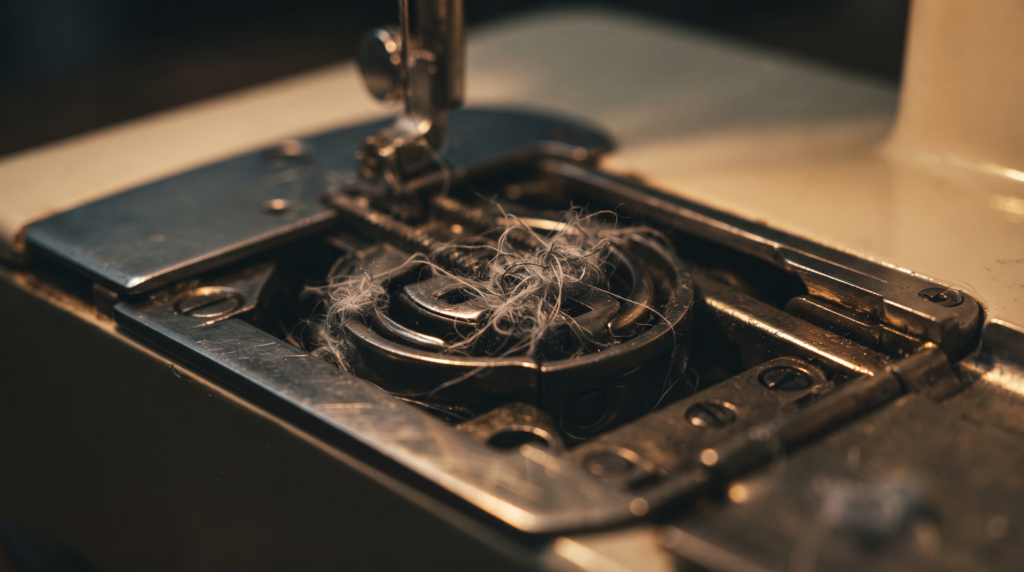
Remove the bobbin case and use a small brush, the kind that usually comes with the machine, to clear out lint from around the feed dogs and bobbin housing. Lint builds up gradually and invisibly, and it’s one of the most common causes of jamming, uneven feeding, and strange noises.
Step 4: Check the Bobbin Itself
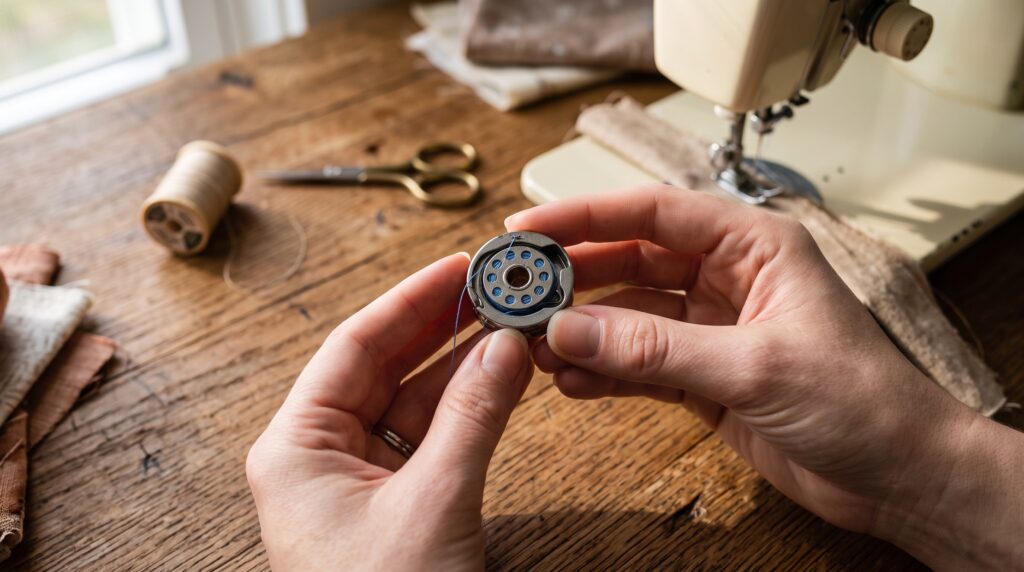
Confirm the bobbin is wound evenly and inserted the correct direction, since an unevenly wound bobbin or one inserted backward causes tension problems that look identical to top-thread issues. Refer to your manual’s diagram if you’re unsure which direction the bobbin should sit.
Step 5: Fix Uneven Tension by Resetting to Default
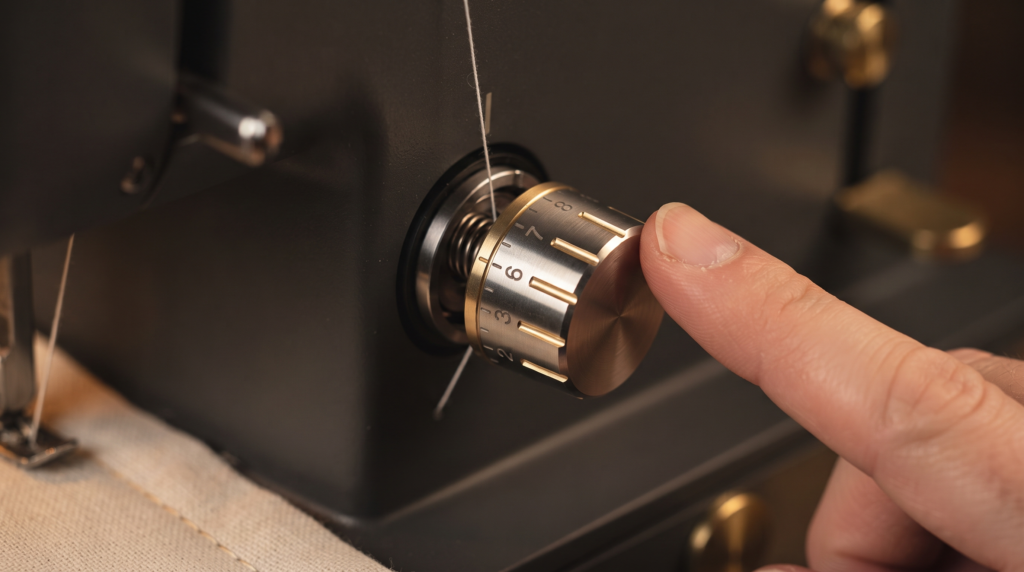
If stitches look loose on one side and tight on the other, the tension dial has likely been nudged. Set it back to the machine’s default marked setting, usually in the middle of the range, then test on a scrap fabric before adjusting further in small increments. I spent an entire evening once convinced my machine’s tension mechanism was failing, turning the dial further and further in the wrong direction, when the actual problem was a cat that had walked across my sewing table and bumped it two notches off center.
Step 6: Fix Fabric Not Feeding Through the Machine
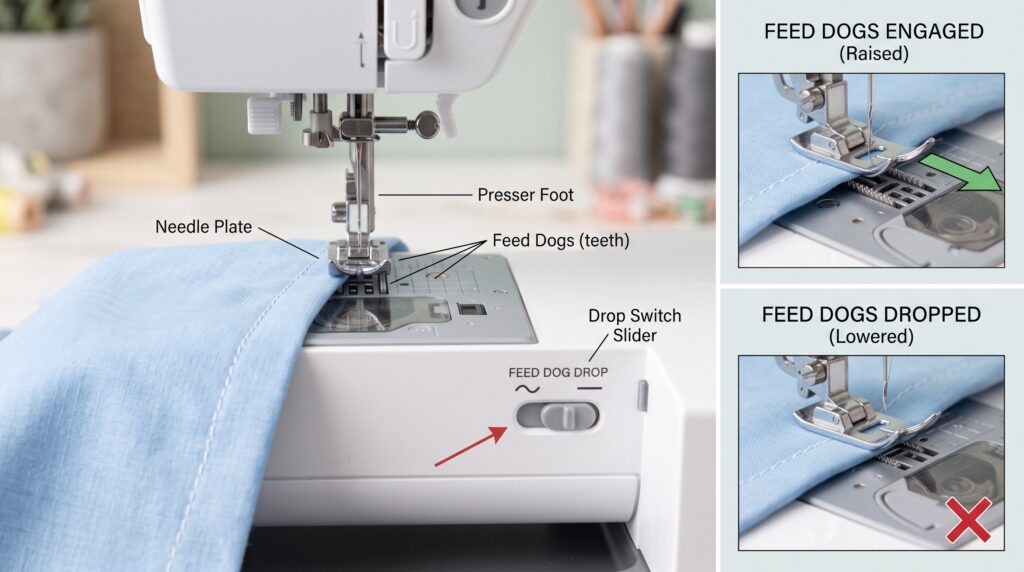
Fabric that won’t feed through the machine at all often means the feed dog drop switch has been accidentally engaged, a feature normally used for free-motion quilting. Check that switch before assuming a mechanical fault.
When It’s Actually Time for a Repair Shop
Most problems resolve through the steps above, but a few signs point to something beyond a home fix: a grinding or metallic sound that persists after cleaning, a motor that won’t engage at all, or visible damage to internal gears. If you’ve worked through rethreading, needle replacement, and cleaning without success, that’s a reasonable point to stop troubleshooting and get a professional opinion rather than risk further damage. For deeper troubleshooting on specific error patterns, Singer’s official support resource covers a wide range of model-specific issues beyond the general fixes here.
Preventing Most of These Problems Before They Start
A quick lint clean after every few hours of active sewing and a needle change every project or two prevents the majority of issues covered here from happening in the first place. Keeping the machine covered when it’s not in use also cuts down on the dust and lint that cause many of these same problems over time.
Building these small habits into your regular sewing routine, rather than treating them as extra chores, is really the difference between a machine that runs smoothly for years and one that ends up at a repair shop every few months. None of it takes more than a few minutes, and all of it is far less disruptive than stopping mid-project to troubleshoot a jam you could have prevented.
Frequently Asked Questions
Why is my sewing machine making a loud clicking noise? This is most often caused by lint or a thread fragment caught somewhere in the bobbin area or feed dog mechanism. Cleaning that area resolves the noise in most cases without needing a repair visit.
Why does my thread keep breaking? Thread breaking usually points to incorrect threading, a rough spot on the needle, or tension set too tight. Rethreading from scratch and swapping in a fresh needle resolves this in the majority of cases.
How often should I change my sewing machine needle? As a general rule, every project or after about eight hours of sewing, whichever comes first. Needles dull faster than most people expect, especially on denser fabrics.
Why is my fabric not feeding through the machine? Check first whether the feed dog drop switch has been accidentally engaged, since this disables fabric feeding entirely and is often mistaken for a mechanical fault.
Can I fix tension problems myself, or do I need a professional? Tension issues are almost always fixable at home by resetting the dial to default and adjusting in small increments while testing on scrap fabric. Professional help is rarely needed unless the tension mechanism itself is physically damaged.
Is it normal for a sewing machine to need this much regular troubleshooting? Some amount of maintenance is normal for any mechanical tool used regularly, similar to how a car needs oil changes. The frequency of actual problems drops significantly once cleaning and needle changes become a routine habit rather than something done only after something goes wrong.
Most of these fixes take less than five minutes once you know what to look for, which is usually the difference between a frustrating afternoon and a quick pause in your project.