My first embroidery hoop sat untouched in a drawer for months because I’d bought a stitch dictionary with over 200 techniques in it and had no idea where to even begin. A friend eventually sat me down, taught me four stitches in one afternoon, and I finished my first small design before dinner. Years later I still reach for those same four stitches in almost everything I make, along with two more I picked up shortly after. The dictionary stayed in the drawer. Turns out you never needed most of it in the first place.
Quick Answer: Six stitches cover nearly everything a beginner needs: running stitch, backstitch, satin stitch, French knot, stem stitch, and lazy daisy stitch. Together they handle outlines, fill, texture, and small details, which is enough to complete most beginner-friendly embroidery patterns without ever opening a full stitch dictionary.
Why Six Stitches Is Genuinely Enough
Embroidery has a reputation for being technically endless, and in a sense it is, the Royal School of Needlework’s own stitch archive documents hundreds of named techniques collected from traditions around the world. That scale is fascinating for historians and advanced stitchers, but it’s exactly the wrong place for a beginner to start.
Nearly every beginner-friendly design breaks down into four jobs: outlining a shape, filling it in, adding texture, and placing small details like flower centres or dots. Six stitches cover all four of those jobs completely. Everything past that point is a variation or a speciality technique for a specific effect, useful eventually, but not necessary to make something you’re proud of on day one.
There’s a real cost to starting with too many options too soon. Flipping through a 200-stitch dictionary before you’ve even threaded a needle creates decision fatigue before the actual sewing begins. Narrowing the field to six removes that friction entirely, and each of the six comes up so frequently in beginner patterns that you’ll have them memorized within a few projects without ever consciously trying to.
The 6 Stitches, What Each One Is For
| Stitch | Best For | Difficulty |
|---|---|---|
| Running Stitch | Simple outlines, dashed lines | Easiest |
| Backstitch | Clean, solid outlines and text | Easy |
| Stem Stitch | Curved lines, stems, flowing text | Easy |
| Satin Stitch | Filling small shapes solidly | Moderate |
| French Knot | Flower centers, small dots, texture | Moderate |
| Lazy Daisy Stitch | Individual petals, leaves | Moderate |
How to Work Each Stitch (Step by Step)
Step 1: Running Stitch
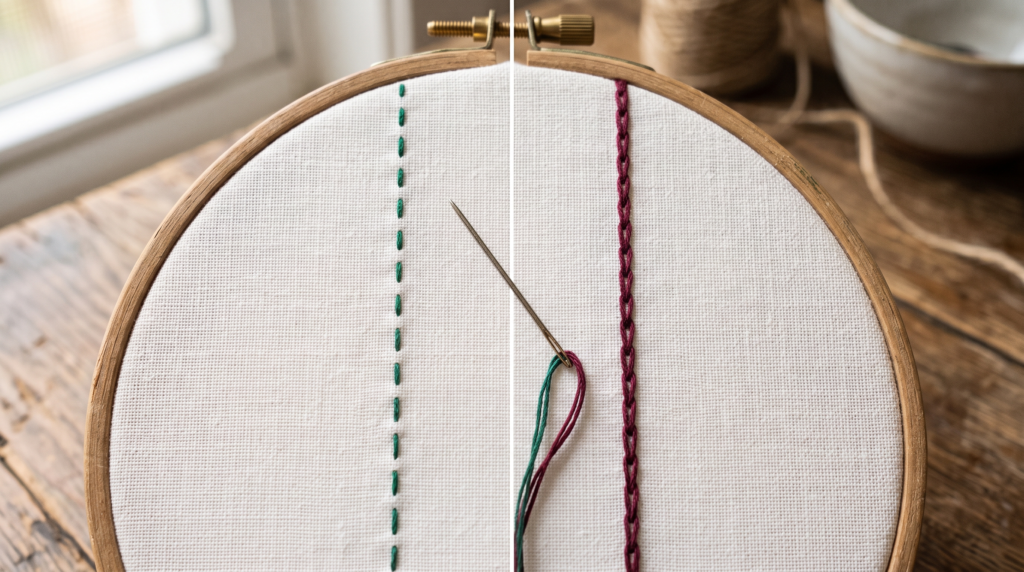
Bring the needle up through the fabric, then back down a short distance ahead, creating a small stitch. Bring it back up again, skipping an equal gap, and repeat in a straight line. Keep your stitch length and gaps consistent for a clean, even dashed line.
Step 2: Backstitch
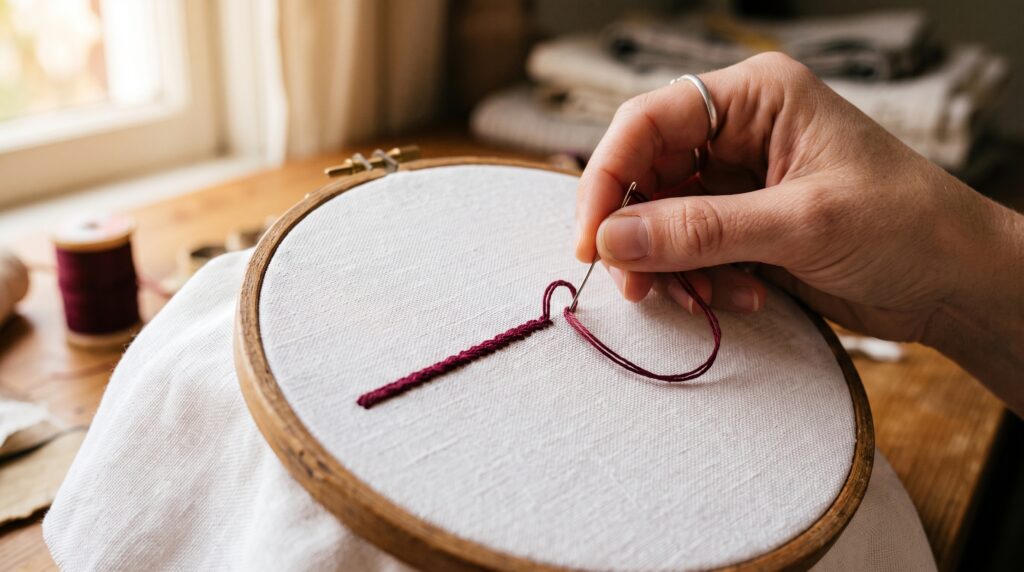
Bring the needle up a short distance ahead of where you want your line to start, then insert it back down at the actual starting point, stitching backward. Bring the needle up again one stitch-length ahead of that first stitch, then insert it back down into the same hole where the previous stitch ended. This creates a continuous, solid line with no gaps, which is why it’s the go-to choice for text and clean outlines.
Step 3: Stem Stitch
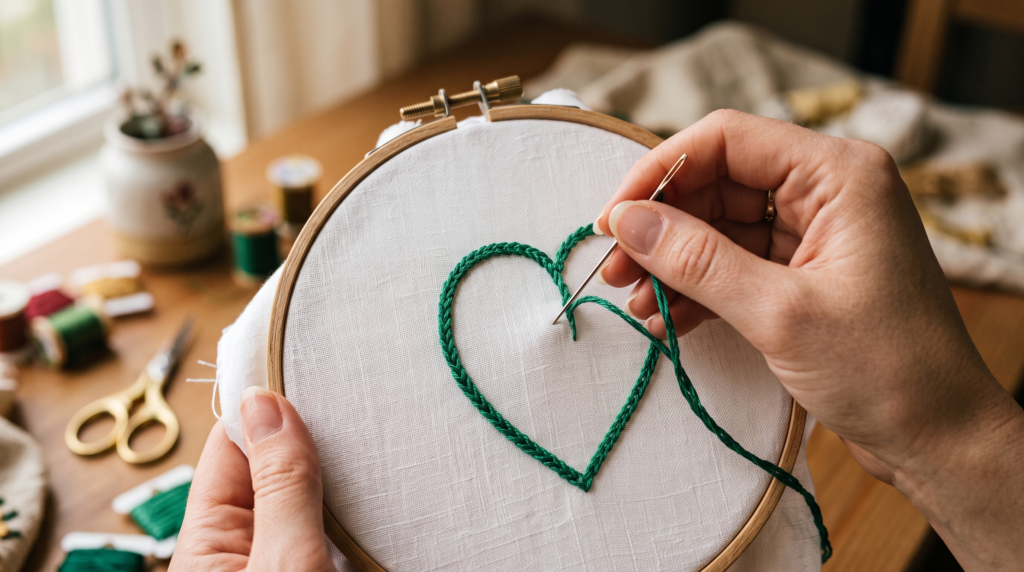
Working left to right, bring the needle up, then insert it down at a slight diagonal ahead of your starting point. Bring the needle back up halfway along that stitch, slightly below the thread line, then continue forward and repeat. The slight overlap and consistent angle is what gives this stitch its signature twisted, rope-like texture, making it ideal for curved lines like flower stems.
Step 4: Satin Stitch
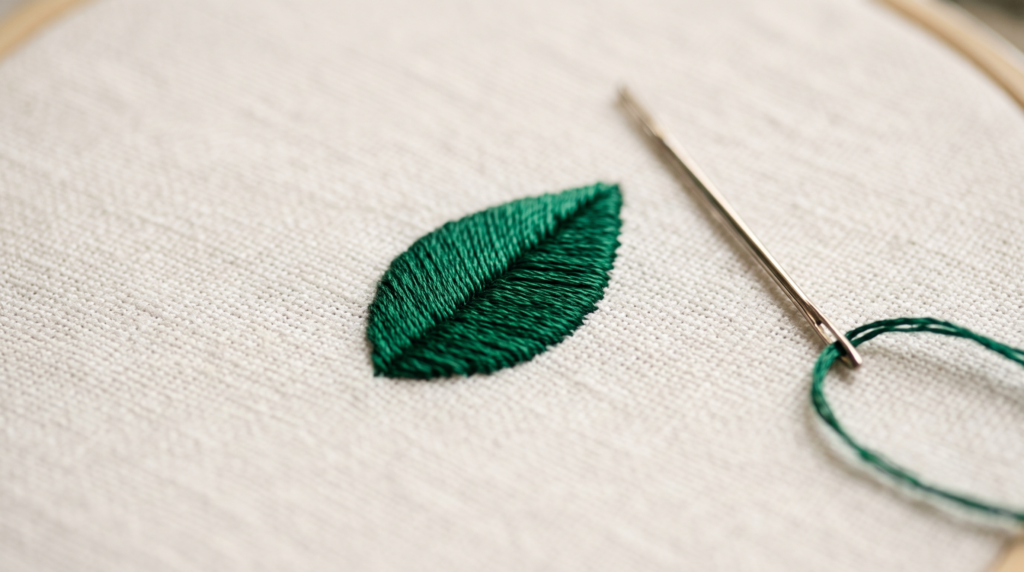
Outline the shape you want to fill first, either lightly in pencil or with a small running stitch. Starting at one edge, bring the needle up on one side of the shape and down directly across on the other side, working straight stitches side by side with no gaps between them until the entire shape is covered. Keeping consistent tension across every stitch is what keeps the fill looking smooth rather than lumpy.
Step 5: French Knot
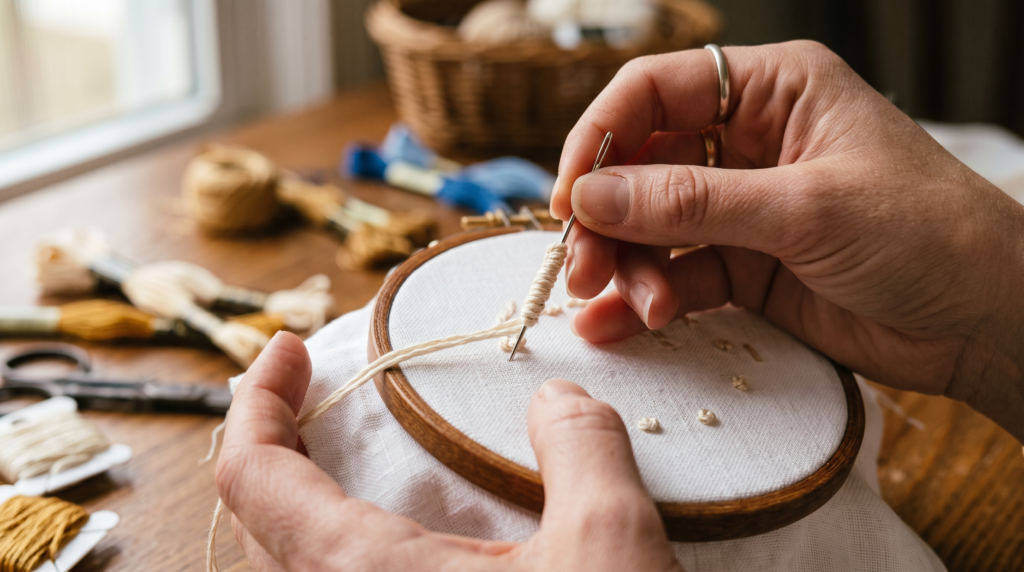
Bring the needle up through the fabric, then wrap the thread around the needle two or three times close to where it exits the fabric. Holding the wrapped thread firmly in place with your non-needle hand, insert the needle back down very close to, but not exactly in, the same hole it came up through. Pull the needle through slowly while keeping tension on the wraps, which forms a small, neat knot sitting on the fabric’s surface.
Step 6: Lazy Daisy Stitch
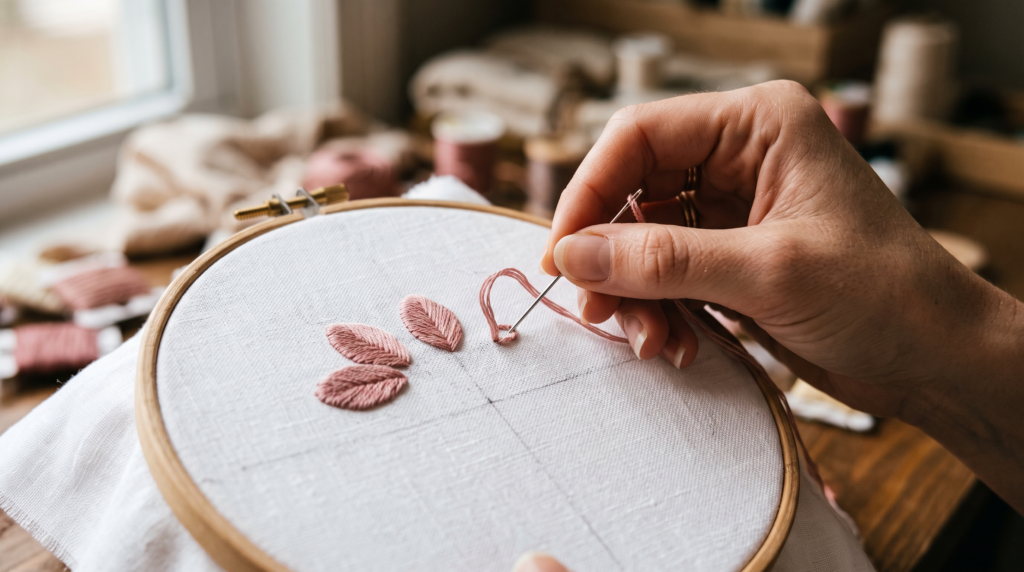
Bring the needle up at the base of where your petal or leaf will sit. Insert it back down in almost the same spot, but don’t pull it all the way through, leave a small loop of thread on the surface. Bring the needle up again at the tip of where you want the petal to end, catching the loop underneath the needle. Pull through gently, then anchor the loop in place with a tiny straight stitch over its top end.
Read More:15+ Embroidery Design Ideas
Common Beginner Mistakes With These Stitches
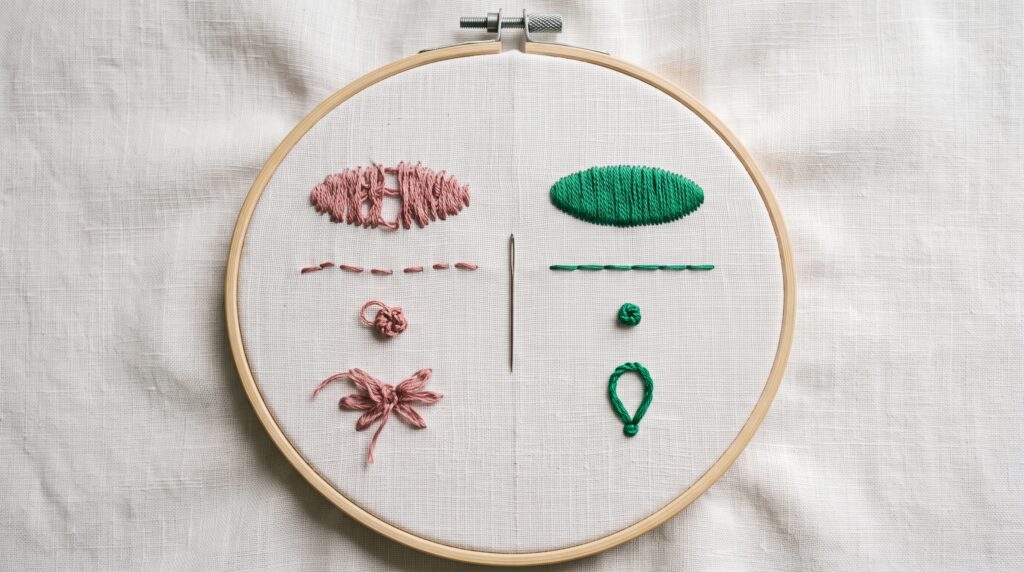
- Pulling thread too tight on satin stitch, which puckers the fabric and distorts the shape
- Inconsistent stitch length on running and backstitch, which makes lines look uneven
- Losing tension on the wraps during a French knot, resulting in a loose, messy knot instead of a defined one
- Working stem stitch at an inconsistent angle, which breaks the smooth, rope-like texture
- Not anchoring the tip of a lazy daisy loop firmly enough, letting the petal shape flatten out over time
Choosing the Right Embroidery Floss and Hoop
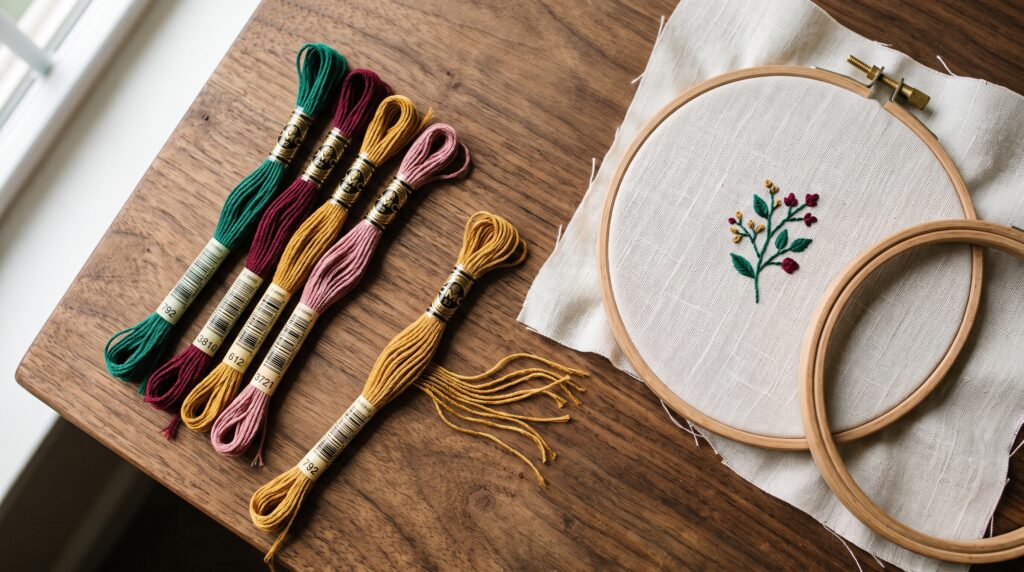
Most beginner patterns are designed around 6-strand cotton embroidery floss, typically split down to 2 or 3 strands for finer detail work and used at full thickness for bolder fills. A 6 to 8 inch wooden or plastic hoop is the most manageable size for a beginner, large enough to work comfortably but small enough to keep fabric tension even across the whole design. For a closer look at how individual stitches are structured and where they originate, the RSN Stitch Bank, maintained by the Royal School of Needlework, is one of the most thorough references available for stitchers at any level.
Practicing Before You Commit to a Real Design
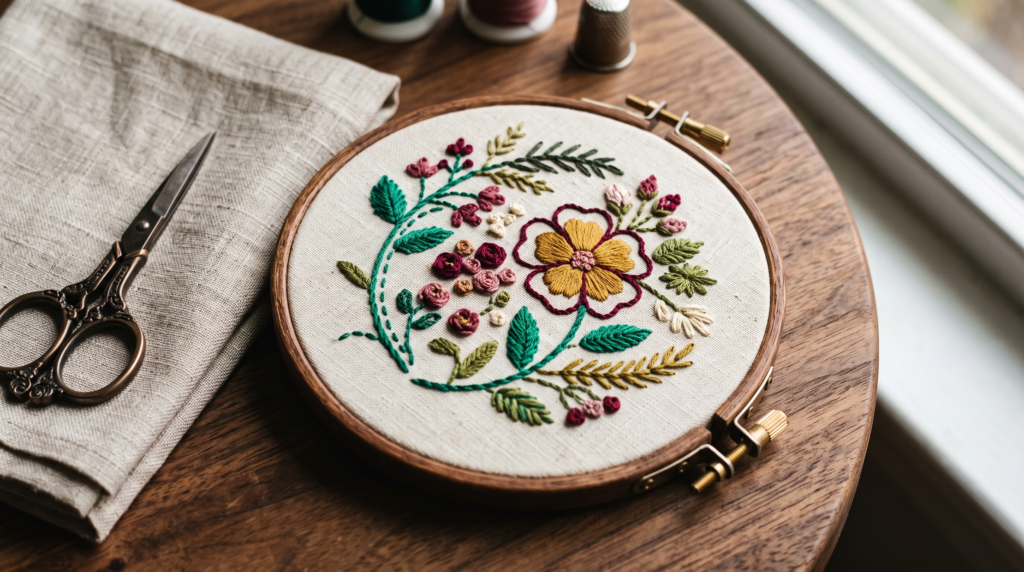
Before starting on an actual project, it’s worth spending twenty minutes on a scrap piece of fabric just practicing tension and spacing on each of these six stitches. Muscle memory for consistent tension takes longer to build than the stitch mechanics themselves, and a scrap practice round means your first real design isn’t also your first attempt at getting the tension right. A plain piece of cotton scrap and a spare hoop is all this takes, and it’s worth doing even if it feels like an unnecessary extra step before the project you actually want to start.
Frequently Asked Questions
What’s the easiest embroidery stitch to learn first? Running stitch. It’s a single, repeated motion with no wrapping or looping involved, making it the simplest starting point before moving on to backstitch or stem stitch.
Do I need a stitch dictionary as a beginner? Not right away. Six core stitches cover the large majority of beginner-friendly patterns, and a full stitch dictionary becomes more useful once you’re ready to explore specialty techniques.
What thread works best for beginner embroidery? Standard 6-strand cotton embroidery floss is the most common and forgiving choice, since it’s widely available and easy to split into thinner strands for detail work.
Why does my satin stitch look lumpy instead of smooth? This usually comes from uneven tension between stitches or stitches placed at slightly inconsistent angles. Keeping the tension even and the stitches parallel is what creates a flat, smooth fill.
How long does it take to learn these six stitches? Most beginners can learn the mechanics of all six in a single afternoon, though building comfortable, even tension across each one typically takes a few practice sessions.
Can I mix these stitches within a single design? Yes, and most patterns expect you to. A typical beginner floral design might use stem stitch for the stems, satin stitch to fill the petals, French knots for the flower centers, and backstitch to outline the leaves, all in the same piece.
Looking for design ideas to practice these stitches on, our embroidery design ideas roundup is a good next stop once you’re ready for a real project.
Once you’re comfortable with hand stitching, our complete guide to hand and machine sewing covers the sewing fundamentals that pair well with embroidery work.