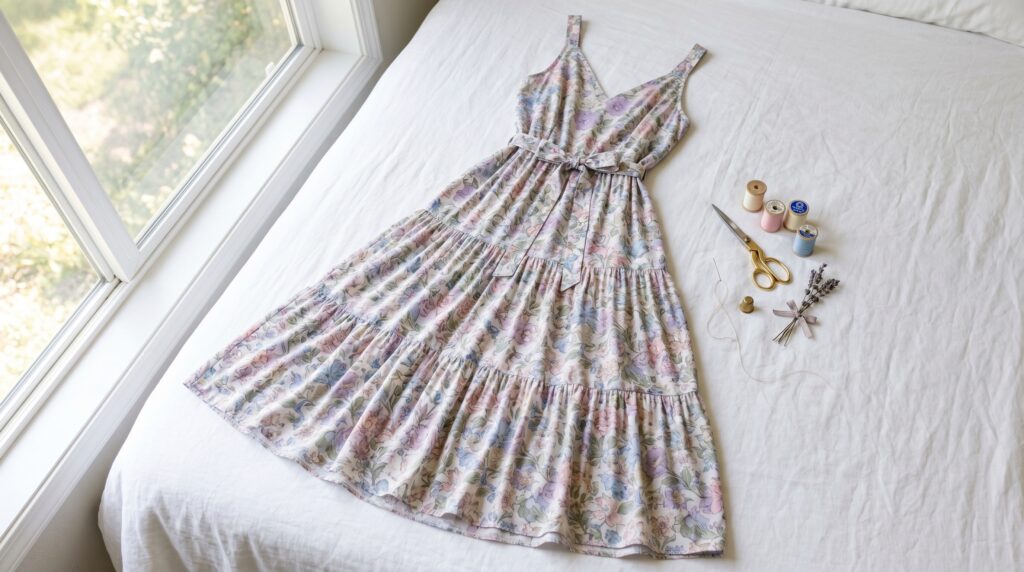
Making your own maxi dress is one of those projects that changes how you think about sewing altogether. Want to sew a DIY maxi dress at home but do not know where to start? This step-by-step maxi dress sewing tutorial covers everything from picking the right style and fabric to drafting a free maxi dress pattern and hemming the final dress. Whether this is your first beginner sewing project or you are ready to level up your skills, this guide gives you everything you need.
Once you understand how a maxi dress goes together, you can make it in any fabric, any color, and any style without ever needing to buy a commercial sewing pattern again.
Step 1: Choose the Right Maxi Dress Style Before Cutting
The style you choose determines every construction step that follows. Pick something beyond your current skill level and you will spend more time unpicking seams than sewing them. Here is an honest breakdown of what each style actually demands.
Tiered Maxi Dress Pattern
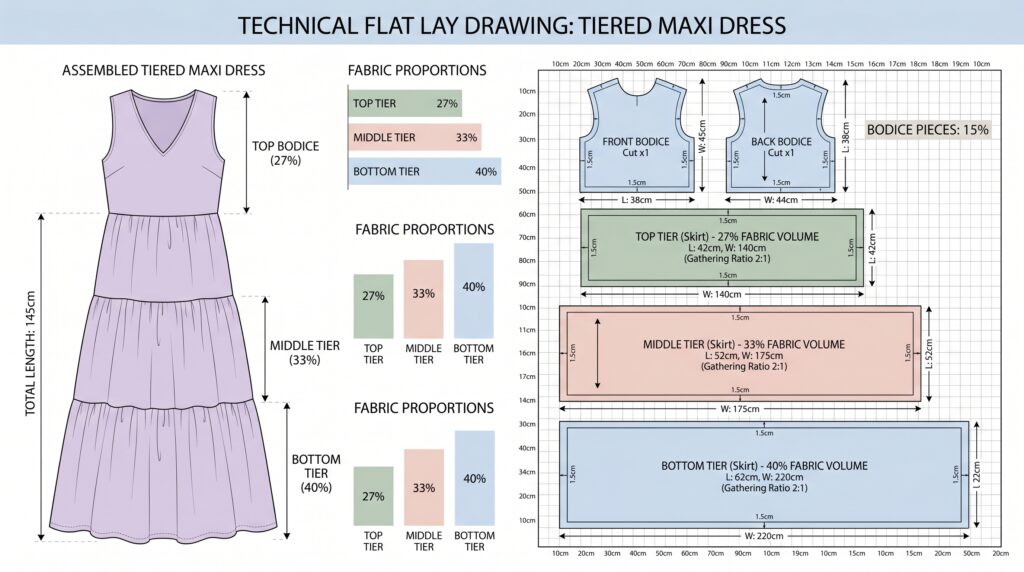
The tiered maxi dress is the best starting point for almost any beginner sewing project. Three horizontal fabric panels are gathered and attached to each other, with elastic at the waist handling all the fit. There is no zipper, no fitted waist pattern piece, and no complicated shaping involved.
The one thing that trips people up is cutting all three tiers the same height. Correct tier proportions are:
- Bottom tier: 40% of total skirt length
- Middle tier: 33% of total skirt length
- Top tier: 27% of total skirt length
Equal tiers make the dress look flat and proportionally wrong. Unequal tiers give it visual balance that makes it look like it was designed that way.
A-Line Maxi Dress Pattern
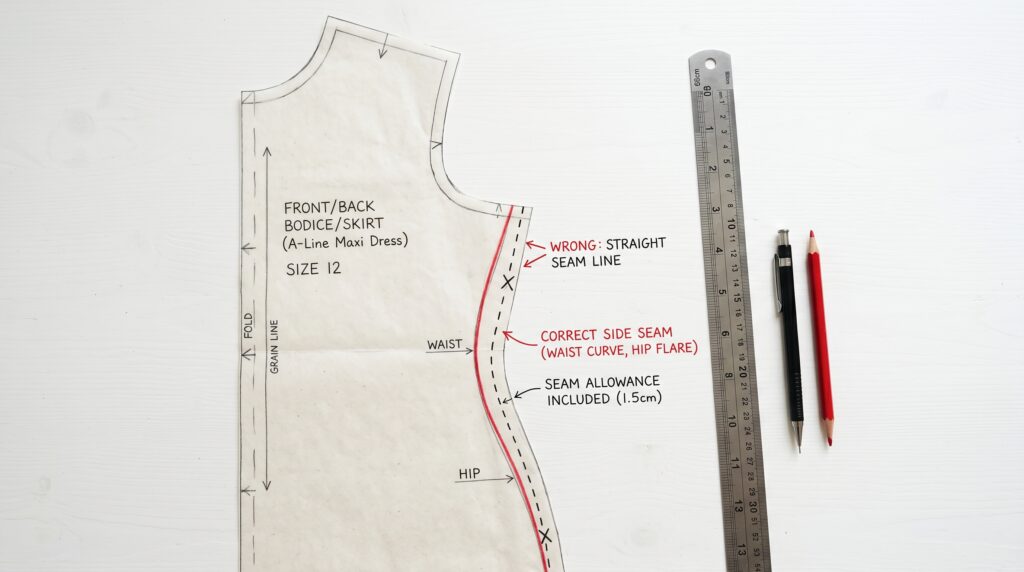
More structured and more polished than a tiered dress. The bodice is fitted and the skirt gradually widens from the hip downward. The detail that catches people out is the side seam shape. It needs a gentle inward curve through the waist and a soft outward curve at the hip. Sewists who cut straight side seams find that the front hem pulls downward and the back rides up.
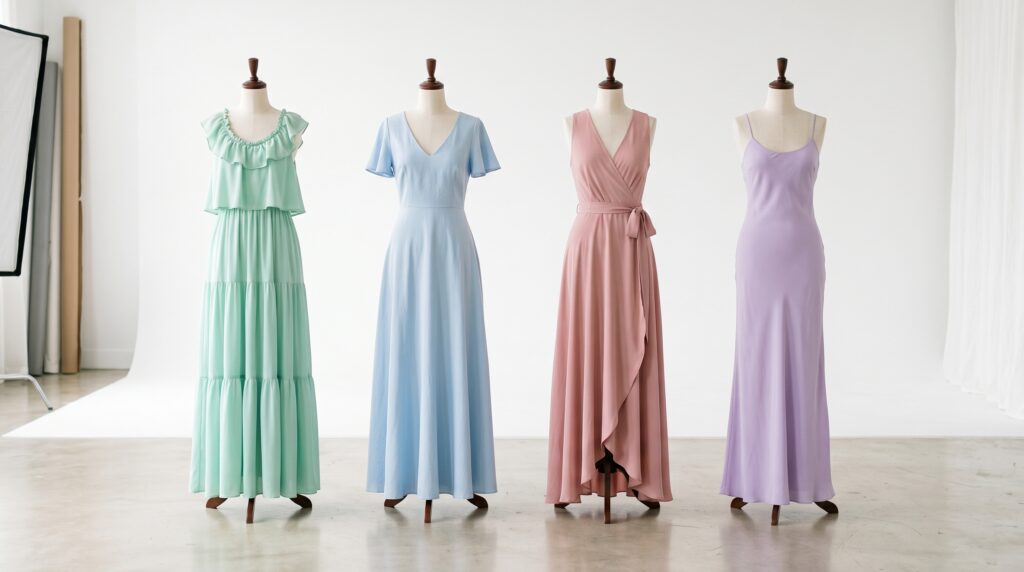
Wrap Maxi Dress Sewing: Flattering on Most Body Types
Self-ties at the waist, no zipper, flattering on most body types. The challenge is that the front panels need to be cut at a precise angle or the dress will gap at the chest and twist at the hemline. If this is your first maxi dress sewing project, make the tiered version first and come back to this one.
Slip Maxi Dress
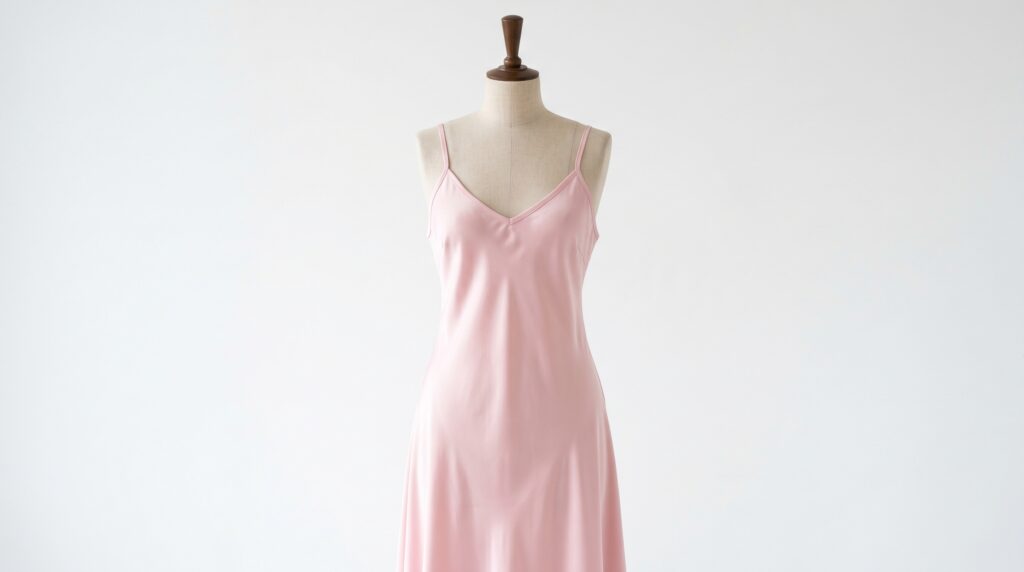
Spaghetti straps, a simple fitted or semi-fitted top, and a long gathered skirt. The fastest of all the styles to construct. The problem people run into is the neckline and armhole edges. Without proper finishing they stretch out after the first wash and the whole dress loses its shape. Bias tape solves this completely.
Step 2: Choose the Best Fabric for Sewing a Maxi Dress
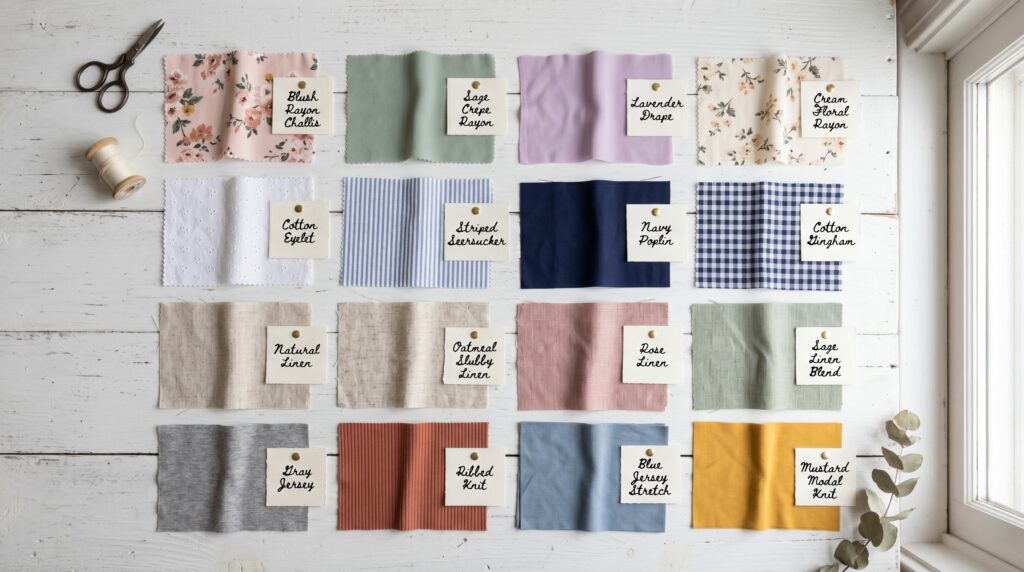
The fabric you choose affects two things equally: how the finished dress looks and how manageable the construction process is. Some fabrics look incredible on finished dresses and are genuinely frustrating to work with. Knowing which is which before you buy saves you a difficult afternoon at the cutting table.
Rayon Challis: Best Fabric for a DIY Maxi Dress
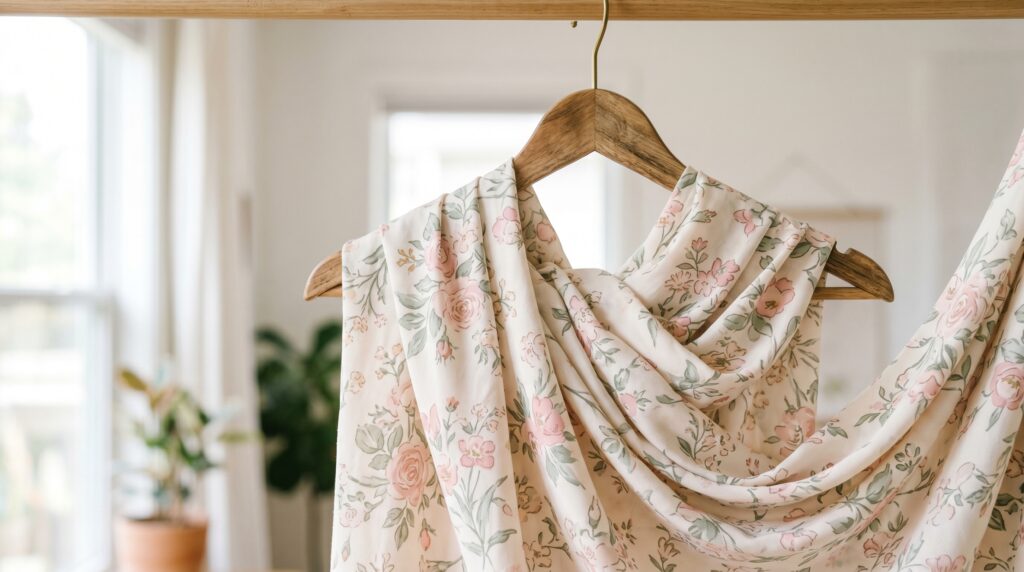
Rayon challis is the fabric that makes a handmade maxi dress look like it came from an actual boutique. It drapes the way fabric should drape, it presses well, and it cuts cleanly. The finished result has a fluid, natural movement that most other fabrics cannot match at the same price point.
The downside is that rayon frays aggressively the moment it is cut. The fix is simple: serge or zigzag every cut edge before you begin sewing pieces together. Do this before any assembly. For weight, look for 3 to 4 ounces per yard. Heavier than that and the drape starts to feel stiff.
Cotton Lawn: Best for Structured Styles
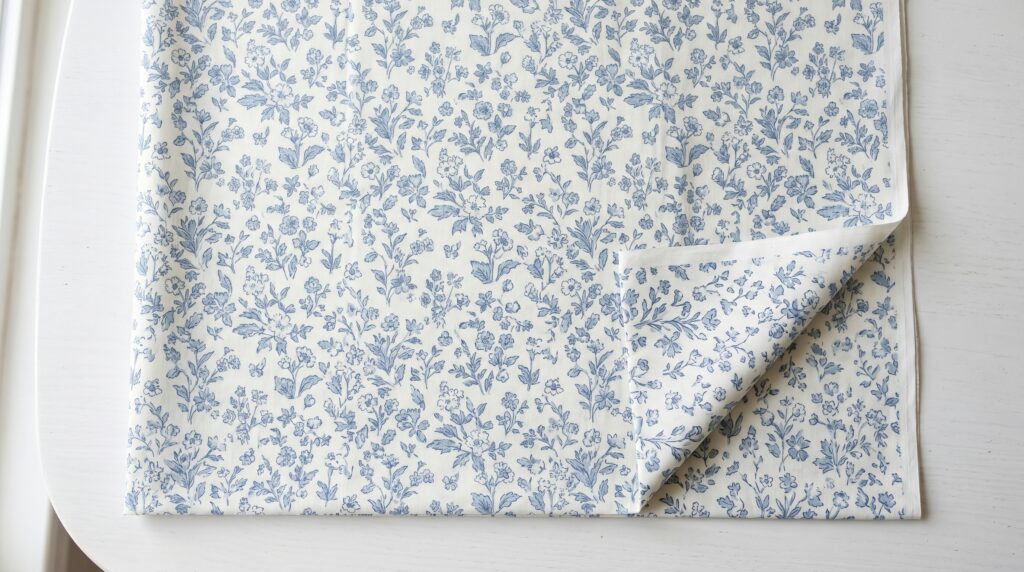
More structured than rayon and easier to handle. It does exactly what you tell it to do, which makes hitting precise seam lines much more reliable. It works best for styles that have some shape to them, like an A-line bodice or a fitted top. The honest tradeoff is that cotton lawn wrinkles easily and constantly. If you want to put the dress on without ironing it first, this fabric will disappoint you every time.
Jersey Knit: No Fray, Stretch Fit
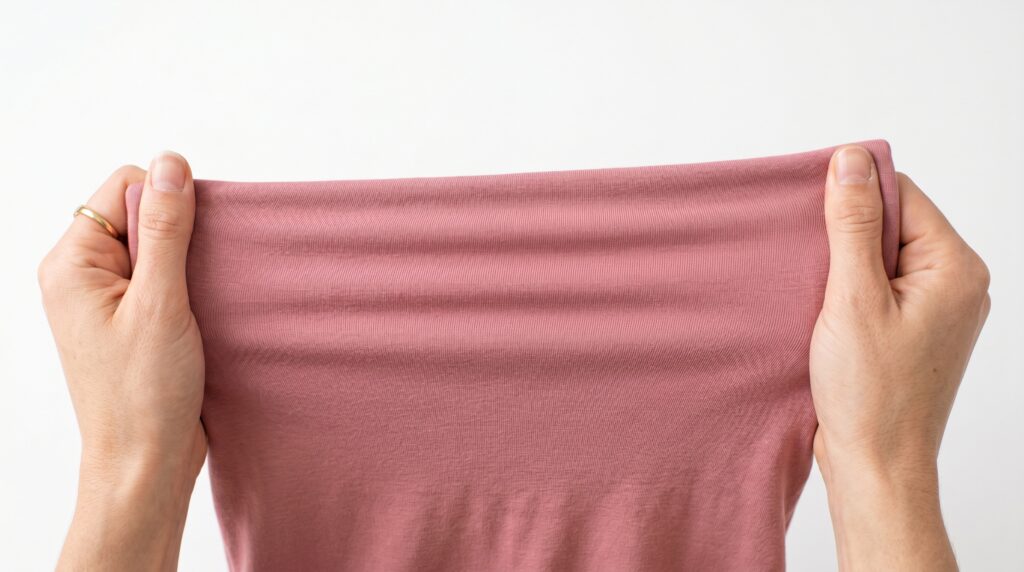
Stretchy, soft, and it does not fray at all. A jersey maxi dress does not need elastic or a zipper because the stretch handles the fit on its own. The challenge is that jersey shifts while you cut it, rolls at the edges, and stretches under the presser foot if you guide it at all. Use a ballpoint needle, let the feed dogs move the fabric without any help from your hands, and use pattern weights instead of pins when cutting.
Linen: Natural and Gets Better With Every Wash
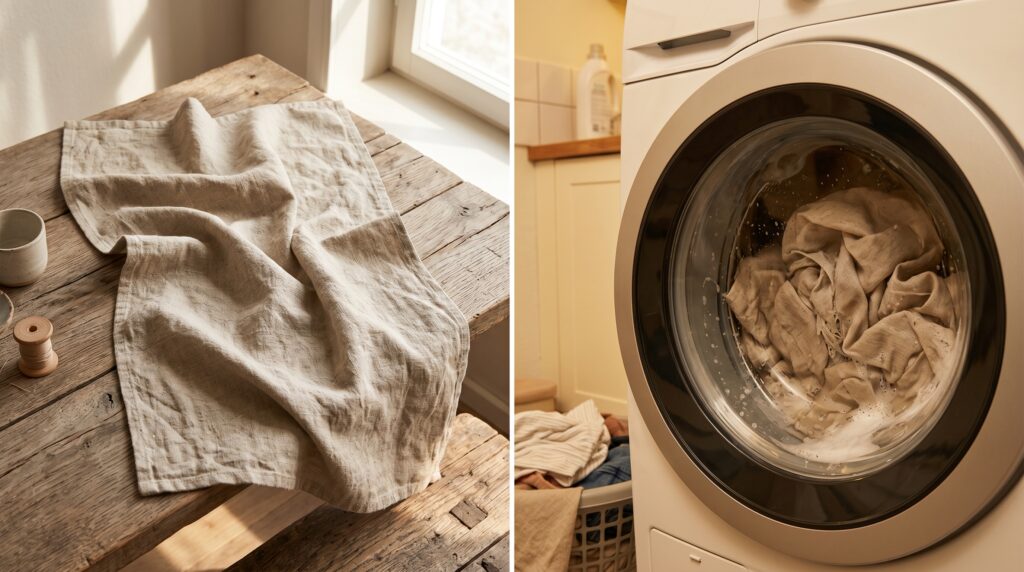
Natural, breathable, and it gets better looking with every wash. The issue that catches first-time linen sewists is shrinkage. Linen can shrink between 6 and 8 percent before it stabilizes. Pre-wash it twice in warm water before cutting anything. If you skip this step the finished dress will come out of its first wash noticeably smaller and there is no fixing that after the fact.
What to Avoid: Chiffon
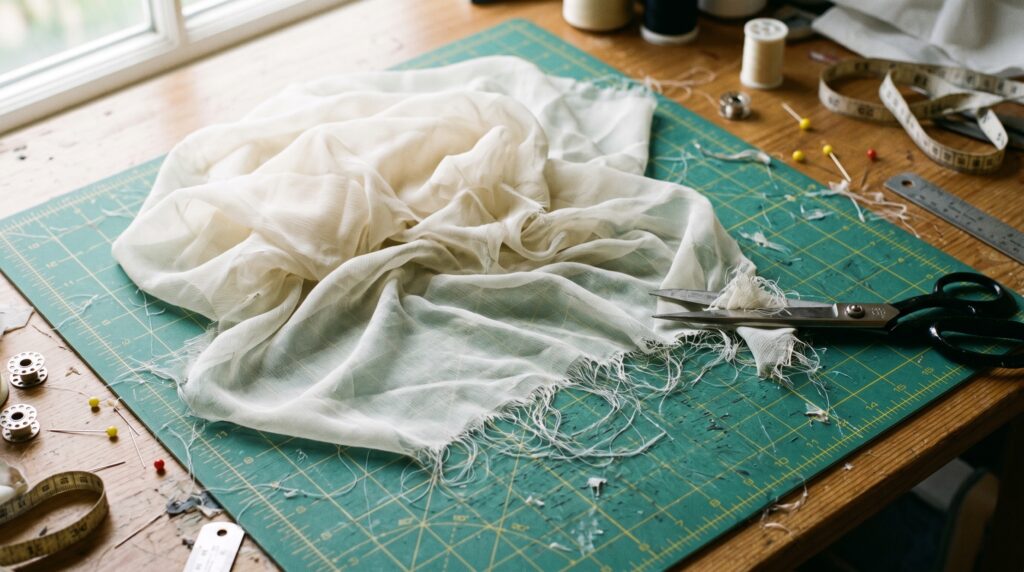
Chiffon looks so good on finished dresses that people reach for it too early. It shifts constantly while cutting, frays at every edge, and puckers under the presser foot. Make this dress in rayon or cotton first. Come back to chiffon once the construction is so familiar you could do it without thinking.
How Much Fabric to Buy
| Height | Tiered Maxi Dress | A-Line or Slip Style |
| Under 5 ft 3 in | 5 yards | 3.5 yards |
| 5 ft 3 in to 5 ft 7 in | 5.5 yards | 4 yards |
| 5 ft 7 in and above | 6 yards | 4.5 yards |
Add half a yard to whatever the chart says. Grain line corrections, one piece that needs re-cutting, a measuring mistake: that extra fabric gets used every single time.
Step 3: Take Your Measurements Correctly

Accurate measurements are the foundation of a well-fitting DIY maxi dress.
Bust: Around the fullest part of your chest with the tape parallel to the floor. Breathe normally and do not pull the tape tight.
Natural waist: Not where your jeans sit. Your actual narrowest point. Bend sideways and the crease that forms at your side is your natural waist. Measure there.
Full hip: Seven to nine inches below your natural waist around the fullest part of your hips and seat. If your measurements place you between sizes when cutting, always cut for the hip measurement. A bodice can be taken in after the fact. A skirt that will not go over your hips cannot be worn.
Dress length: Stand in whatever you will actually wear the dress with, bare feet or sandals. Measure from your intended starting point straight down to your ankle or the floor. A dress that is an inch too long drags at the hem and frays. An inch too short breaks the silhouette.
Step 4: Draft Your Free Maxi Dress Pattern
This free maxi dress pattern method requires only a tape measure and pattern paper.
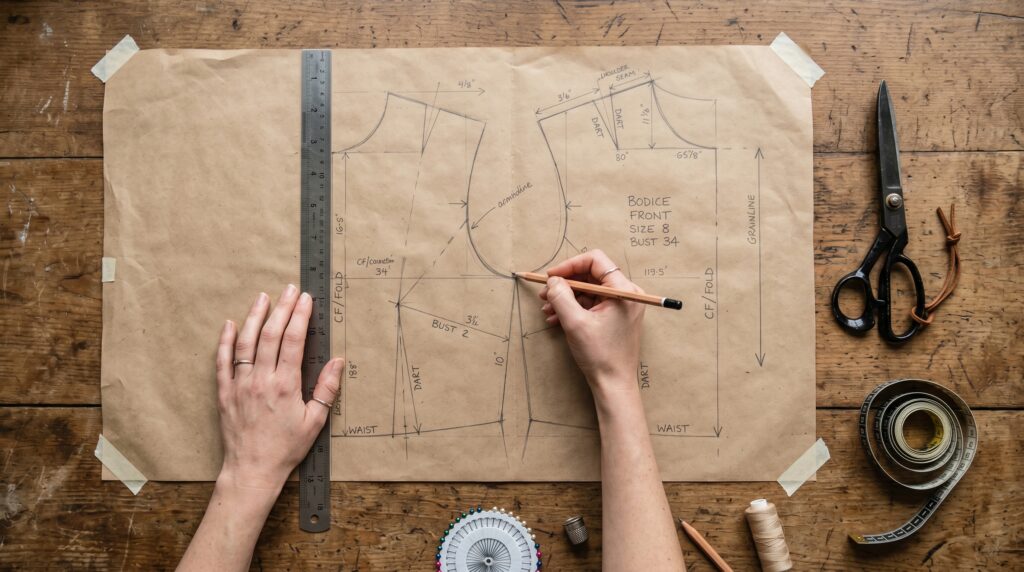
Bodice Block
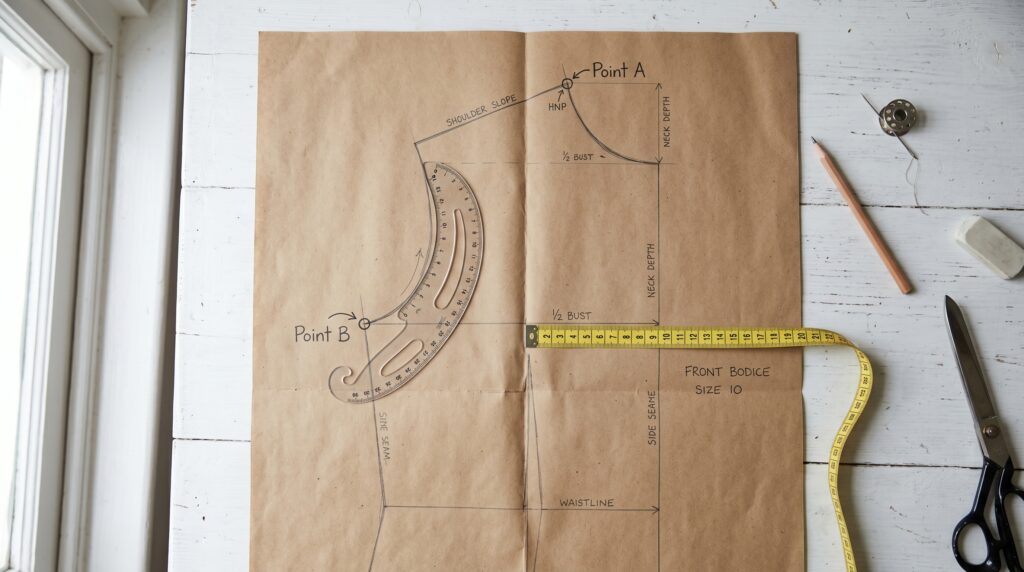
Take your bust measurement, add 5 centimeters for ease, and divide by four. That is your quarter-bust measurement.
On pattern paper folded in half, measure your quarter-bust from the folded edge and mark it as Point A. From Point A measure straight down 25 centimeters for your bodice length and mark Point B.
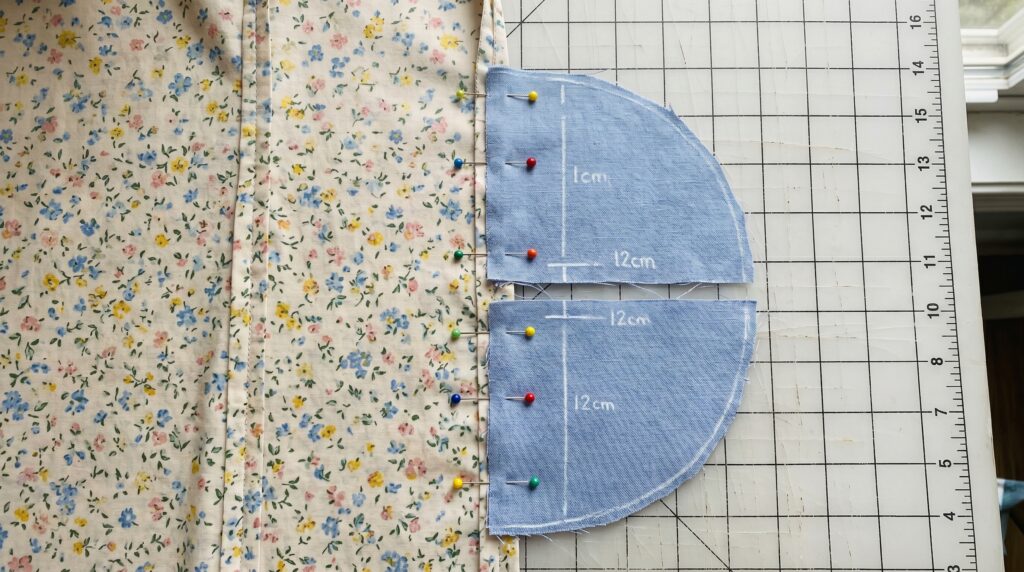
For the neckline, measure 6 centimeters in from the fold along the top edge and mark it. Measure 3 centimeters down from the top corner and mark that too. Connect these two points with a soft curve.
For the armhole, measure 12 centimeters down from the top on the side edge and mark it. Draw a slight inward curve from the top corner of the bodice down to that mark.
Add 1 centimeter seam allowance on all edges except the fold. The back bodice follows the same method but lower the neckline by an additional 3 centimeters for comfort.
Skirt Tier Calculations
Subtract your bodice length from your total dress length to get your skirt length. Divide it with the bottom tier taking 40 percent, the middle tier 33 percent, and the top tier the remaining 27 percent.
For width, multiply your hip measurement by 1.5 for the top tier. Multiply each successive tier width by 1.5 again.
| Tier | Width Formula | Example at 90 cm Hips |
| Top | Hip x 1.5 | 135 cm |
| Middle | Top x 1.5 | 202 cm |
| Bottom | Middle x 1.5 | 303 cm |
Each tier is a simple rectangle at those dimensions. You will gather them down to the correct width when sewing.
Step 5: Cutting: Where the Irreversible Mistakes Happen
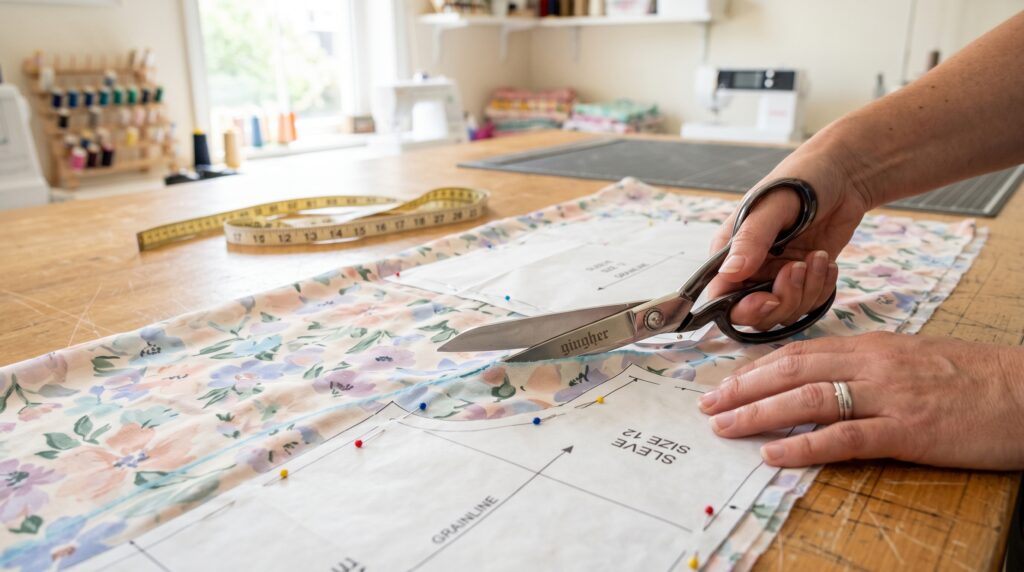
Sewing mistakes can be unpicked. Cutting mistakes cannot. This stage deserves more care than most sewists give it.
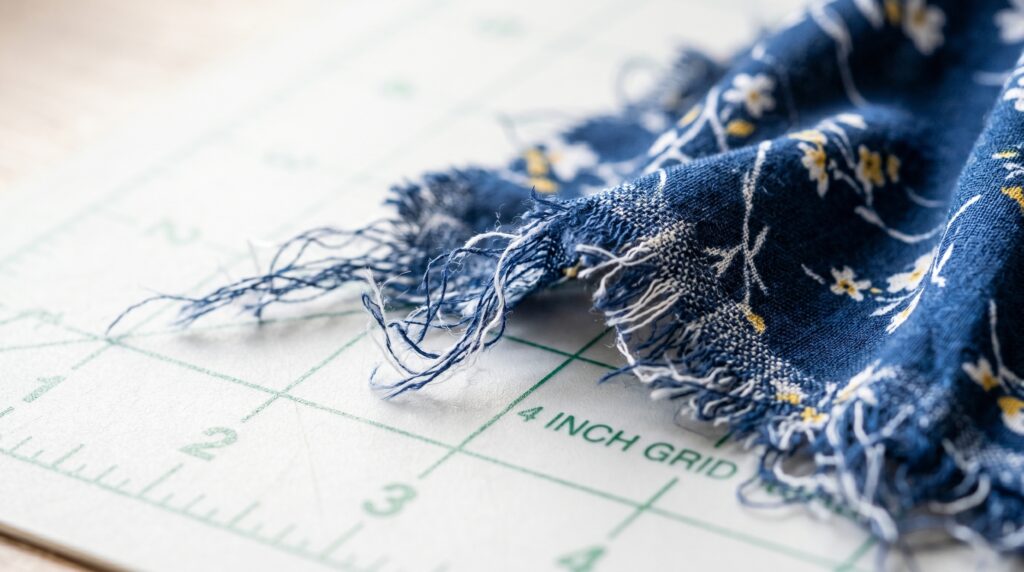
Establish the grain line before anything else. The grain line runs parallel to the selvage edge of the fabric. If your panels are even slightly off-grain the finished dress will twist to one side when worn and the hem will be uneven. The most reliable method is to pull a single thread from the cut edge of your fabric. The line it leaves behind is a perfect grain line you can chalk along or cut directly on.
Pre-wash before cutting. Wash and dry the fabric exactly the way you will wash the finished dress. Rayon shrinks moderately, linen shrinks significantly, and cotton shrinks a little. Cut from pre-washed fabric and the dress will come out of every future wash the same size it went in.
Mark everything before lifting the pattern piece. Every notch, dart point, and grain line indicator needs to be transferred to the fabric before the pattern moves. Once the pattern is off, you are working from memory.
Read More: How to Sew for Beginners: The Complete Guide to Hand and Machine Sewing
Step 6: Sew Your Maxi Dress Step by Step

Finish Every Edge Before Sewing a Single Seam
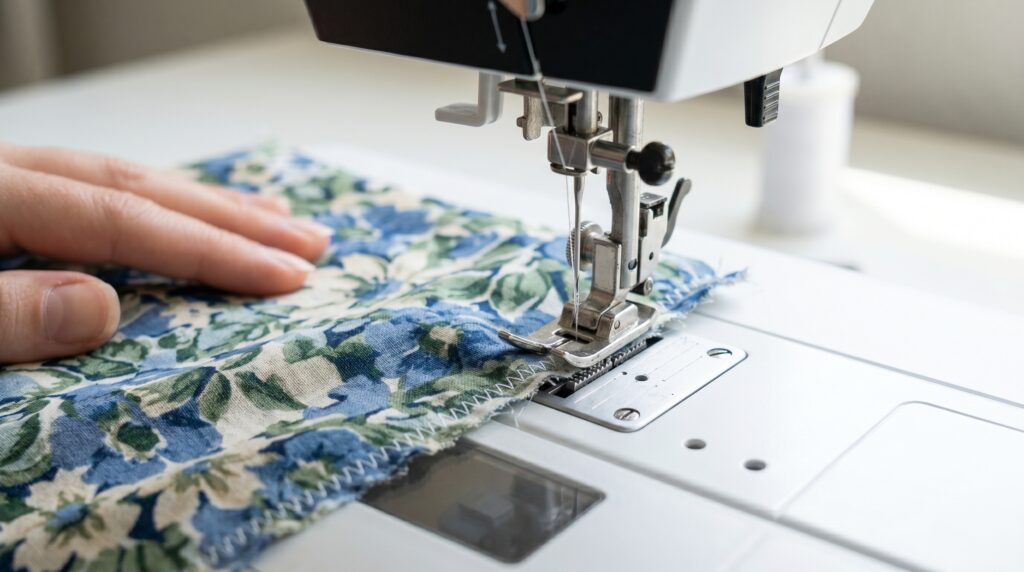
Serge or zigzag all cut edges on every piece before assembly. Rayon begins fraying from the moment the scissors touch it. Cotton lawn is not far behind. Finishing edges now takes five minutes. Dealing with unraveling seams inside a finished garment takes much longer and produces worse results.
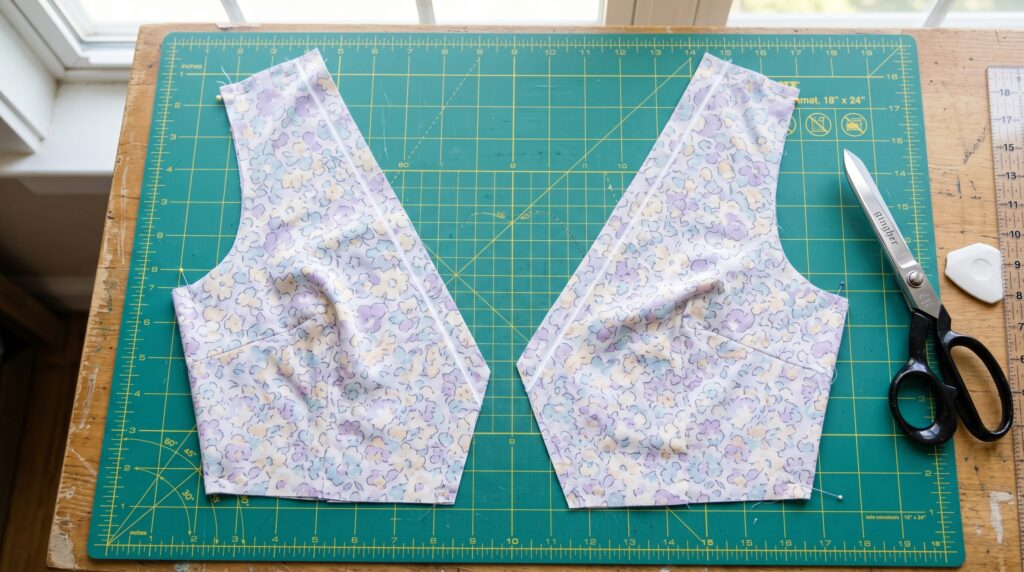
Sew the Bodice Side Seams

Place the front and back bodice pieces right sides together and pin the side seams. Sew with a 1.5 centimeter seam allowance and press the seams open flat. Not to one side but actually open. This reduces bulk and keeps the bodice from pulling at the seam lines.
For straps, cut two strips 6 centimeters wide at your required length plus seam allowances. Fold each in half lengthwise with right sides together, sew the long edge, turn right-side out using a safety pin fed through the tube, and press flat. Baste them in position on the front bodice before any further assembly.
Create the Waist Elastic Casing
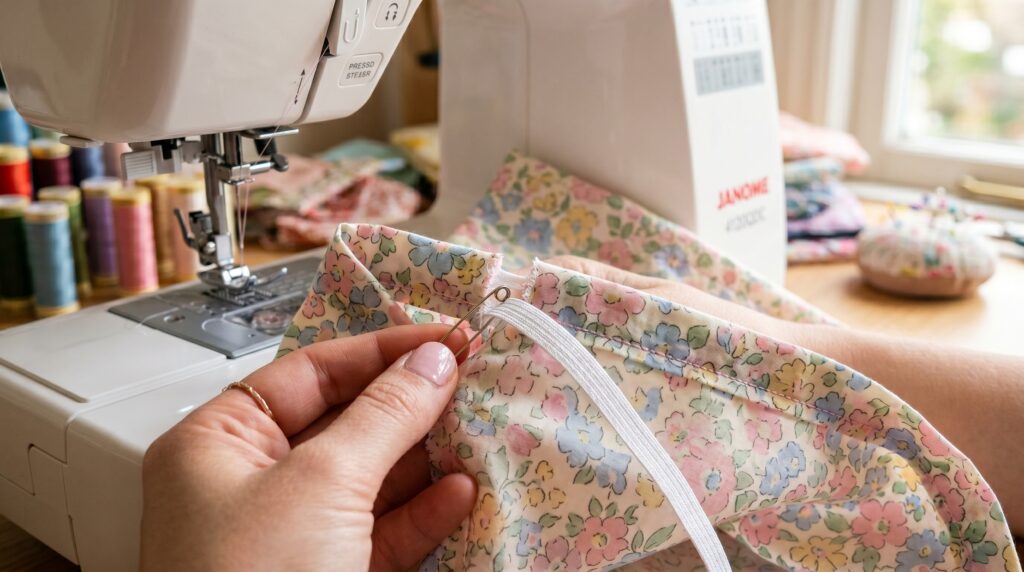
Fold the bottom edge of the bodice over 1 centimeter, then fold again by the width of your elastic plus a few millimeters. Press both folds. Sew close to the inner fold, leaving a 5 centimeter gap to thread the elastic through. Feed the elastic through with a safety pin, overlap the ends by 3 centimeters, sew the overlap securely, and close the gap.
Gathering the Tiers: The Step Most Beginners Get Wrong
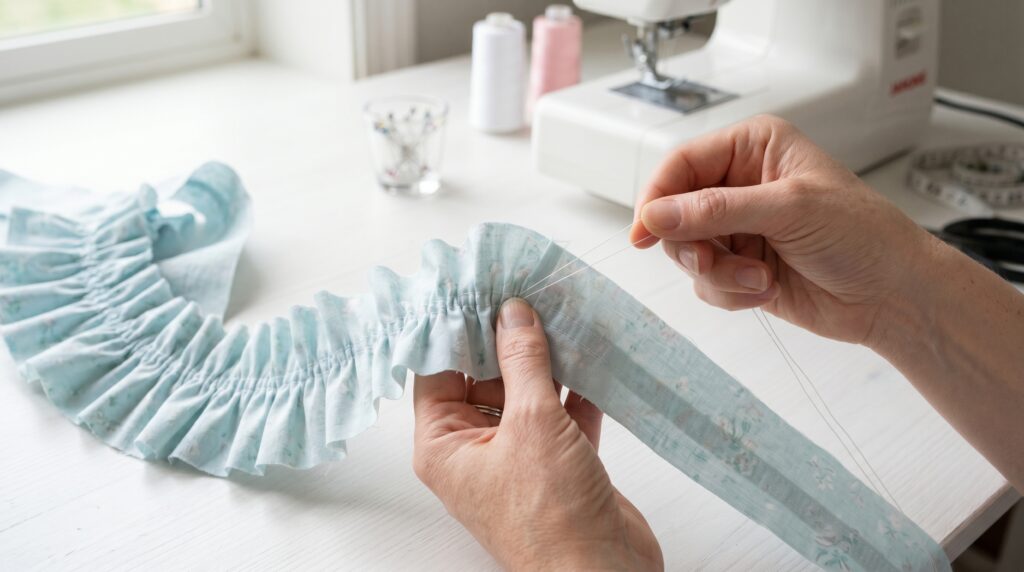
Set your machine to its longest stitch length, usually 4 or 5 millimeters. Sew two parallel rows of basting stitches along the top edge of Tier 1, one row at 1 centimeter from the edge and one at 1.5 centimeters. Do not backstitch at either end.
Hold the bobbin threads at both ends of the basting rows and pull from both ends simultaneously, working toward the center. This is the method that works. Pulling from one end only is the reason gathering threads snap and gathers pile up unevenly on one side. Pull until the tier width matches the bottom edge of the bodice, then slide the gathers along the thread to distribute them evenly.
If the gathers are uneven after distributing, undo the basting, spread the fabric flat, re-baste, and gather from both ends again. It takes ten minutes and it is worth doing rather than sewing uneven gathers into a permanent seam.
Attaching the Tiers
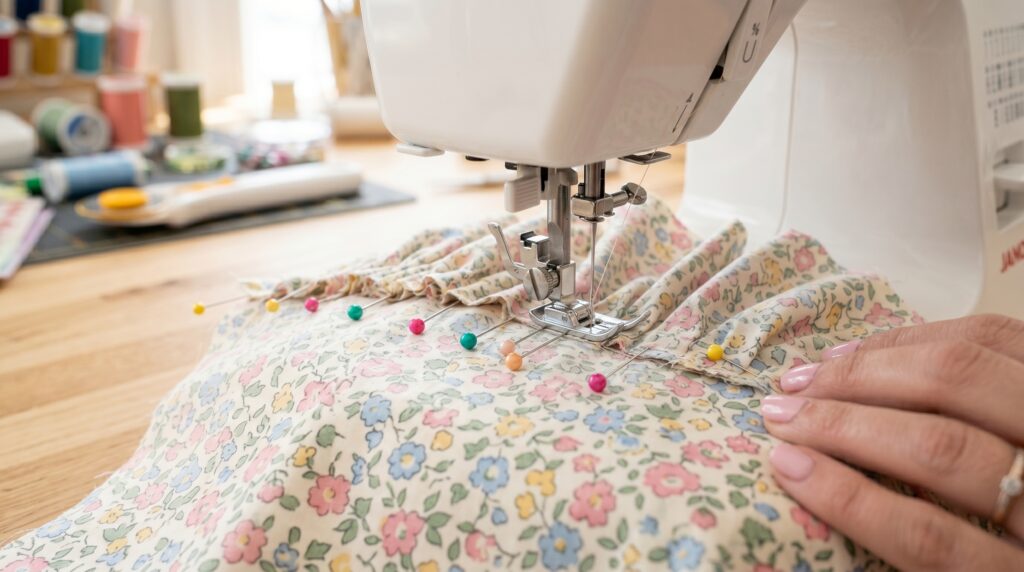
Pin Tier 1 to the bottom of the bodice with right sides together, matching side seams and center front. Ease the gathers evenly between pins and sew with a regular stitch length. Press the seam upward toward the bodice and topstitch 3 millimeters from the seam line on the bodice side. This prevents the seam from folding downward and creates a noticeably cleaner finish.
Repeat the process for Tier 2 onto Tier 1 and Tier 3 onto Tier 2.
Press after every individual seam, not at the end of the project.
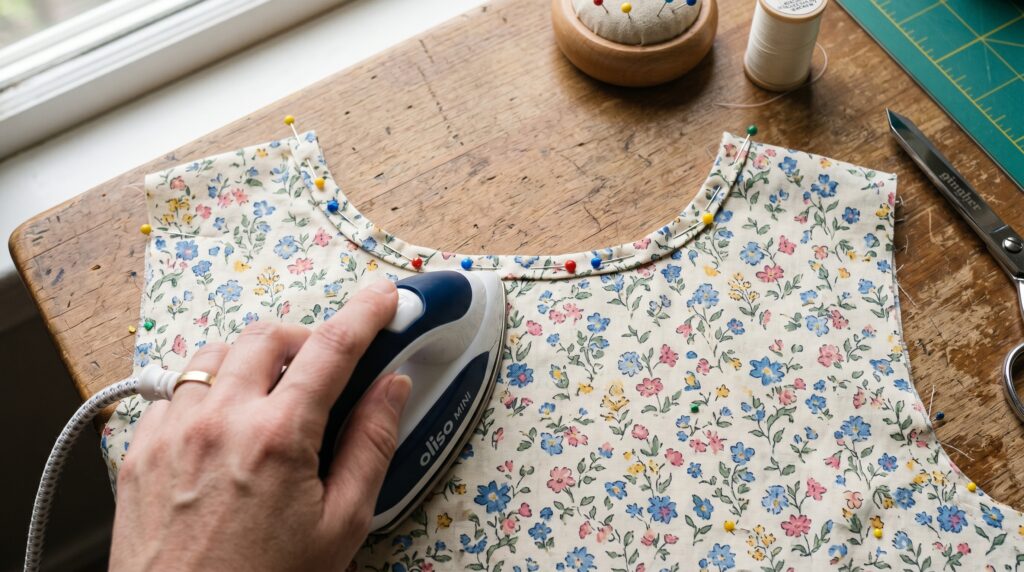
Finishing the Neckline and Armholes
Three options, each producing a different result:
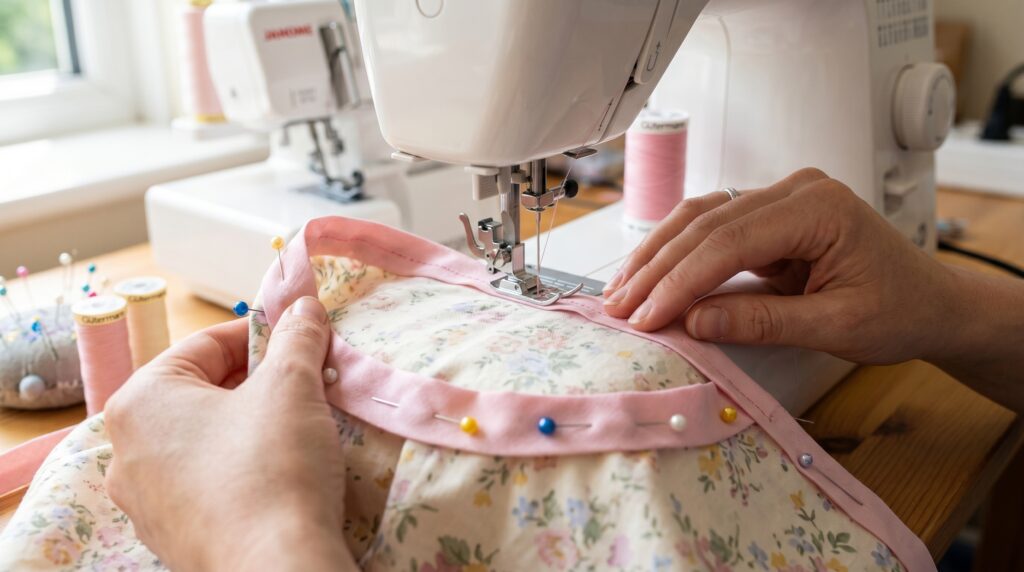
Bias tape is the most reliable method on curved edges. Cut bias strips from your fabric or use purchased tape in a matching color. Fold in half lengthwise and press. Pin to the edge with raw sides together, sew, fold to the inside, press, and topstitch. This produces a clean result on every fabric type.
A narrow hem works as an alternative. Fold 5 millimeters to the wrong side, press, fold another 5 millimeters, press, and edgestitch close to the fold. Every fold needs to be consistent or the variation shows in the finished edge.
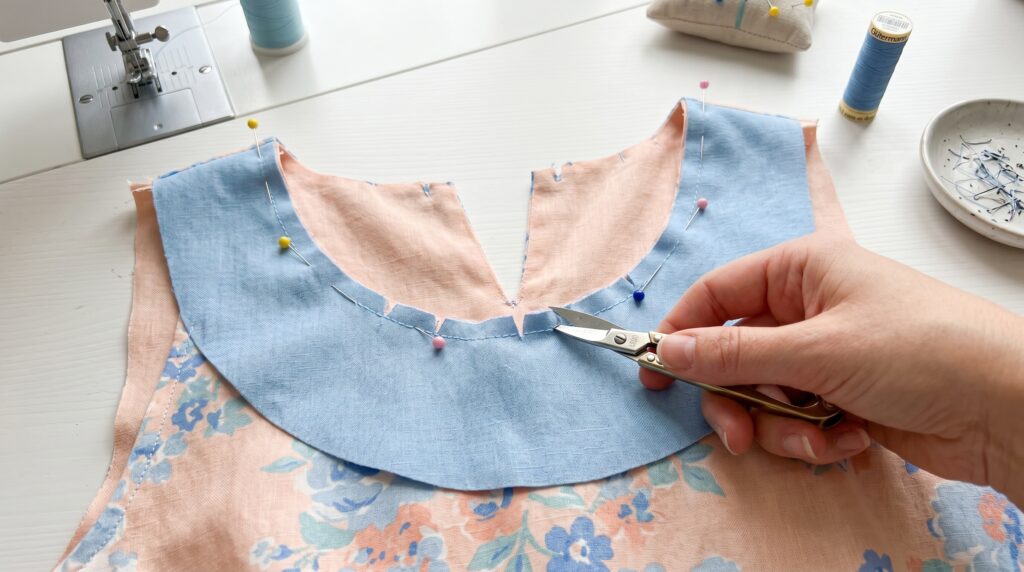
A facing gives the most structure. Cut a piece shaped to match the neckline, sew right sides together, grade and clip the seam allowance, turn to the inside, press, and understitch. Most construction involved but the cleanest interior finish.
Use whichever method you choose consistently on both the neckline and armholes.
Hemming Your DIY Maxi Dress
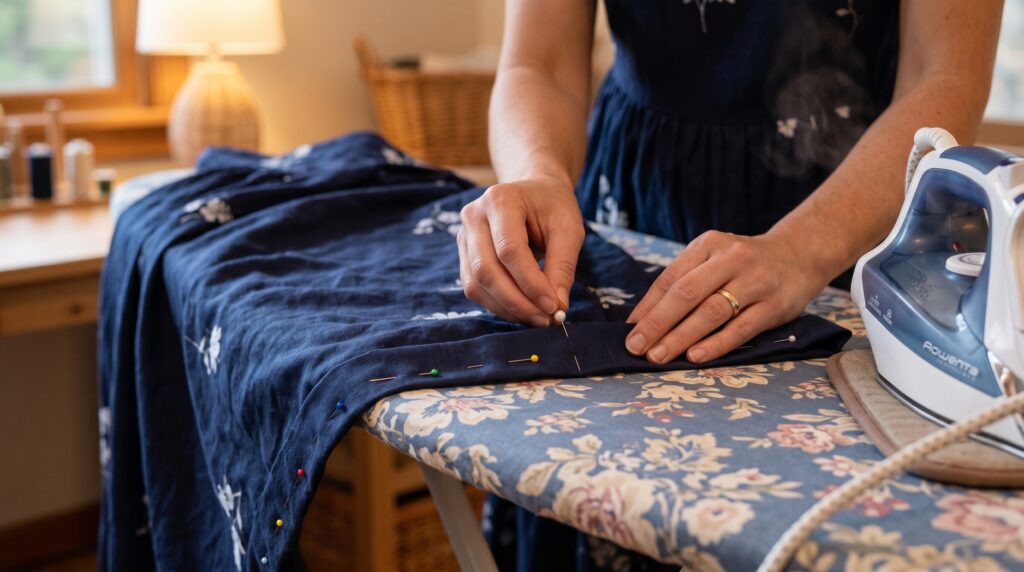
Hang the finished dress for at least one hour before marking the hem. Rayon and jersey drop after cutting and the hem will be uneven if you measure it flat on the table. Hang it, let it settle, and mark the hem while wearing it.
Trim to an even length. Fold up 1 centimeter and press. Fold up another 2.5 centimeters and press. Sew close to the inner fold. For very fluid fabrics a narrow rolled hem, folding 3 millimeters twice and sewing close to the edge, looks more refined than a wide hem.
Final Press
Press the entire finished dress. Every seam, every tier junction, the neckline, and the hem. Use steam. This single step is the clearest visible difference between a garment that looks handmade and one that looks properly made.
Common Problems and How to Fix Them
The dress twists to one side when worn. This is a grain line error made during cutting, not a sewing problem. Check whether the twist is isolated to one tier. If it is, that tier can sometimes be replaced. For all future projects, use the pulled-thread method to establish grain before cutting anything.
The neckline stretched out after washing. The edge was not stabilized before finishing. Apply seam tape to the inside of the neckline to stop further stretching. On future projects, run a strip of fusible interfacing along the seam allowance before applying any edge finish.
The gathers are puckering instead of gathering softly. The basting stitch was too short. Use the longest stitch your machine offers as the minimum for gathering. On heavier fabric it needs to be even longer.
The hem is uneven after the first wearing. The fabric dropped after cutting, which is normal for rayon and loose weaves. Unpick the hem, hang the dress for 24 hours, re-mark, and re-hem.
The side seams pull toward the front. On a tiered dress this usually means the back bodice is slightly too wide. Take in the back side seams a small amount at a time until the dress hangs straight.
The gathering thread keeps breaking. You are pulling from one end. Always pull from both ends toward the center. Also check that the basting tension is not too tight.
Useful Additions Worth the Extra Time
Add Pockets to Your Maxi Dress
Before sewing the side seams on any tier, cut four D-shaped pocket pieces roughly 25 centimeters deep. Attach one to each side seam allowance on both sides. Sew the side seam around the pocket opening and mark the opening on the outside so you do not accidentally topstitch through it.
Shirring at the Bodice
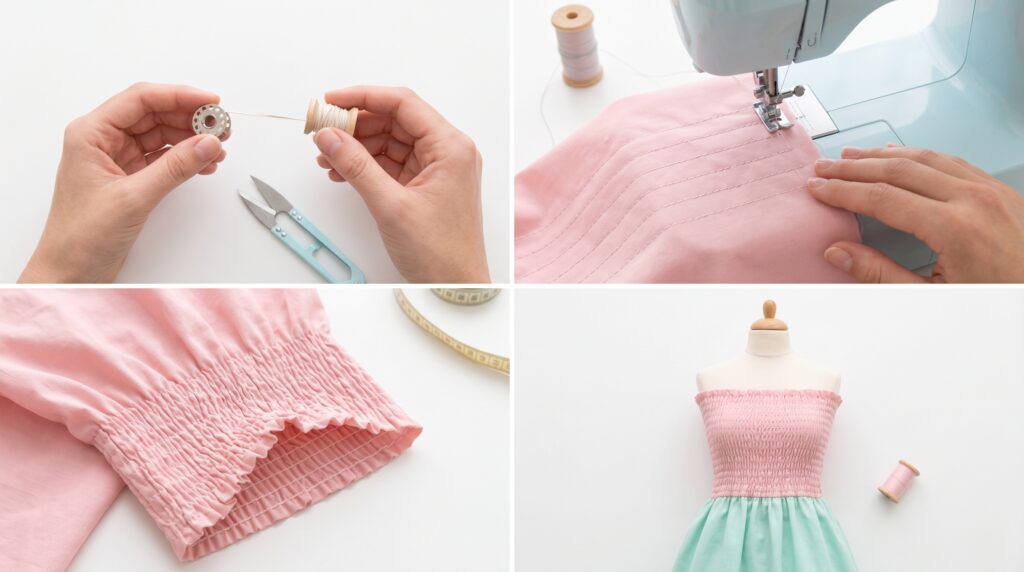
Wind elastic thread by hand onto your bobbin with the tension slightly looser than usual. Sew horizontal rows across the bodice fabric 8 millimeters apart before any assembly. The fabric gathers itself into a stretchy, textured bodice without a casing or separate elastic piece.
Self-Fabric Belt
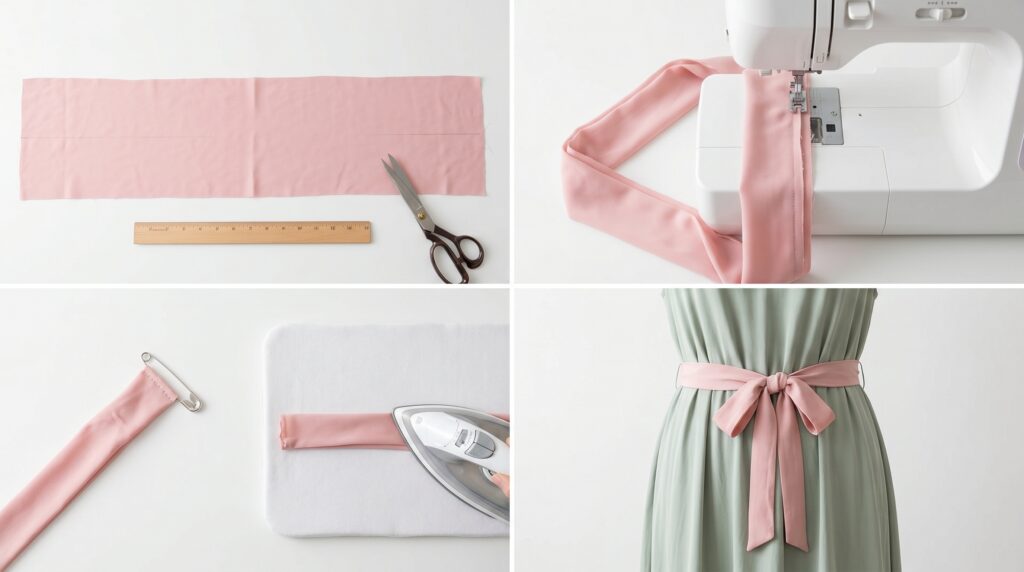
Cut a strip four times your desired finished belt width and long enough to wrap and tie. Fold lengthwise, sew the long edge and one short end, turn right-side out, press, and slipstitch the open end closed. Worn loosely at the waist it changes how the entire dress reads.
Maxi Dress Silhouette Guide by Body Type
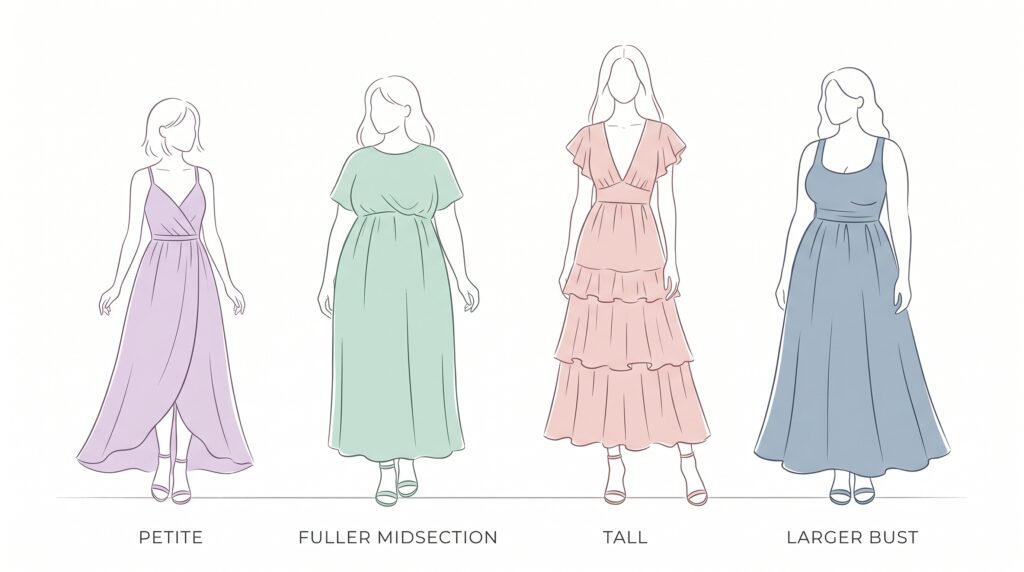
Petite frames: A high waist or empire bodice placement elongates the body visually. Keep the top tier shorter and the bottom tier proportionally longer. Vertical prints add length. Wide horizontal breaks at the hip work against the proportions.
Fuller midsection: A wrap style or empire waist allows fabric to move away from the midsection rather than clinging to it. Start the fullness just below the waist rather than gathering directly at it.
Tall frames: Most silhouettes work well. Wider tiers and bolder prints have the most visual impact at greater height.
Larger bust: Add 3 centimeters ease to the bust measurement instead of 2. A V-neckline or wrap front distributes visual weight more evenly than a straight-across neckline.
Frequently Asked Questions About Sewing a Maxi Dress
Do I need a serger to make a DIY maxi dress?
No. A zigzag stitch on a regular sewing machine finishes edges well for woven fabrics. On jersey, use the zigzag for the seams themselves because they need built-in stretch or they will pop when the dress is worn.
What needle should I use for maxi dress sewing?
For woven fabrics like rayon, cotton lawn, and linen use a size 70 or 80 universal needle. For jersey and knit fabrics use a ballpoint needle in size 75. The wrong needle for the fabric type causes skipped stitches that tension adjustments will not fix.
My machine puckers lightweight fabric even on a regular stitch. What is happening?
The top thread tension is likely too tight. Reduce it slightly. Also make sure you are not guiding or pulling the fabric, just letting the feed dogs move it at their own pace.
How do I know if my fabric is on grain before cutting?
Pull a single thread from the cut edge of the fabric. The channel it leaves is a perfect, reliable grain line to chalk along or cut directly on.
Can I make this dress without a commercial pattern?
Yes, and this guide shows you exactly how. The tiered construction requires only a tape measure, pattern paper, and the measurements covered above.
How long does the whole maxi dress sewing project take?
For a tiered maxi dress with some previous sewing experience, plan for 4 to 6 hours spread across two sessions. Trying to complete it in one long sitting leads to fatigue-related cutting mistakes that waste fabric and time.
What to Learn After Your First DIY Maxi Dress
A lined bodice is the natural skill to add after your first successful maxi dress. It gives structure to the top, conceals the interior seam allowances, and eliminates the need for separate neckline finishing. After that, an invisible zipper at the center back replaces the elastic casing for a more tailored result. From there, bias-cut skirts introduce a different cutting and construction logic entirely.
None of it is unreachable. But all of it builds on understanding this construction first.
Cut on grain. Pre-wash the fabric. Press after every seam. Gather from both ends.
These four things done consistently are what separate a dress that looks handmade from one that looks made well.