You already know what you want to make. You just need the right design to start with. This guide cuts through the noise: 15+ embroidery design ideas organized by skill level, each one with the exact stitches you will use, how long it honestly takes, and why it actually works for where you are right now. Pick one, gather five basic supplies, and make your first stitch today.
You Don’t Need Talent – You Need the Right First Project
Most beginner embroidery articles show you 30 gorgeous designs and leave you more confused than when you started. Beautiful? Yes. Helpful? Not really .Talent has almost nothing to do with embroidery success. What actually matters is starting with a design that teaches you one stitch at a time, gives you visible progress fast, and doesn’t require you to be an artist.The designs in this list are chosen specifically because they’re forgiving, fast to finish, and satisfying – not just easy to photograph.
What Makes a Design “Beginner Friendly”? (Most Lists Get This Wrong)
Not every “easy” embroidery design is actually easy. A lot of beginner lists include designs with 6+ different stitches, complex color blending, or shapes that require precise drawing skills. That’s not beginner-friendly – that’s beginner-discouraging.
A truly beginner-friendly design has:
- 1 to 2 stitches maximum – so you master one thing before moving to the next
- Simple or geometric shapes – so you’re not fighting with curves and fine details
- Visible progress within an hour – so you stay motivated
- Room for imperfection – so one wobbly stitch doesn’t ruin the whole thing
- A clear finish line – so you actually complete it and feel proud
Every design below meets these criteria. The ones toward the end of the list are slightly more involved – but by the time you reach them, you’ll be ready.
Embroidery Design Ideas – From First Stitch to First Finish
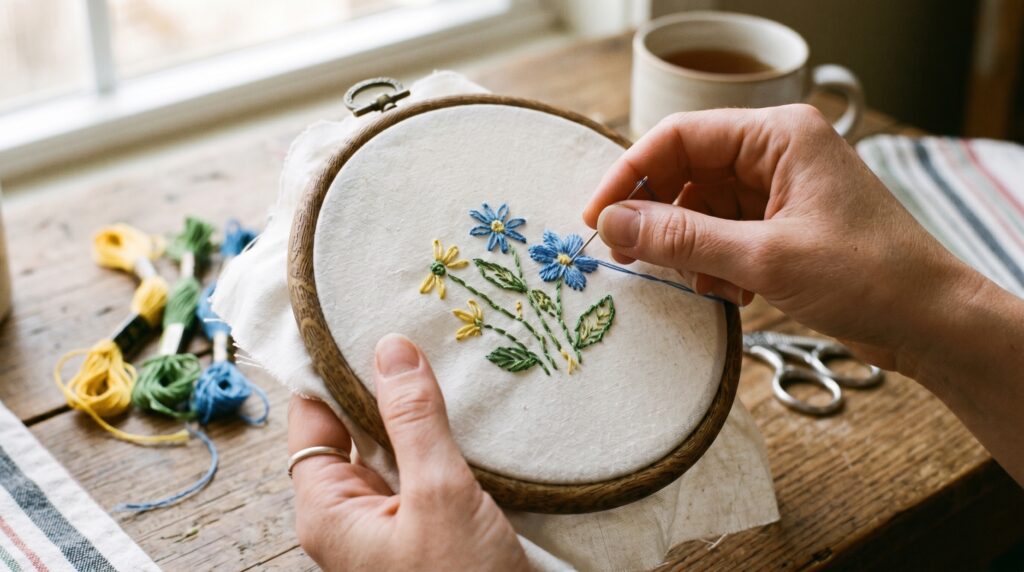
1. Wildflower Bunch
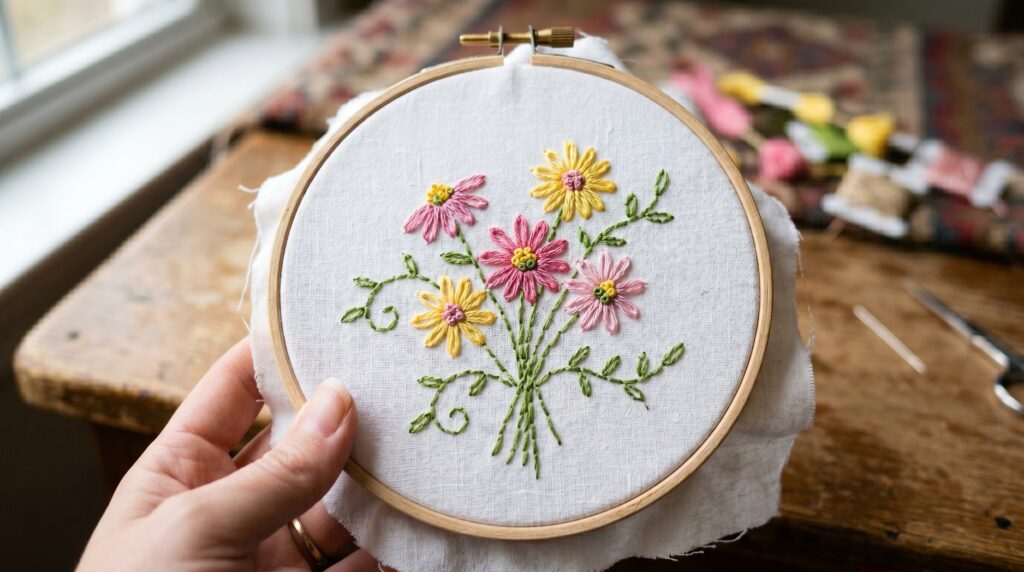
A cluster of simple wildflowers is the single best first embroidery project. Not roses with perfect petals. Not a full garden scene. Just a loose, organic bunch of small flowers that looks charming because it’s imperfect.
Wildflowers are forgiving by nature. A petal that’s slightly uneven? That’s just how wildflowers grow. This design gives you confidence before you even finish your first hoop.
Stitch you’ll learn: Running stitch + Lazy Daisy Realistic time: 2–3 hours (one comfortable evening) Why it works: You get a finished, frame-worthy piece in your very first session. That feeling of completion is what keeps beginners coming back.
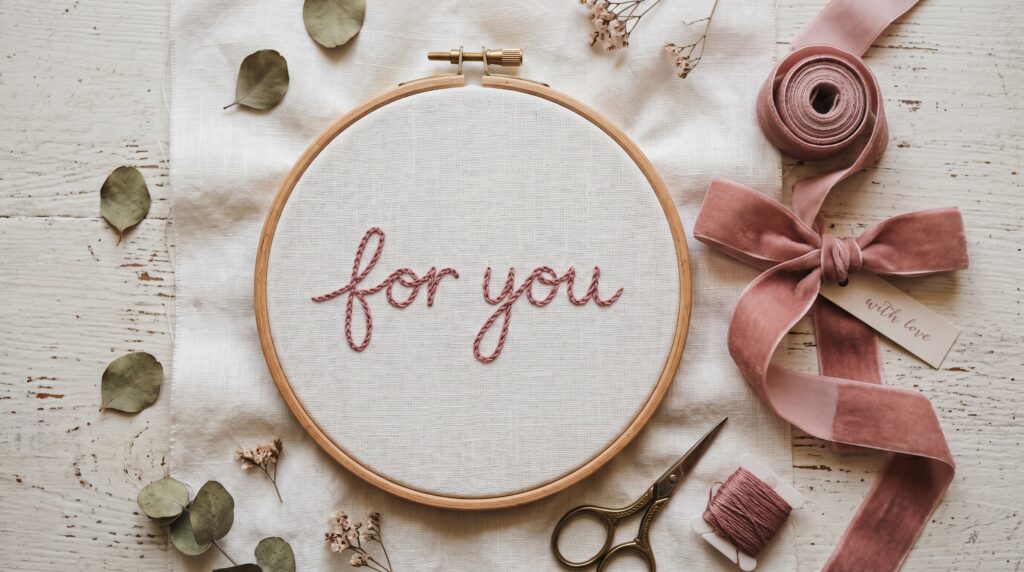
2. Motivational Quote
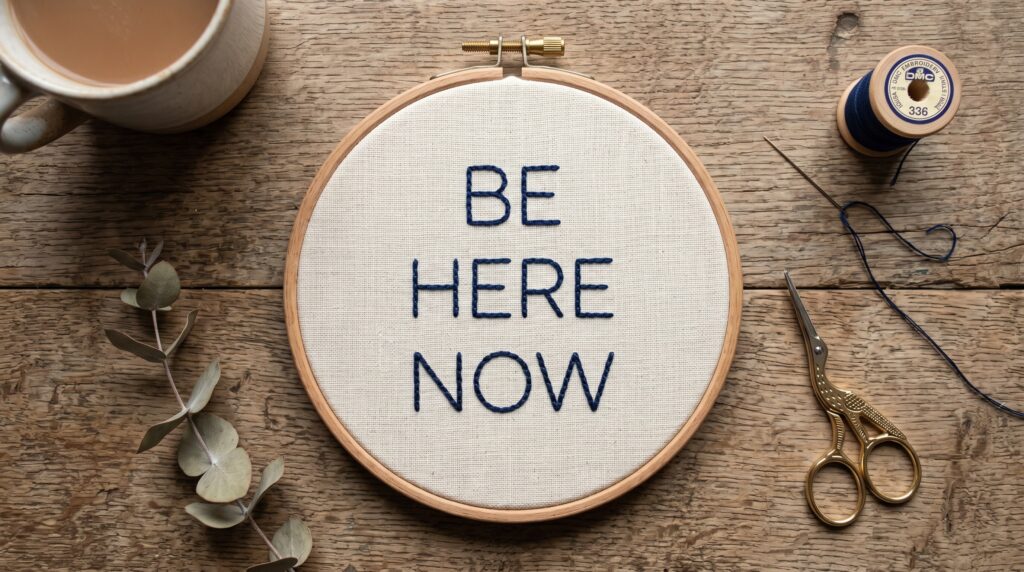
Pick a short phrase that means something to you. “Bloom where you’re planted.” “Be here now.” “You’ve got this.” Two to five words is the sweet spot.
Text embroidery looks impressive but is simple – you’re just following letters like a dot-to-dot.
Stitch you’ll learn: Back stitch (the most useful stitch in all of embroidery) Realistic time: 3–4 hours Why it works: Back stitch is the foundation of almost every embroidery style. Once you know it, you can stitch anything with an outline. This project teaches it in the most practical way possible.
3. Cactus or Succulents
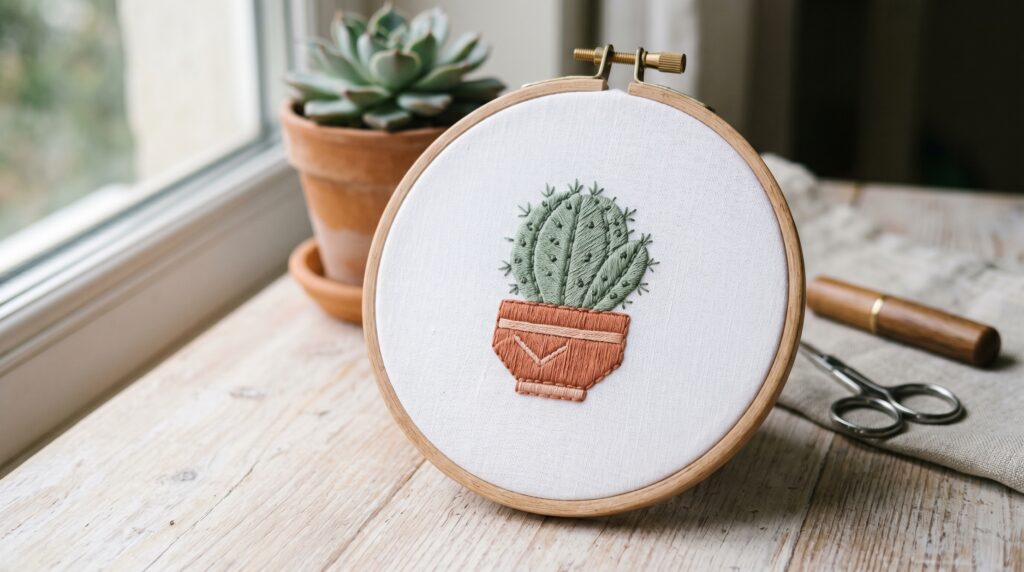
Cacti are made of simple cylinders and ovals. There are no complex curves, no fine details, no tricky proportions. You literally cannot draw this wrong.
A small potted cactus or a cluster of succulents in a simple pot makes a clean, modern hoop that looks great on any wall.
Stitch you’ll learn: Satin stitch (for filling in solid areas of color) Realistic time: 3–5 hours Why it works: Satin stitch is something you must learn – it fills every colored area in future designs. Cactus shapes are forgiving enough that you can practice it without the pressure of precision.
4. Minimalist Face Outline
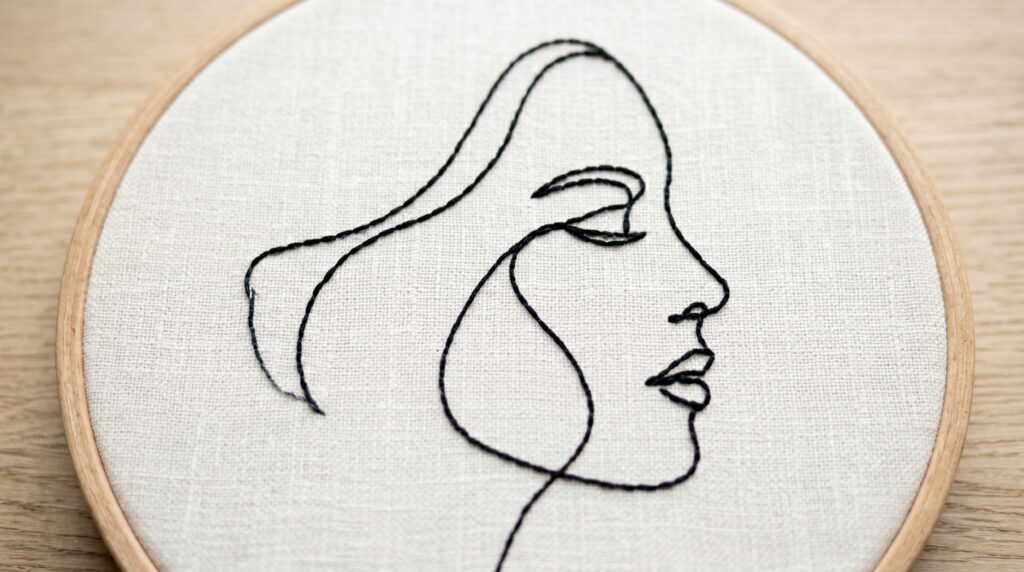
A single continuous line drawing of a face – the kind you see everywhere in modern art – looks far more complex than it is. It’s one stitch, one color, one clean shape.
This is the project that makes people ask “did you really make that?”
Stitch you’ll learn: Back stitch or stem stitch Realistic time: 2 hours Why it works: One color, one stitch, massive visual impact. It’s the fastest confidence-builder on this list. You’ll finish it and immediately want to start something new.
5. Woven Wheel Rose

This is the magic trick of embroidery. A woven wheel rose looks like it took hours of careful skill. It actually takes about 20 minutes once you know the technique – and the technique itself takes about 5 minutes to learn.
You create a spoke pattern first, then weave your thread over and under the spokes in a circle. The rose builds itself.
Stitch you’ll learn: Woven wheel stitch Realistic time: 30–45 minutes per rose; a full bouquet in 3–4 hours Why it works: You see results fast. You start weaving and within minutes a rose is appearing in front of you. It’s satisfying in a way few beginner projects are.
6. Mushroom Design
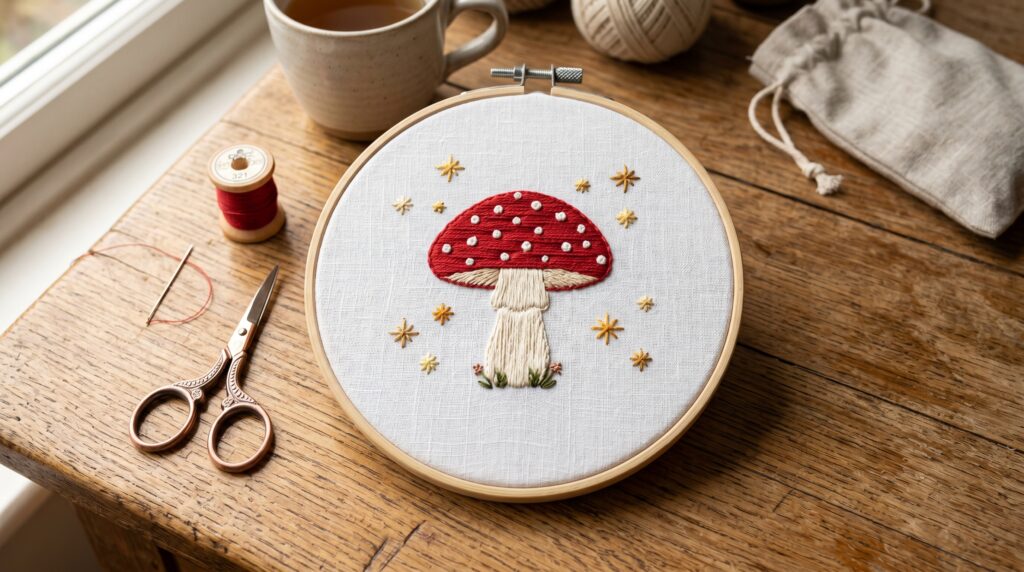
A mushroom is a dome on top of a rectangle. That’s it. Two shapes, two colors, done.
Despite how simple it sounds, an embroidered mushroom hoop – especially with a few tiny stars or dots around it – looks charming and deliberate. It’s become one of the most popular beginner designs for good reason.
Stitch you’ll learn: Satin stitch + outline stitch Realistic time: 2–3 hours Why it works: You practice two different stitches in one small project. The cap and the stem use different techniques, so you’re building skills without even realizing it.
7. Celestial Theme

A crescent moon, a few small stars, and a simple sun – this combination has been trending for years and shows no signs of slowing down. The shapes are all geometric, the design is forgiving, and the finished hoop looks beautiful in any room.
Stitch you’ll learn: Back stitch outline + seed stitch (for texture and fill) Realistic time: 4–5 hours for a full composition Why it works: You learn two very different types of stitches – one for clean lines and one for texture. That combination covers a huge range of future designs..
8. Embroidered Tote Bag
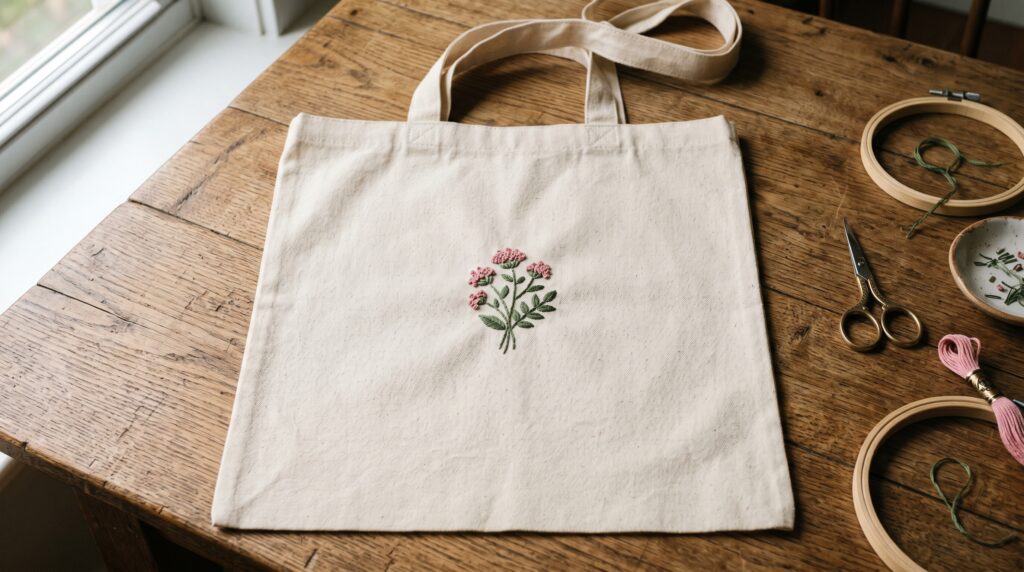
Instead of a hoop that hangs on your wall, embroider directly onto a plain canvas tote bag. A small design – a flower, a simple phrase, a tiny animal – on the front pocket turns a boring bag into something personal and unique.
Stitch you’ll learn: Back stitch + French knots Realistic time: 3–4 hours Why it works: The finished product is something you actually use. Every time you carry that bag, you see your work. That real-world payoff is a different kind of satisfaction than a hoop on a wall.
9. Butterfly
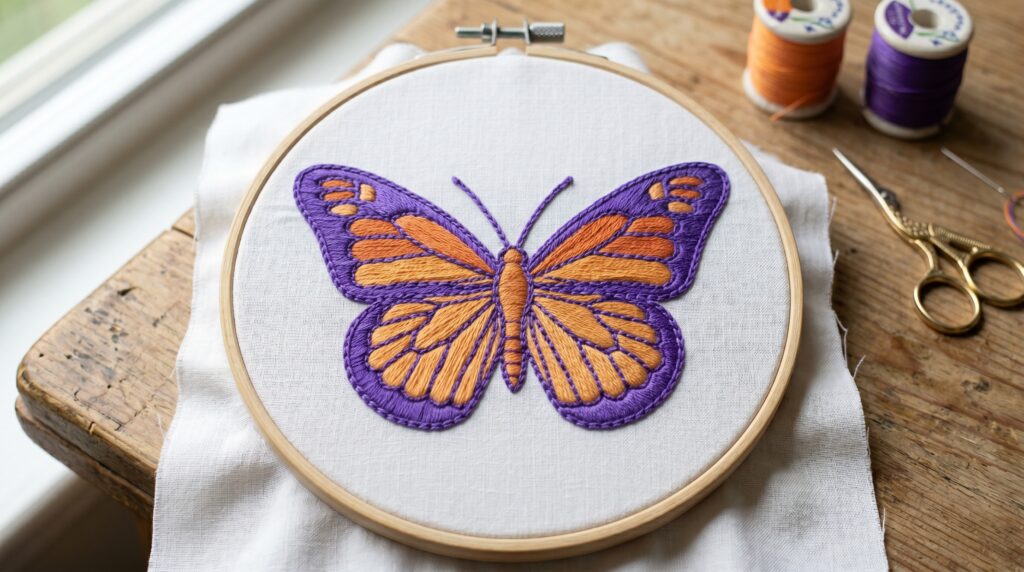
A butterfly has two wings that mirror each other. Once you stitch one side, the other is just a repeat. This symmetry is actually a gift for beginners – you’re not inventing as you go, you’re duplicating what already worked.
Stitch you’ll learn: Split stitch (for wing outlines) + satin stitch (for fill) Realistic time: 5–6 hours Why it works: Symmetrical designs teach you precision and consistency. If one wing took you 2 hours, the second takes 1 – because you’ve already figured out the hard part.
Read More: How to Sew for Beginners: The Complete Guide to Hand and Machine Sewing
10. Fruit Designs
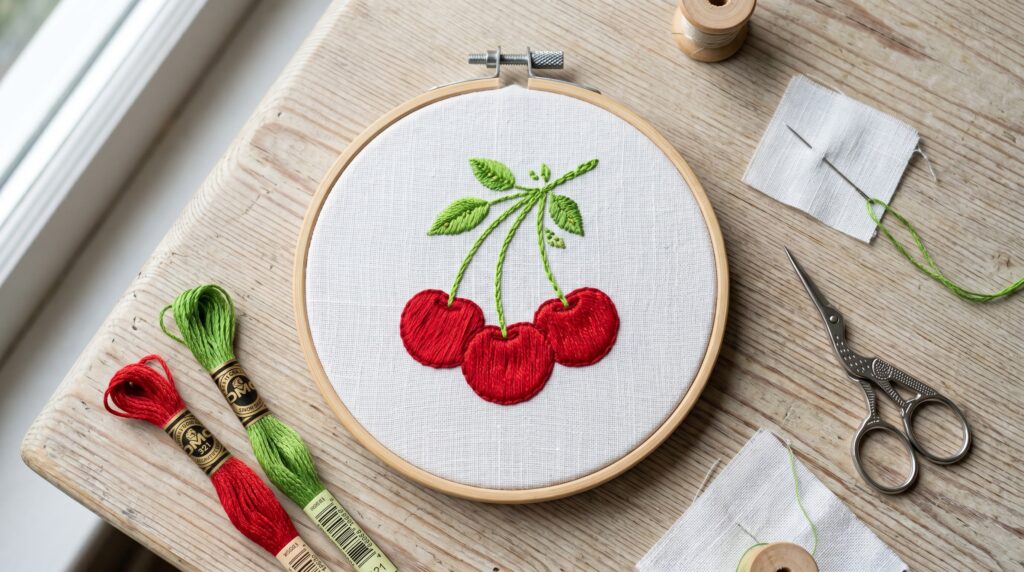
Bold colors, simple rounded shapes, and immediate cheerfulness. A cluster of cherries or a single lemon slice is the kind of design that looks good in a kitchen, a study, or gifted to a friend.
Stitch you’ll learn: Satin stitch + stem stitch Realistic time: 3–4 hours Why it works: Different fruits give you different textures to practice. A lemon has a clean smooth fill. Strawberry seeds give you tiny stitch practice. Cherry stems teach you curved stem stitch. One “fruit” theme, multiple skills learned.
11. Simple Landscape
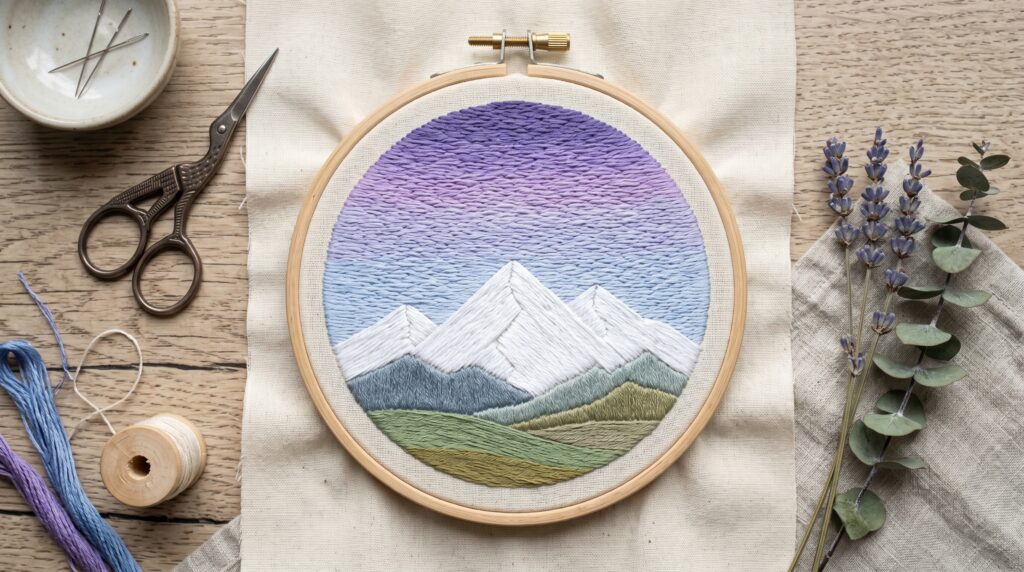
A row of simple mountain peaks, a gradient sky above them, and maybe a small moon – minimalist landscape embroidery has a calm, meditative quality that makes it addictive to stitch.
Stitch you’ll learn: Long and short stitch (for color blending in the sky) Realistic time: 5–7 hours Why it works: Long and short stitch sounds advanced but follows a simple logic – alternate long and short stitches in rows, blending colors as you go. A sunset sky is the perfect low-stakes place to learn it.
12. Animal Face
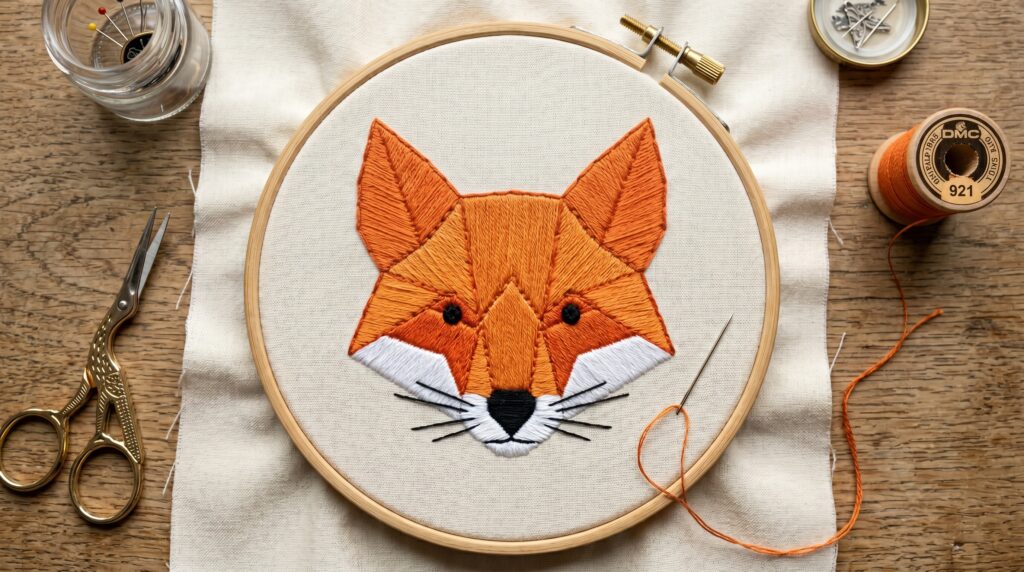
Geometric animal faces made of simple shapes – triangles, circles, and a few stitch details – are one of the most popular modern embroidery styles. A fox face with a triangle nose and simple ears looks stylish without requiring any artistic skill.
Stitch you’ll learn: Satin stitch + French knots (for eyes) Realistic time: 3–4 hours Why it works: French knots intimidate most beginners. An animal face gives you a low-pressure reason to try them – the eyes are small, so if a knot is slightly uneven, it doesn’t matter. You’ll have mastered French knots before you even realized you were trying.
13. Floral Wreath
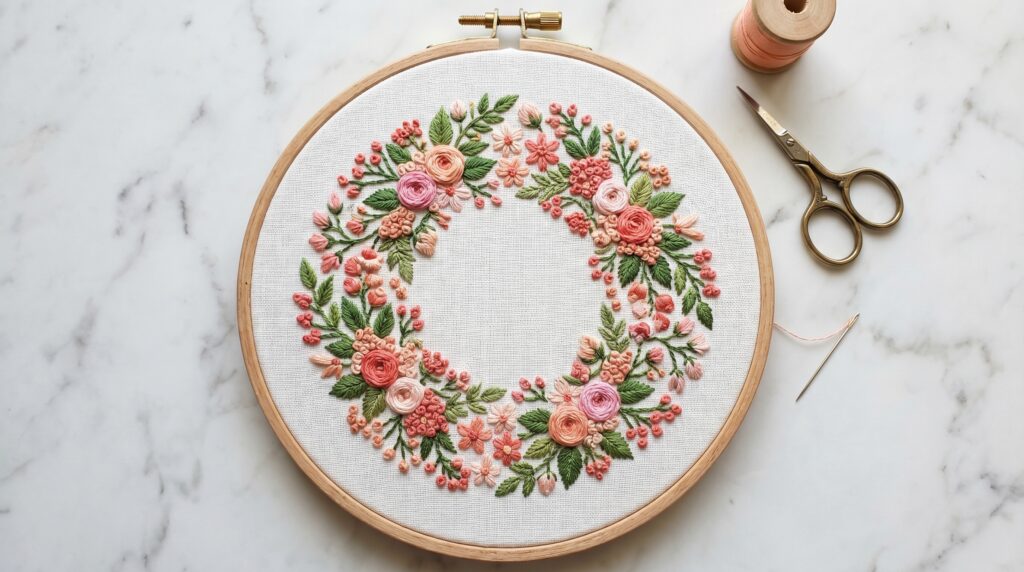
A circular arrangement of small flowers, leaves, and berries – the floral wreath is the design that takes everything you’ve learned and puts it together in one place.
This isn’t your first project. This is what you do after you’ve completed three or four of the designs above. And when you finish it, you’ll know you’ve genuinely moved past beginner level.
Stitches you’ll use: Lazy daisy + stem stitch + French knots + satin stitch Realistic time: 6–8 hours Why it works: Four different stitches, a composition you have to plan slightly, and a result that looks impressive. This is the project people frame and hang in their living rooms.
14. Embroidered Patches
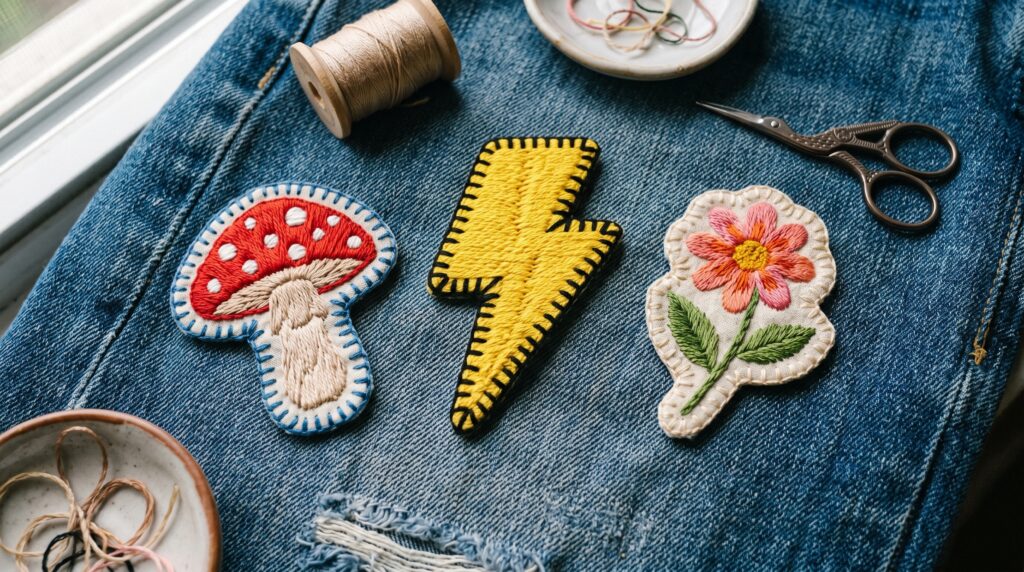
Small embroidered patches – a tiny mushroom, a lightning bolt, a small flower – stitched onto fabric and then cut out with blanket stitch edges. Iron or sew them onto anything you own.
Stitch you’ll learn: Satin stitch + blanket stitch (for edges) Realistic time: 2–3 hours per patch Why it works: Patches are small, so they’re fast. They’re wearable, so they’re useful. And because they’re separate from your main clothing, you can practice on them without any risk.
15. Your Name or Initials
Your own name, stitched in simple block letters or a clean script. Frame it, give it as a gift, or use it to label fabric items. Nothing is more personal than your own name made by your own hands.
Stitch you’ll learn: Back stitch or chain stitch Realistic time: 3–5 hours depending on name length Why it works: Personalized projects keep your motivation high. You’re not making something generic – you’re making something that belongs to you or someone specific. That emotional connection makes you push through the harder moments.
16. Abstract Geometric Pattern
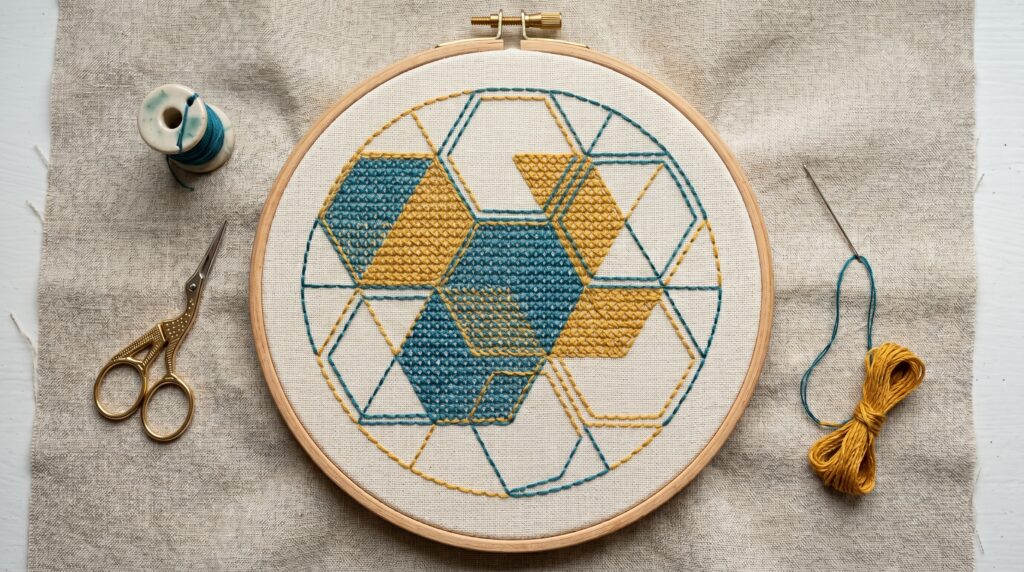
Triangles, hexagons, random diagonal lines, overlapping shapes – no artistic talent required. You’re not drawing anything representational. You’re just filling a space with structured shapes.
Stitch you’ll learn: Running stitch + cross stitch Realistic time: 2–4 hours Why it works: There’s no “wrong” here. An abstract pattern can look exactly as intended even if you deviate from your original plan. It’s the most stress-free project on this list and a great way to just enjoy the process of stitching without overthinking the outcome.
17. AI-Inspired Hand Embroidery: The 2026 Design Trend
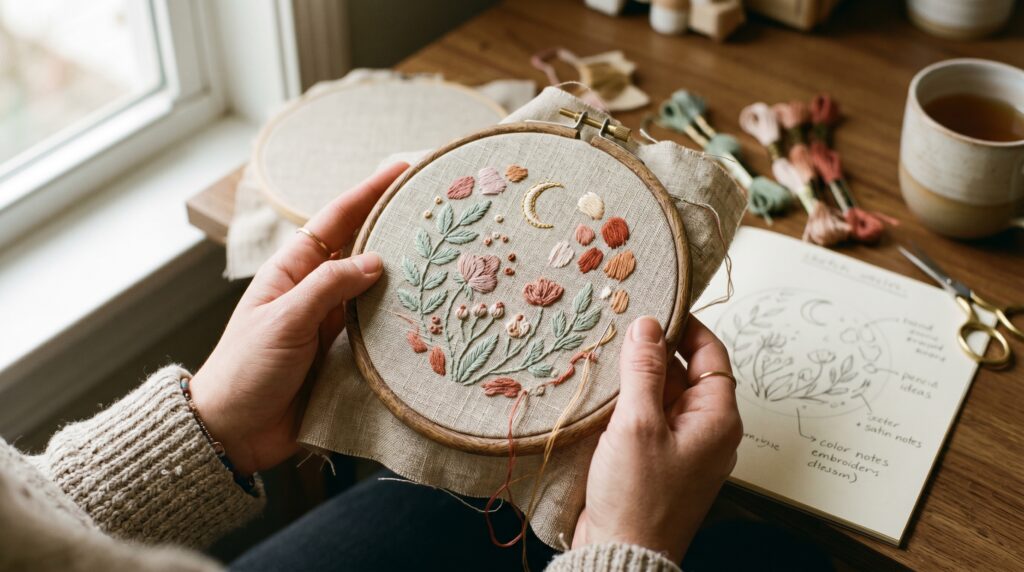
This is the design movement defining embroidery in 2026. Patterns born from personal mood boards, color memories, and emotional palettes, then brought into the physical world one stitch at a time.
The concept is simple. Instead of following a downloaded pattern, you create your own brief: a feeling, a place, a color story. “The light in my grandmother’s kitchen.” “A Lahore sunset in July.” “The texture of old book pages.” That brief becomes your sketch. That sketch becomes your design. And that design, stitched entirely by hand, becomes something that has never existed before and never will again.
What makes this different from a regular custom design is the intentionality behind it. You are not copying. You are not adapting. You are translating something personal into thread.
Stitch you will use: Depends entirely on your design. Long and short stitch works well for color blending, French knots add texture, and satin stitch fills in solid areas.
Realistic time: 6 to 10 hours for a full composition.
Why it matters in 2026: We are surrounded by AI-generated images that are fast, scalable, and increasingly hard to tell apart from human-made work. A hand-stitched piece is the quiet, deliberate opposite. It carries the trace of your hand in every imperfect stitch. It took real hours. It cannot be copied at scale. In 2026, that is not a limitation. That is the entire point.
Before You Start – The Exact Supplies You Need (Nothing Extra)
One of the biggest beginner mistakes is overbuying supplies before you’ve even started. You don’t need a full craft store haul. Here’s the honest list:
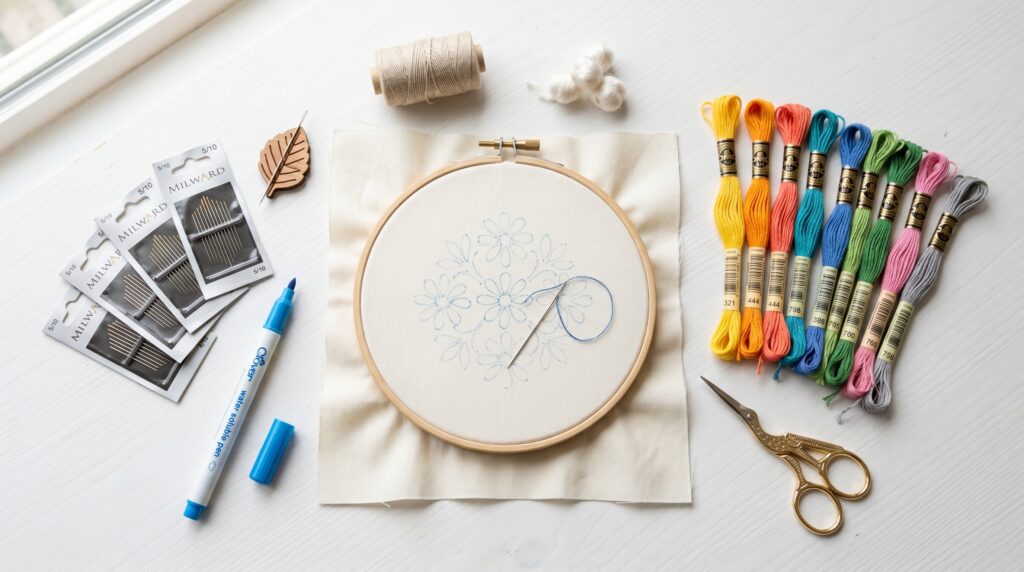
The essentials:
- Embroidery hoop – Start with a 5″ or 6″ size. This size is portable, maintains good tension, and you don’t need to fit your entire design inside it – just move the hoop as you stitch.
- Embroidery floss – A basic pack of 20–30 colors is more than enough. DMC is the most reliable brand for beginners.
- Embroidery needles – These have a larger eye than regular sewing needles. A pack of assorted sizes covers every project on this list.
- Cotton fabric – Plain white cotton quilting fabric is ideal. A washed, light-colored cotton shirt works too.
- Water-soluble fabric pen – For tracing your design onto fabric. Marks disappear with water. Every beginner needs this.
- Small scissors – Sharp, pointed embroidery scissors make a real difference for trimming thread ends cleanly.
What you don’t need yet:
- Embroidery kits (expensive and limiting)
- Specialty threads (save these for later)
- A stand or frame (handheld hoop is fine to start)
- Any drawing talent (tracing is a legitimate technique)
Total starter cost: under $20 if you shop at a craft store or online.
The 3 Stitches That Cover 90% of These Designs
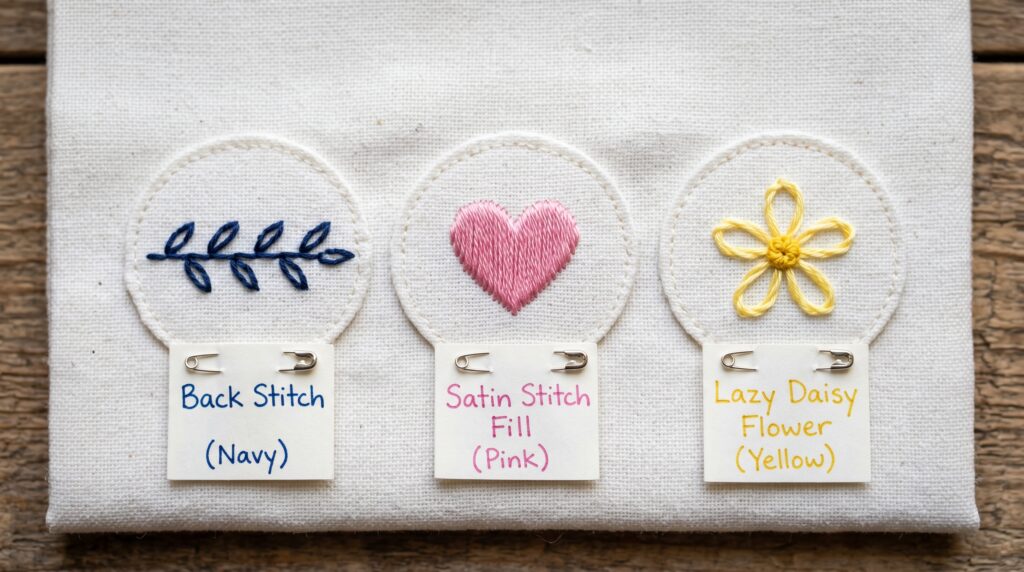
You don’t need to learn 20 different stitches. You need to know three well, and you can complete almost everything on this list.
1. Back Stitch The most versatile stitch in embroidery. Creates clean, solid lines – perfect for outlines, text, and detail work. Every embroiderer uses this constantly. Learn this first.
2. Satin Stitch Fills in solid areas of color by laying parallel stitches side by side. Used in almost every design that has a colored shape. Takes a little practice to keep even, but comes naturally with a bit of practice.
3. Lazy Daisy Creates individual petal shapes with one simple looped stitch per petal. Used in virtually every floral design. Fast, satisfying, and forgiving.
Master these three and you can attempt any design on this list. Everything else – French knots, woven wheel, stem stitch – you’ll pick up naturally as you go.
Common Beginner Mistakes – And How to Avoid Them
Mistake 1: Thread that’s too long thread tangles, knots, and frays. Cut your thread to about 18 inches (the length from your fingertip to your elbow). It feels too short at first. It isn’t.
Mistake 2: Pulling stitches too tight Tight stitches pucker the fabric and make the whole design look tense and cramped. Let the thread sit gently on the surface. If your fabric is puckering, you’re pulling too hard.
Mistake 3: Skipping the hoop Stitching without a hoop seems easier – it isn’t. The hoop keeps your fabric taut and your stitches even. Always use one.
Mistake 4: Trying to unpick every imperfect stitch When you’re stitching, you’re so close to the work that you see every tiny flaw. Step back. What looks like a disaster up close is invisible from two feet away. Train yourself to keep going rather than unpicking – you’ll finish more projects and enjoy the process more.
Mistake 5: Starting with a complex design If your first project has 6 stitches, 10 colours, and fine detail work, you will get frustrated and stop. Start simple. Build up. There’s no shortcut here.
Quick Answers to Common Beginner Questions
How long does embroidery take for a beginner?
A simple design on a 5 or 6 inch hoop takes most beginners between 2 and 5 hours total. Short, relaxed sessions work better than long marathon sittings. An hour here and there adds up faster than you expect.
What fabric is best for embroidery beginners?
Plain quilting cotton or linen. Both are tightly woven, affordable, and forgiving. Avoid stretchy fabrics like jersey or knit because they shift under the needle and make consistent stitching much harder.
How many strands of thread should I use?
Standard embroidery floss has six strands. For most beginner projects, use two or three strands. Fine detail work uses one. Bold fills can use up to six. When in doubt, start with three.
Do I need a hoop?
Yes. Stitching without a hoop makes the fabric bunch and your stitches uneven. A basic 5 or 6 inch hoop costs under $5 and makes a real, immediate difference to your results.
How do I transfer a design onto fabric?
The easiest method is to print or draw your design, tape it to a window, hold your fabric over it, and trace with a water-erasable fabric pen. The daylight shows through the fabric clearly enough to see your lines. The marks disappear completely when you dab them with water.
What do I do when I make a mistake?
Unpick it. Use a small pair of scissors or a seam ripper to cut the stitches on the back of the fabric, then use tweezers to gently pull the thread out from the front. Most cotton and linen fabrics handle this well without any lasting damage.