I painted a plastic storage bin for my daughter’s room on a Saturday afternoon, proud of how it turned out, and by the following weekend half the design had flaked off in the dishwasher-adjacent humidity of a bathroom shelf. I’d skipped every prep step because the bin was smooth and clean-looking, which felt like enough. It wasn’t. The second bin I painted, after actually sanding and priming first, has survived three years of being dragged in and out of a closet by a increasingly less careful child, and it still looks the way I left it.
Quick Answer: Acrylic paint bonds to plastic only after the glossy factory surface is roughened with sandpaper and coated with a plastic-specific primer. Without both steps, paint sits on top of the surface rather than bonding to it, and will peel or flake within days to weeks depending on how much the item is handled.
Why Plastic Rejects Paint by Design
Plastic surfaces are manufactured to be smooth and non-porous, which is exactly what makes them durable and easy to clean, and exactly why paint struggles to bond to them. Paint needs some texture to physically grip, and factory plastic offers essentially none. Skipping prep on plastic isn’t a small shortcut the way it sometimes is on other surfaces, it’s the difference between a design that lasts and one that doesn’t survive being touched.
Not all plastic behaves the same way either. Recycling codes, the small numbered triangle stamped on most plastic items, indicate the resin type, and some resins hold paint significantly better than others. Knowing this before you start saves a lot of wasted effort on the wrong material, since even a flawless painting technique won’t compensate for a plastic type that simply doesn’t accept paint well.
Plastic Type Guide for Painting
Checking the recycling code before you buy paint, or even before you commit to a project, can save an entire afternoon of wasted effort on a plastic type that was never going to hold a design well in the first place.
| Recycling Code | Plastic Type | Paint Adhesion |
|---|---|---|
| 1 (PET) | Water bottles, food containers | Moderate, needs full prep |
| 2 (HDPE) | Cutting boards, cleaner bottles | Good, textures well when sanded |
| 5 (PP) | Straws, food containers | Poor, paint flexes and cracks easily |
| 6 (PS) | Styrofoam, disposable cups | Very poor, avoid acrylic entirely |
| 7 (Other) | Signs, storage bins, acrylic sheets | Good, one of the most paintable types |
For a full breakdown of what each recycling code actually means, the U.S. Department of Energy’s consumer guide to recycling codes is a clear, authoritative reference.
What You’ll Need
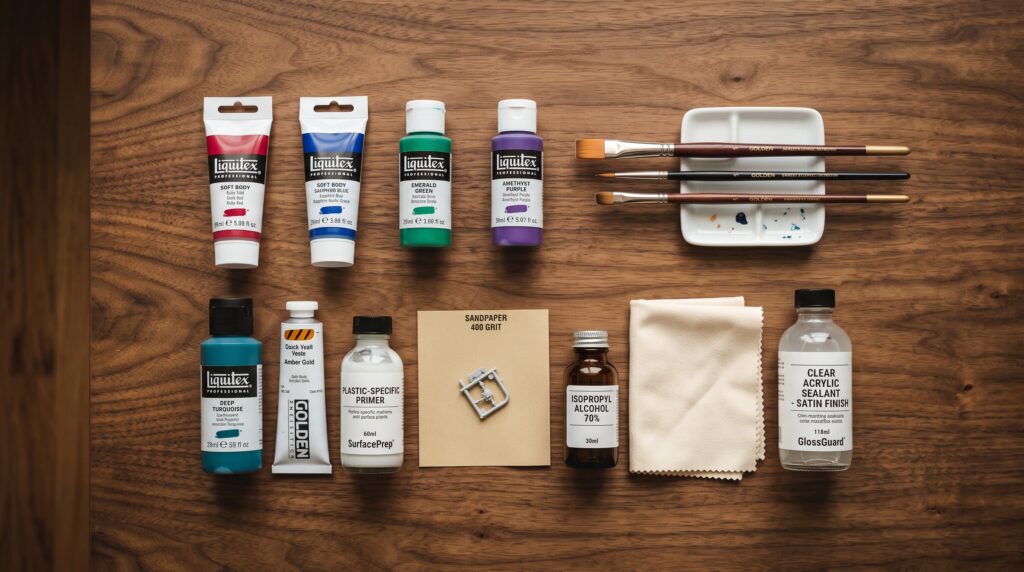
- Soft-body acrylic paint
- Plastic-specific primer or a multi-surface primer rated for plastic
- Fine-grit sandpaper, 220 grit
- Isopropyl alcohol for cleaning
- Soft cloth
- Clear acrylic sealant
How to Paint Plastic So It Actually Lasts (Step by Step)
Step 1: Identify the Plastic Type
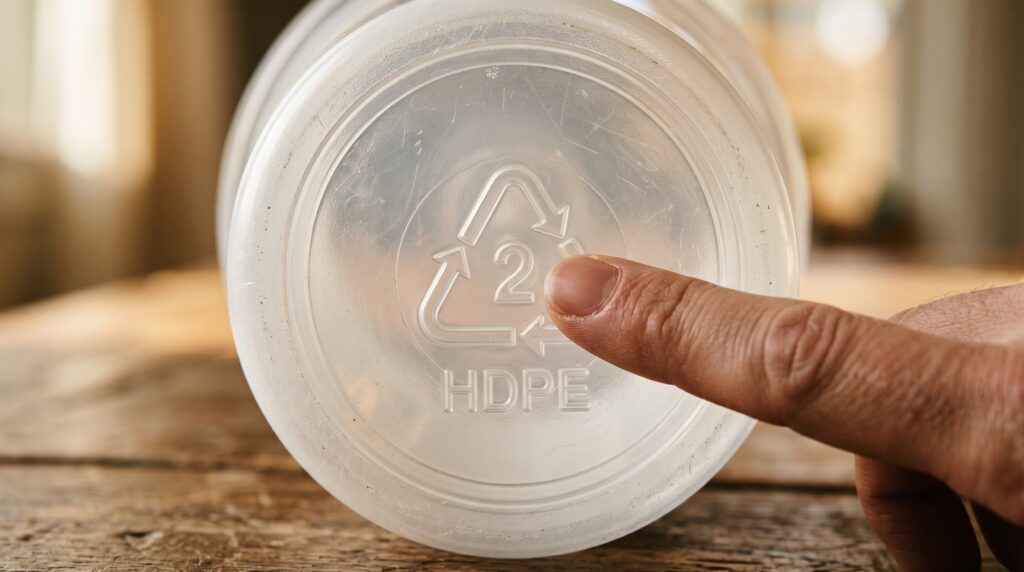
Check the underside or bottom of the item for a recycling code. Codes 2, 5, and 7 generally accept paint reasonably well once prepped. Code 6, polystyrene, resists paint so persistently that it’s usually better to skip acrylic altogether and use a spray paint formulated specifically for foam. If you can’t find a code at all, treat the item cautiously and test your prep process on a small hidden spot first.
Step 2: Clean Thoroughly
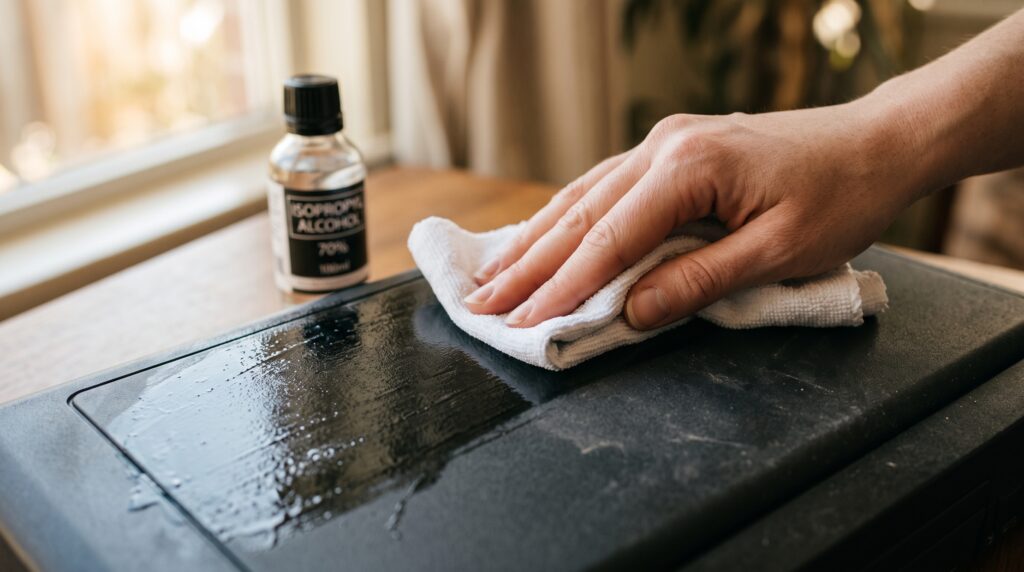
Wipe the entire surface with isopropyl alcohol on a soft cloth. This removes oils, dust, and manufacturing residue that sits invisibly on most plastic surfaces straight out of the packaging.
Step 3: Sand the Surface
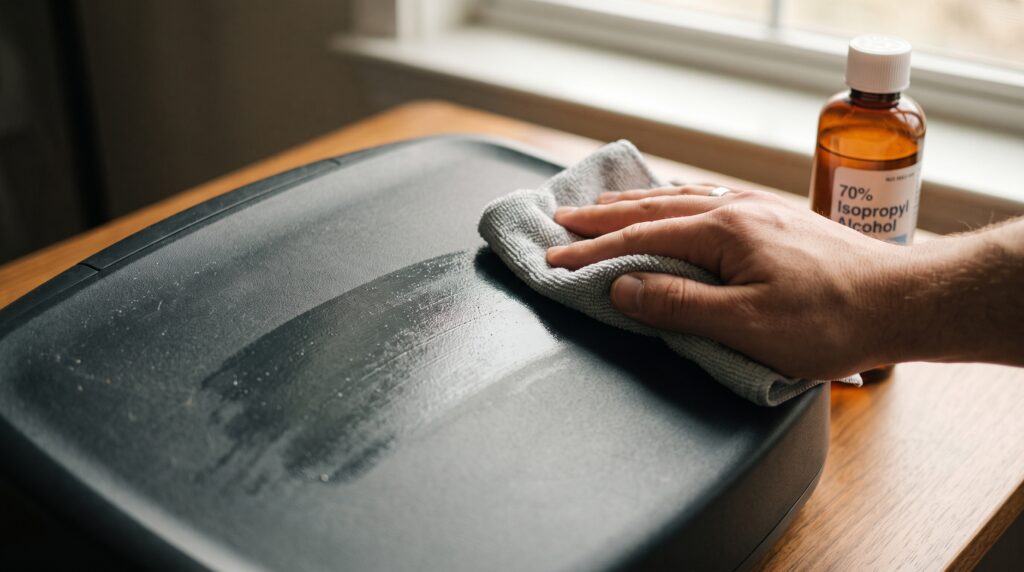
Using 220-grit sandpaper, scuff the entire surface you plan to paint. You’re not trying to remove material, just dull the factory shine enough to give the primer something to grip. Wipe away all dust with a slightly damp cloth afterward.
Step 4: Apply a Plastic-Specific Primer
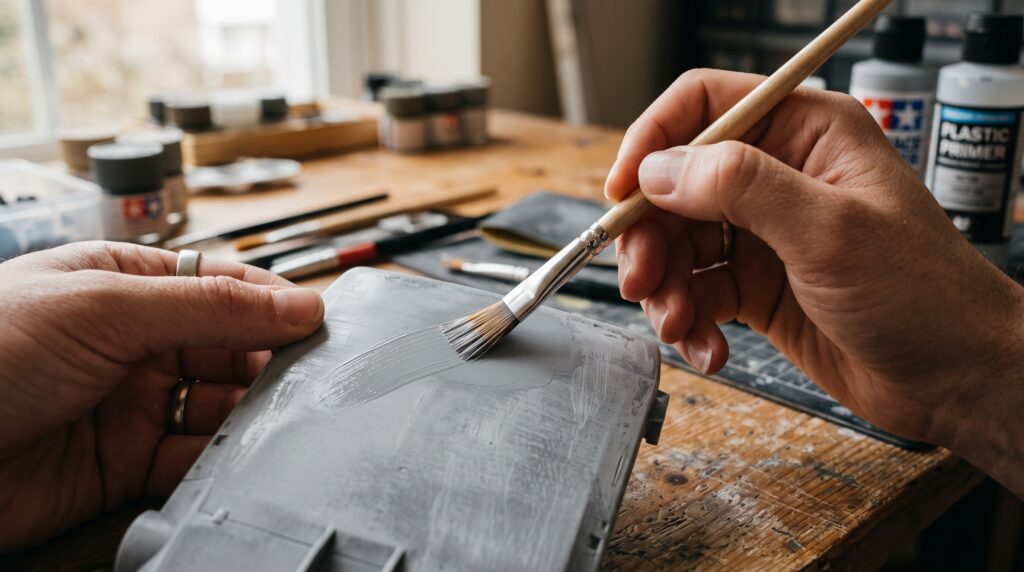
This step matters more than any other in the entire process. A primer formulated for plastic creates a bonding layer between the slick surface and the paint that follows. Apply in thin, even coats, and let it fully dry according to the product’s instructions before moving on. Skipping this step, or substituting a generic primer not rated for plastic, is the single most common reason a technically well-executed paint job still fails within the first few weeks, since the paint has nothing stable to actually hold onto underneath it.
Step 5: Paint in Thin Layers
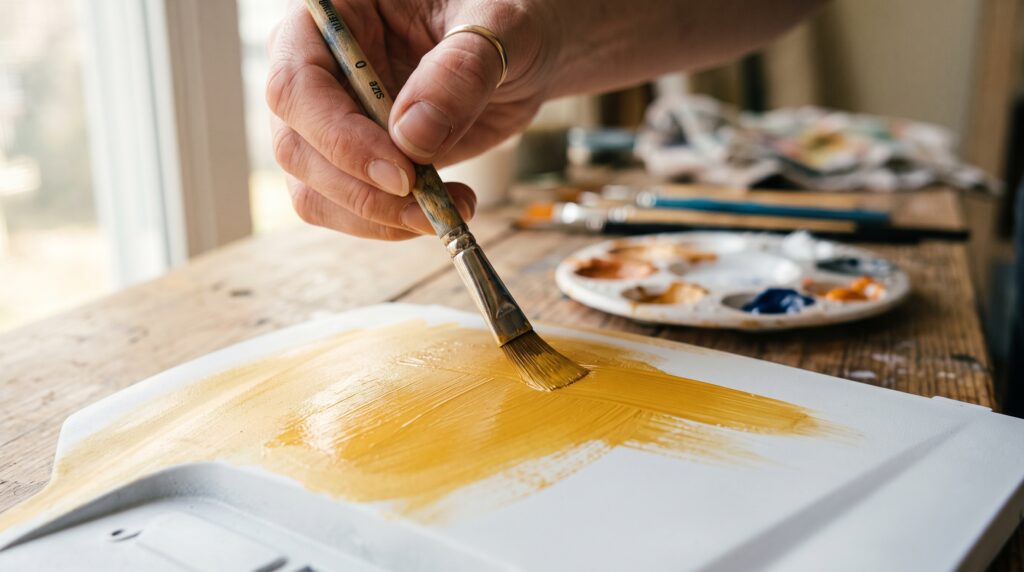
Apply acrylic paint in two to three thin coats rather than one heavy layer, letting each coat dry fully between applications. Thin layers bond more evenly and are far less prone to cracking once the plastic flexes, even slightly, during normal handling.
Step 6: Seal With a Clear Acrylic Sealant
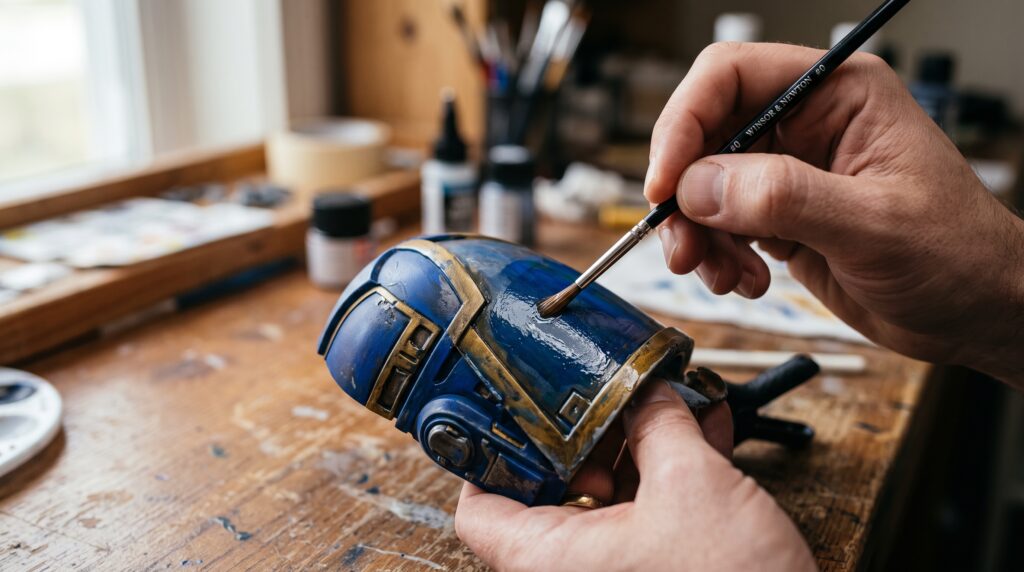
Once the paint is fully cured, typically 24 hours, apply a clear acrylic sealant in two thin coats. This protects the finished design from scuffing, moisture, and the everyday handling that would otherwise wear unsealed paint down quickly.
Common Beginner Mistakes
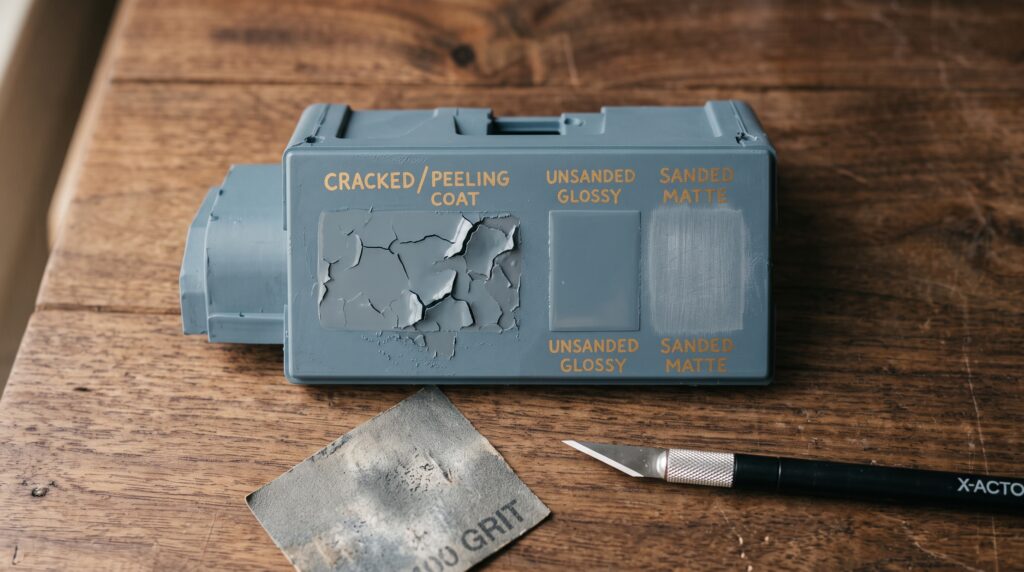
- Skipping sanding because the plastic looks smooth and clean already, which is precisely the surface paint struggles with most, and this alone is what ruined my first storage bin
- Using a general craft primer instead of one formulated for plastic specifically
- Painting polystyrene (recycling code 6) with standard acrylic, which almost never holds
- Applying paint in one thick coat, leading to visible cracking once the item flexes
- Skipping the sealant on items that get regular handling, like storage bins or kids’ toys
Which Plastic Items Are Worth Painting
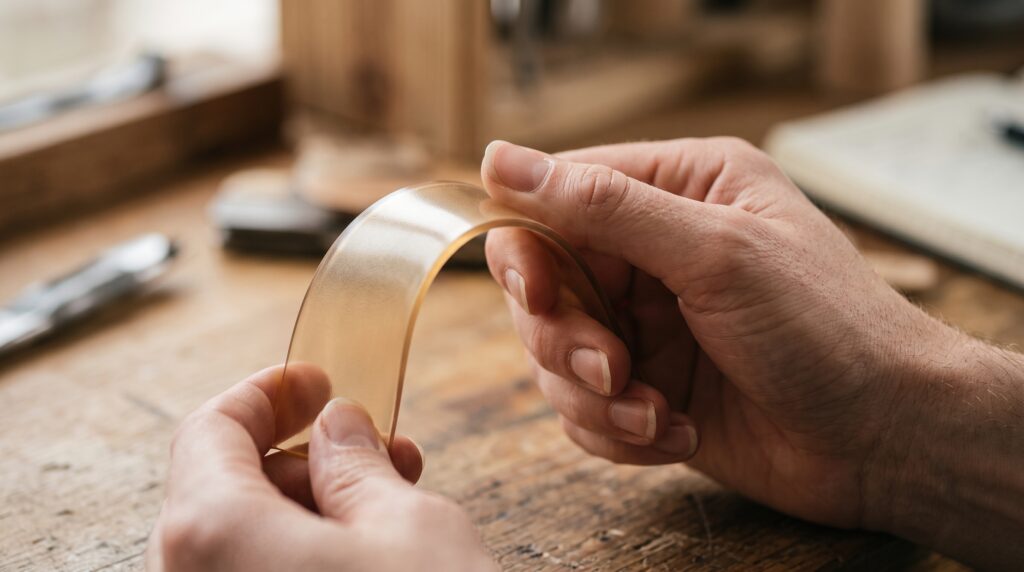
Rigid, smooth plastics like storage bins, plant pots, and picture frames respond well to this process and hold up for years with proper prep. Flexible plastics, the kind that bend easily under light pressure, are a poorer choice regardless of prep, since paint cracks along flex points no matter how well it’s bonded initially. If you’re unsure whether an item is a good candidate, a quick bend test tells you most of what you need to know before committing paint to it.
Outdoor plastic items add another consideration beyond flexibility and resin type. Temperature swings and UV exposure both stress paint adhesion over time, so an item that’s going to live outside year-round benefits from a UV-resistant topcoat in addition to the standard sealant, even if the base preparation process stays exactly the same.
How Long Painted Plastic Actually Lasts
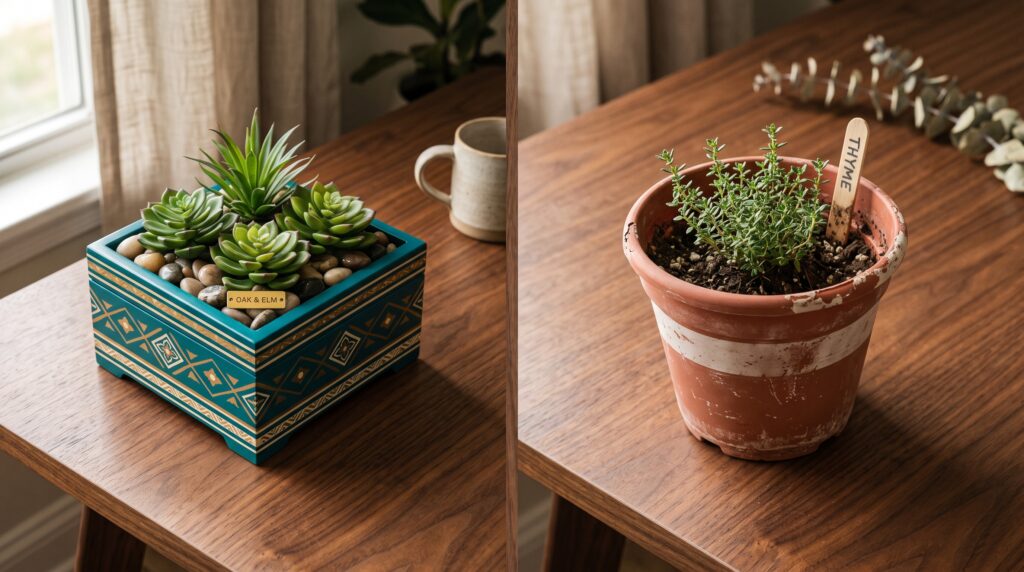
With full prep, primer, thin paint layers, and a proper seal, painted plastic on rigid, indoor items typically holds up for several years of normal handling. Outdoor items or anything that sees frequent flexing or heavy contact will show wear sooner, generally within a year or two, regardless of how carefully the prep was done, simply because those conditions place more ongoing stress on the paint layer than indoor decorative use does.
Frequently Asked Questions
Does acrylic paint wash off plastic? Once properly primed, painted, and sealed, acrylic paint resists light washing and handling well. Unsealed paint, or paint applied without primer, can wash or rub off relatively quickly.
Can I paint plastic without sanding it first? Technically yes, but adhesion suffers significantly. Sanding is what gives primer and paint something to physically grip, and skipping it is the single most common reason painted plastic fails early.
What’s the best primer for painting plastic? Any primer specifically labeled for plastic or multi-surface use works well. General craft primers not rated for plastic tend to perform poorly regardless of how carefully the rest of the process is followed.
Why did my painted plastic crack after a few weeks? This usually means the paint was applied too thickly, or the plastic item flexes regularly, like a phone case or flexible container, which stresses the paint layer beyond what it can handle.
Is it safe to paint plastic items that will hold food? It’s best to avoid painting the food-contact surfaces of any container. Painting the exterior of a food storage item is generally fine, but the interior surface should remain unpainted for safety.
Do I need a UV-resistant sealant for outdoor plastic items? Yes, if the item will spend significant time outdoors. A UV-resistant topcoat, applied over the standard sealant, slows the fading and adhesion breakdown that regular sun exposure causes over time.
If leather has caught your interest too, our complete guide to acrylic paint on leather covers a similar prep-first approach for a very different surface.